GKE Autopilot: Qwik Start
Overview
Autopilot is a new managed mode of operation for Google Kubernetes Engine (GKE) in which Google creates, sizes, and automatically scales on your behalf the physical infrastructure needed to run your application workloads.
Simplifying GKE with Autopilot
On GKE your compute infrastructure consists of individual compute instances, called nodes. The set of nodes dedicated to your application is called a cluster. Powering GKE is Kubernetes, an open source cluster management system that is heavily influenced by over fifteen years of Google’s experience running production workloads in containers. Kubernetes draws on the same design principles for running popular Google services at global scale to provide:
- Automatic management
- Monitoring and liveness probes for application containers
- Automatic scaling
- Rolling updates
With Autopilot, you reap the benefits of Google’s ability to optimize and configure a cluster using best practices for high availability and security, monitor the health of the cluster, and recalculate the cluster capacity needed to run your workloads at any given moment.
Autopilot liberates you, the developer, to focus on application development, not operational maintenance. Because you’re running on GKE, you’re still using Kubernetes to run the mission-critical mix of stateless and stateful services your application requires.
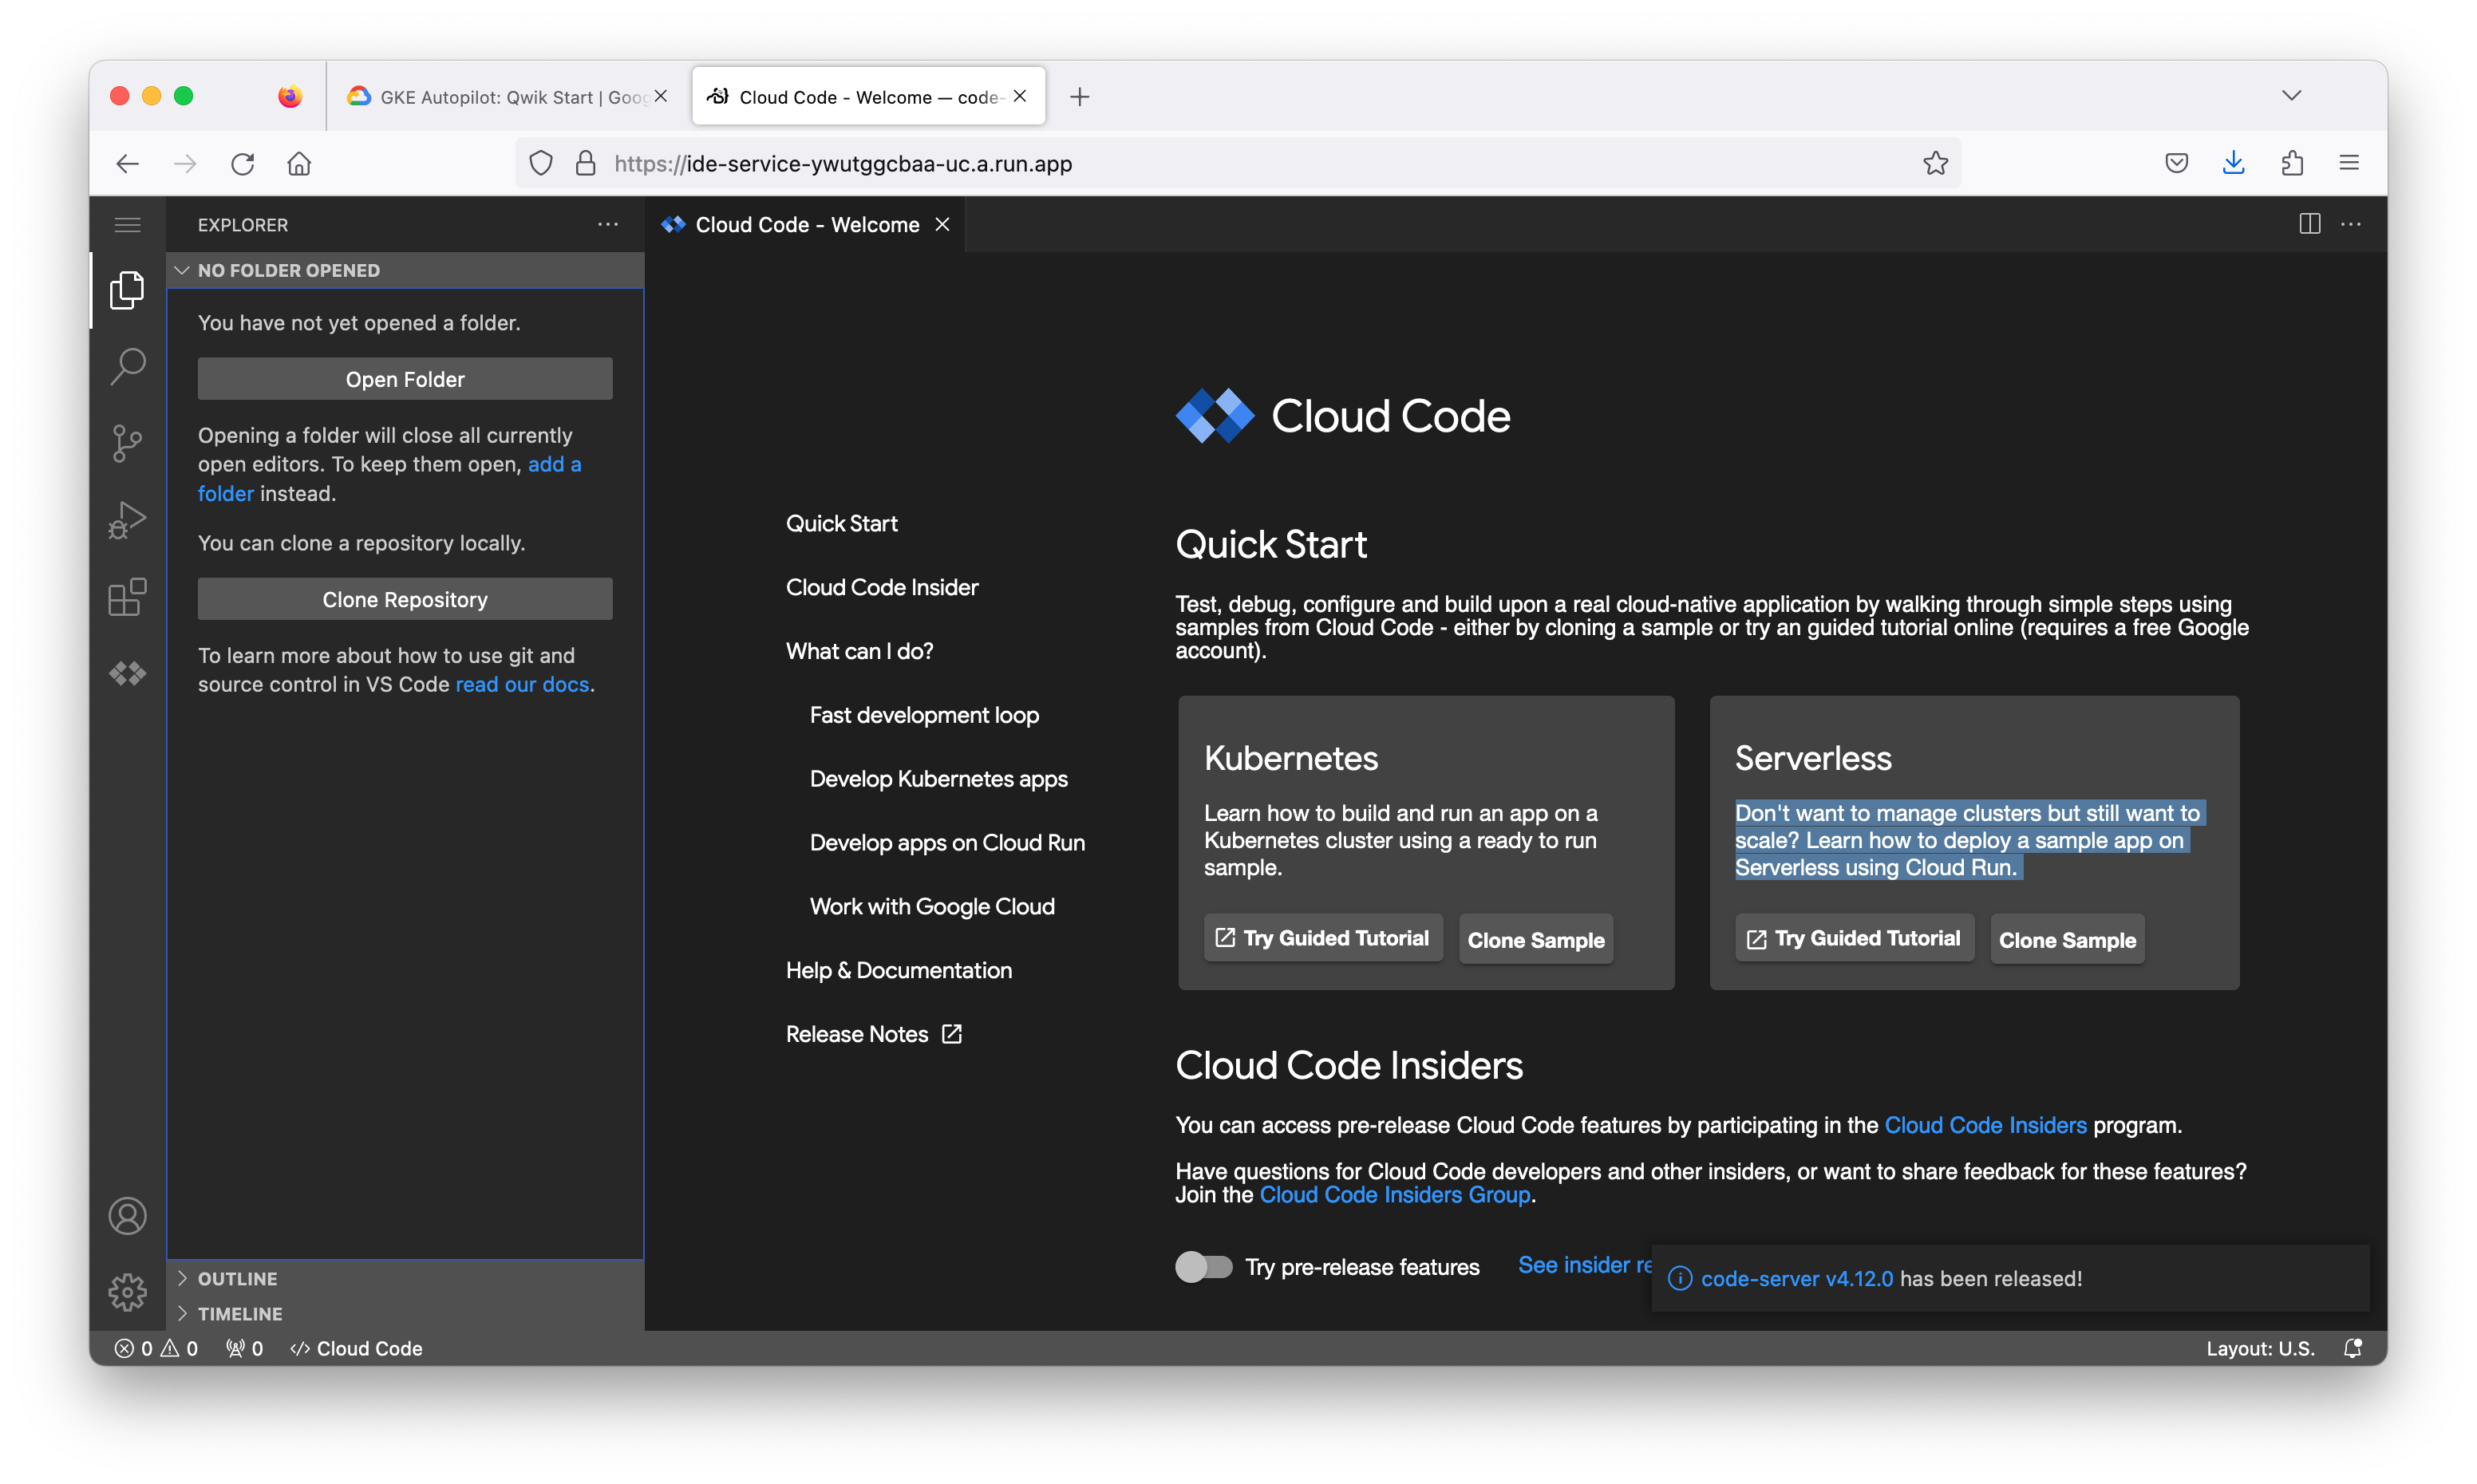
Task 1. Access Cloud Code
A Cloud Code development environment has already been set up to easily deploy workloads to a GKE cluster.
- Copy the
IDEURL from the Lab details panel. - Paste it into a new browser window:
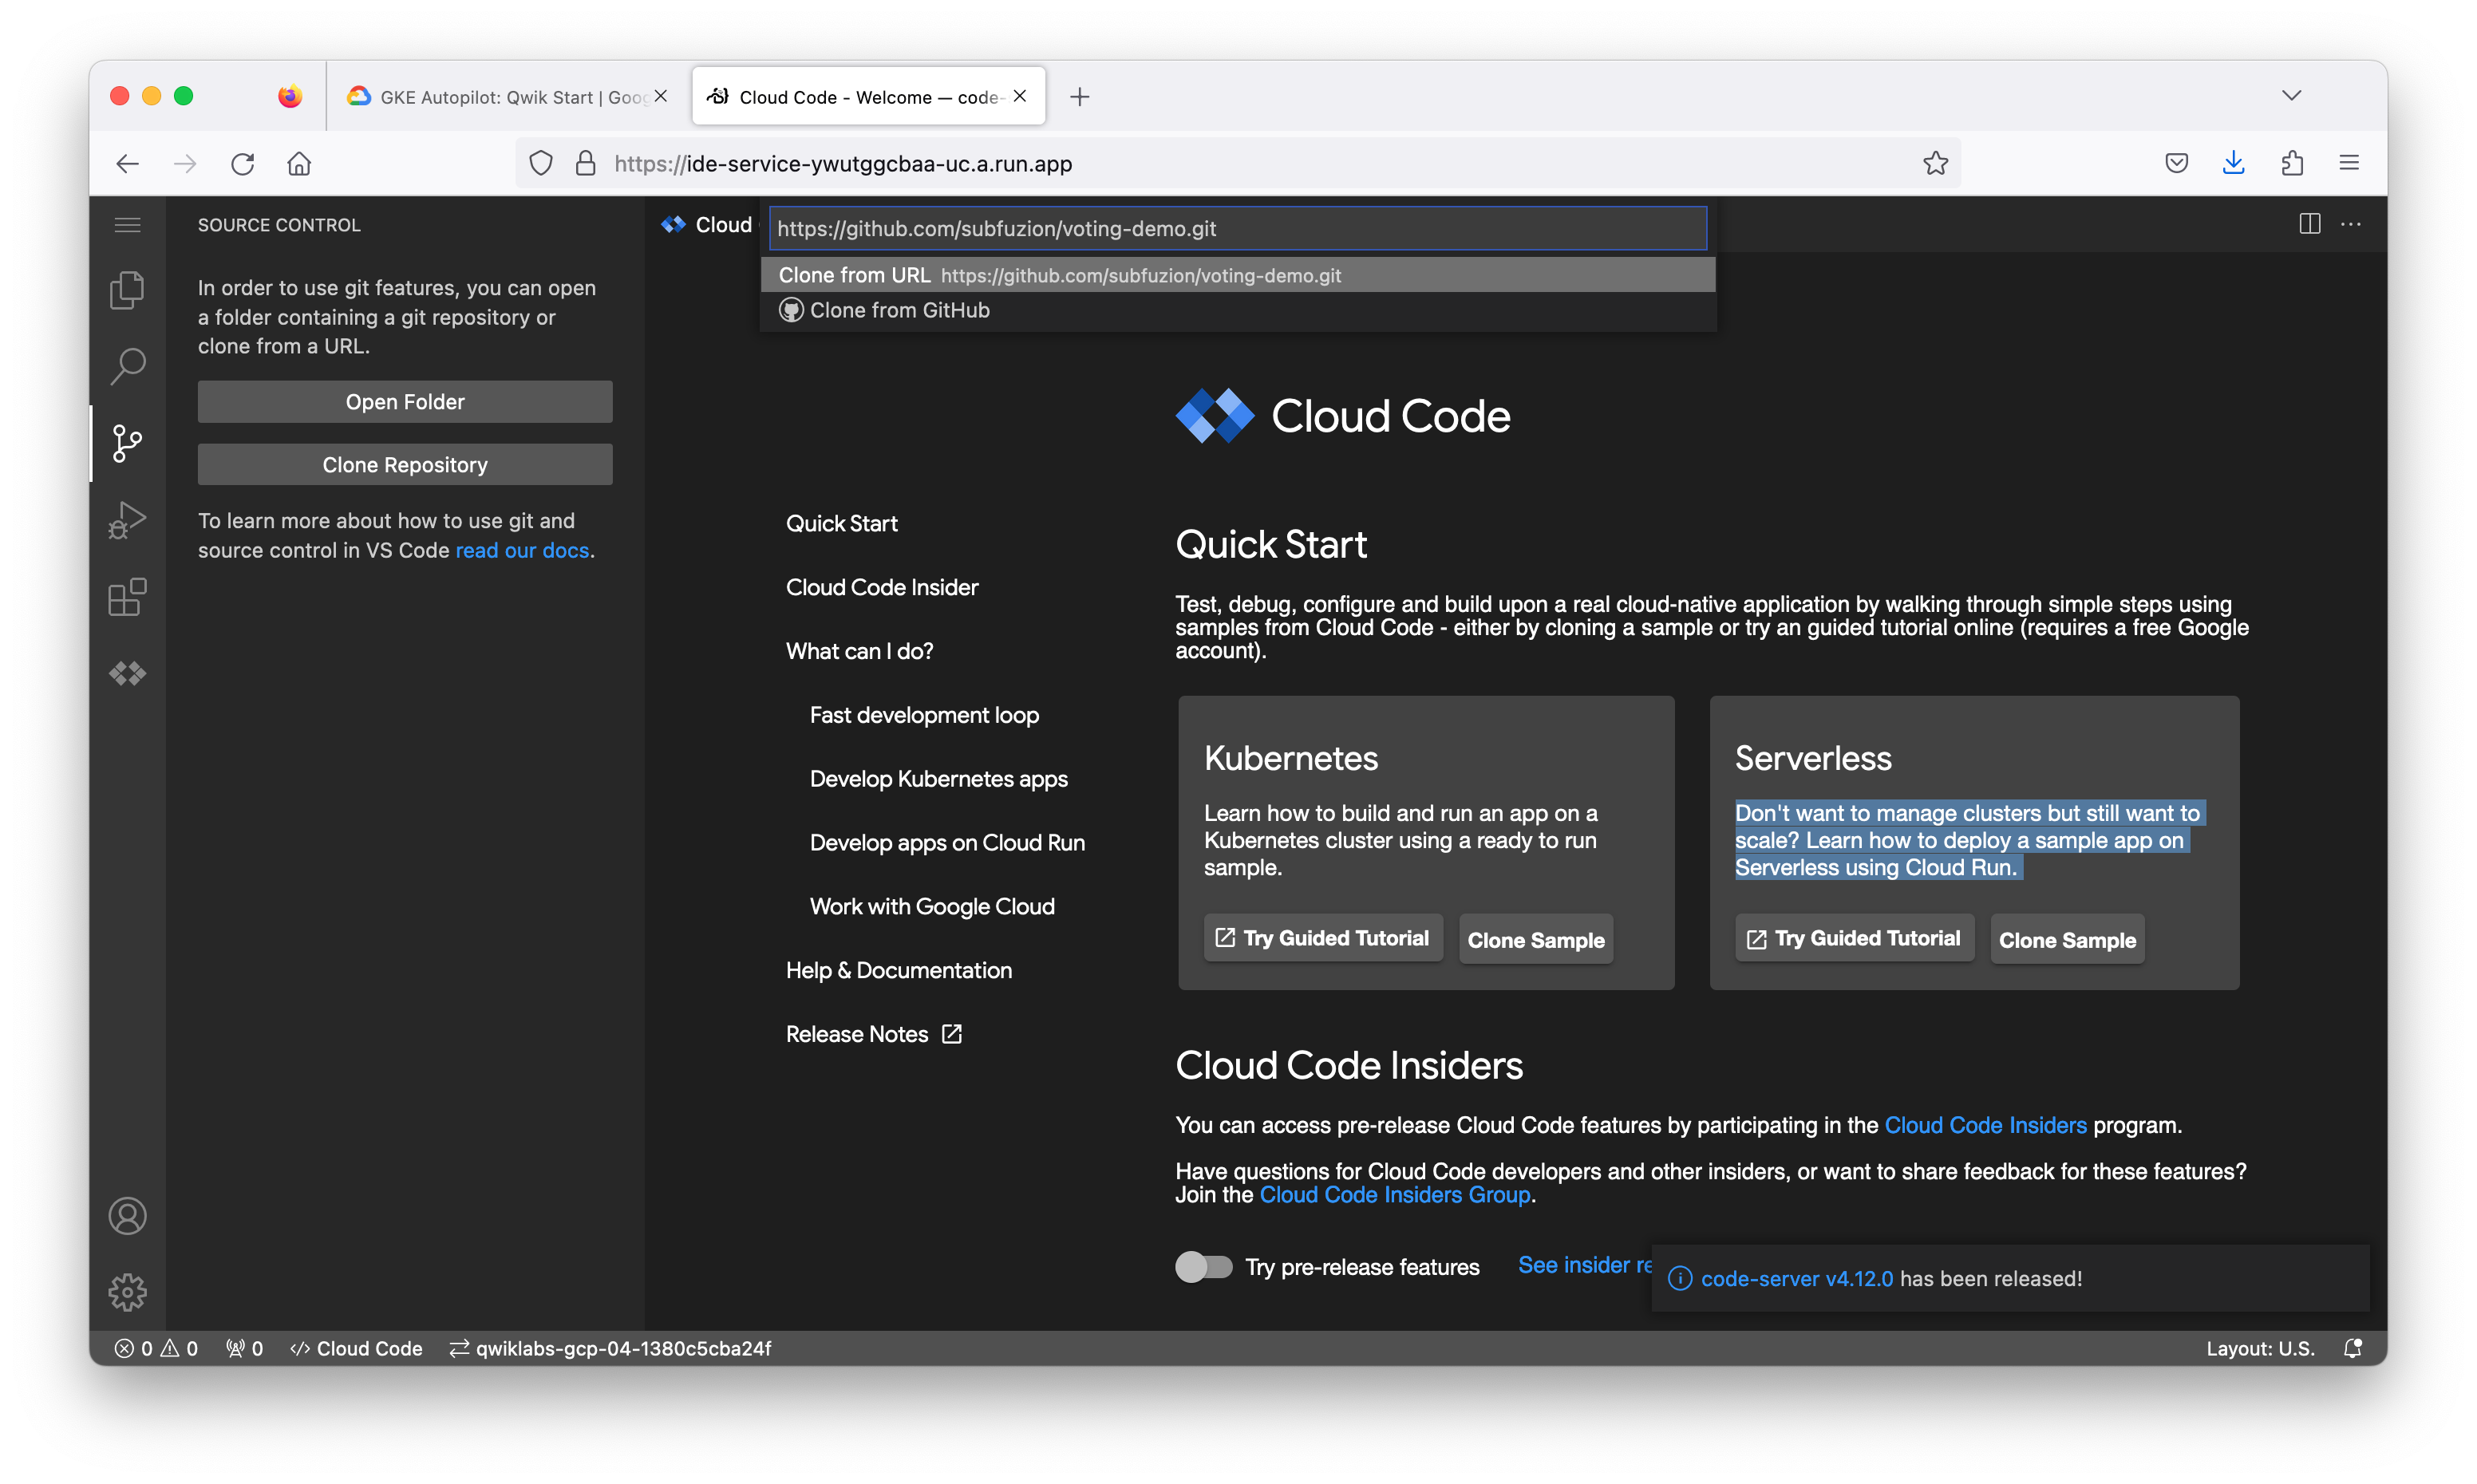
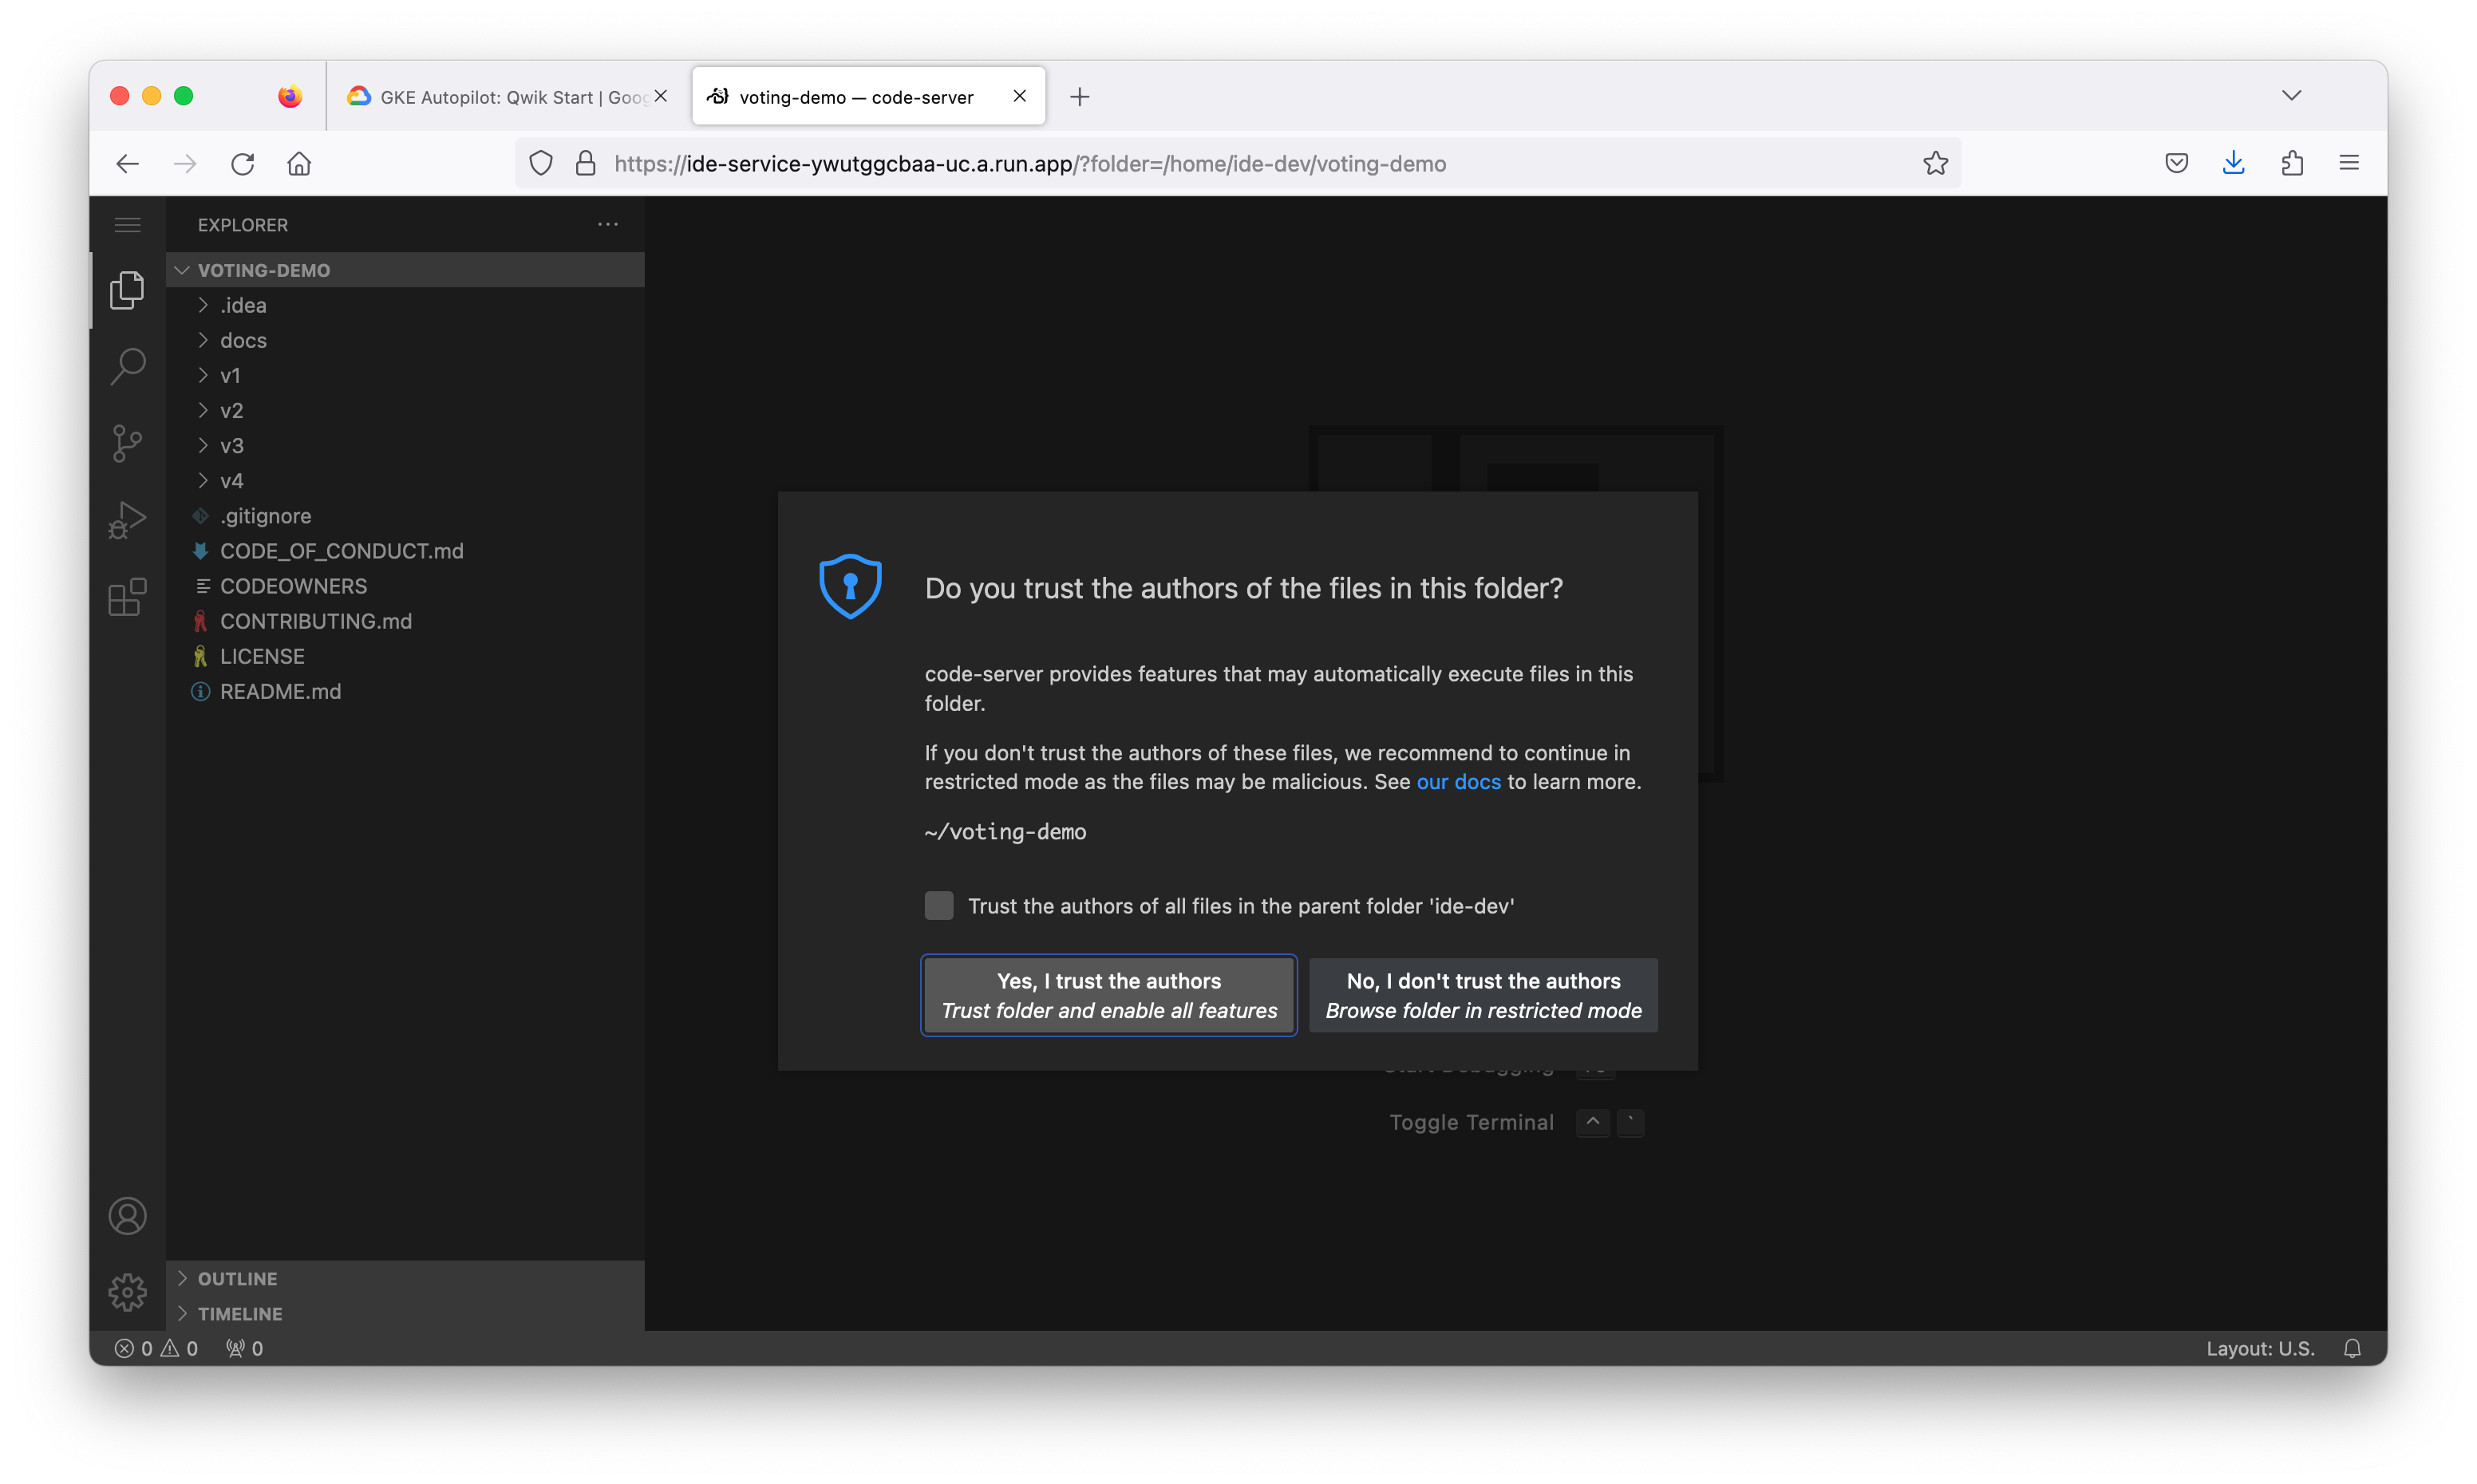
Task 2. Clone repo
Retrieve the source code under version control to begin the lab.
- In your Cloud Code environment, select the Source Control button from the sidebar.
Task 3. Add your cluster to the KubeConfig
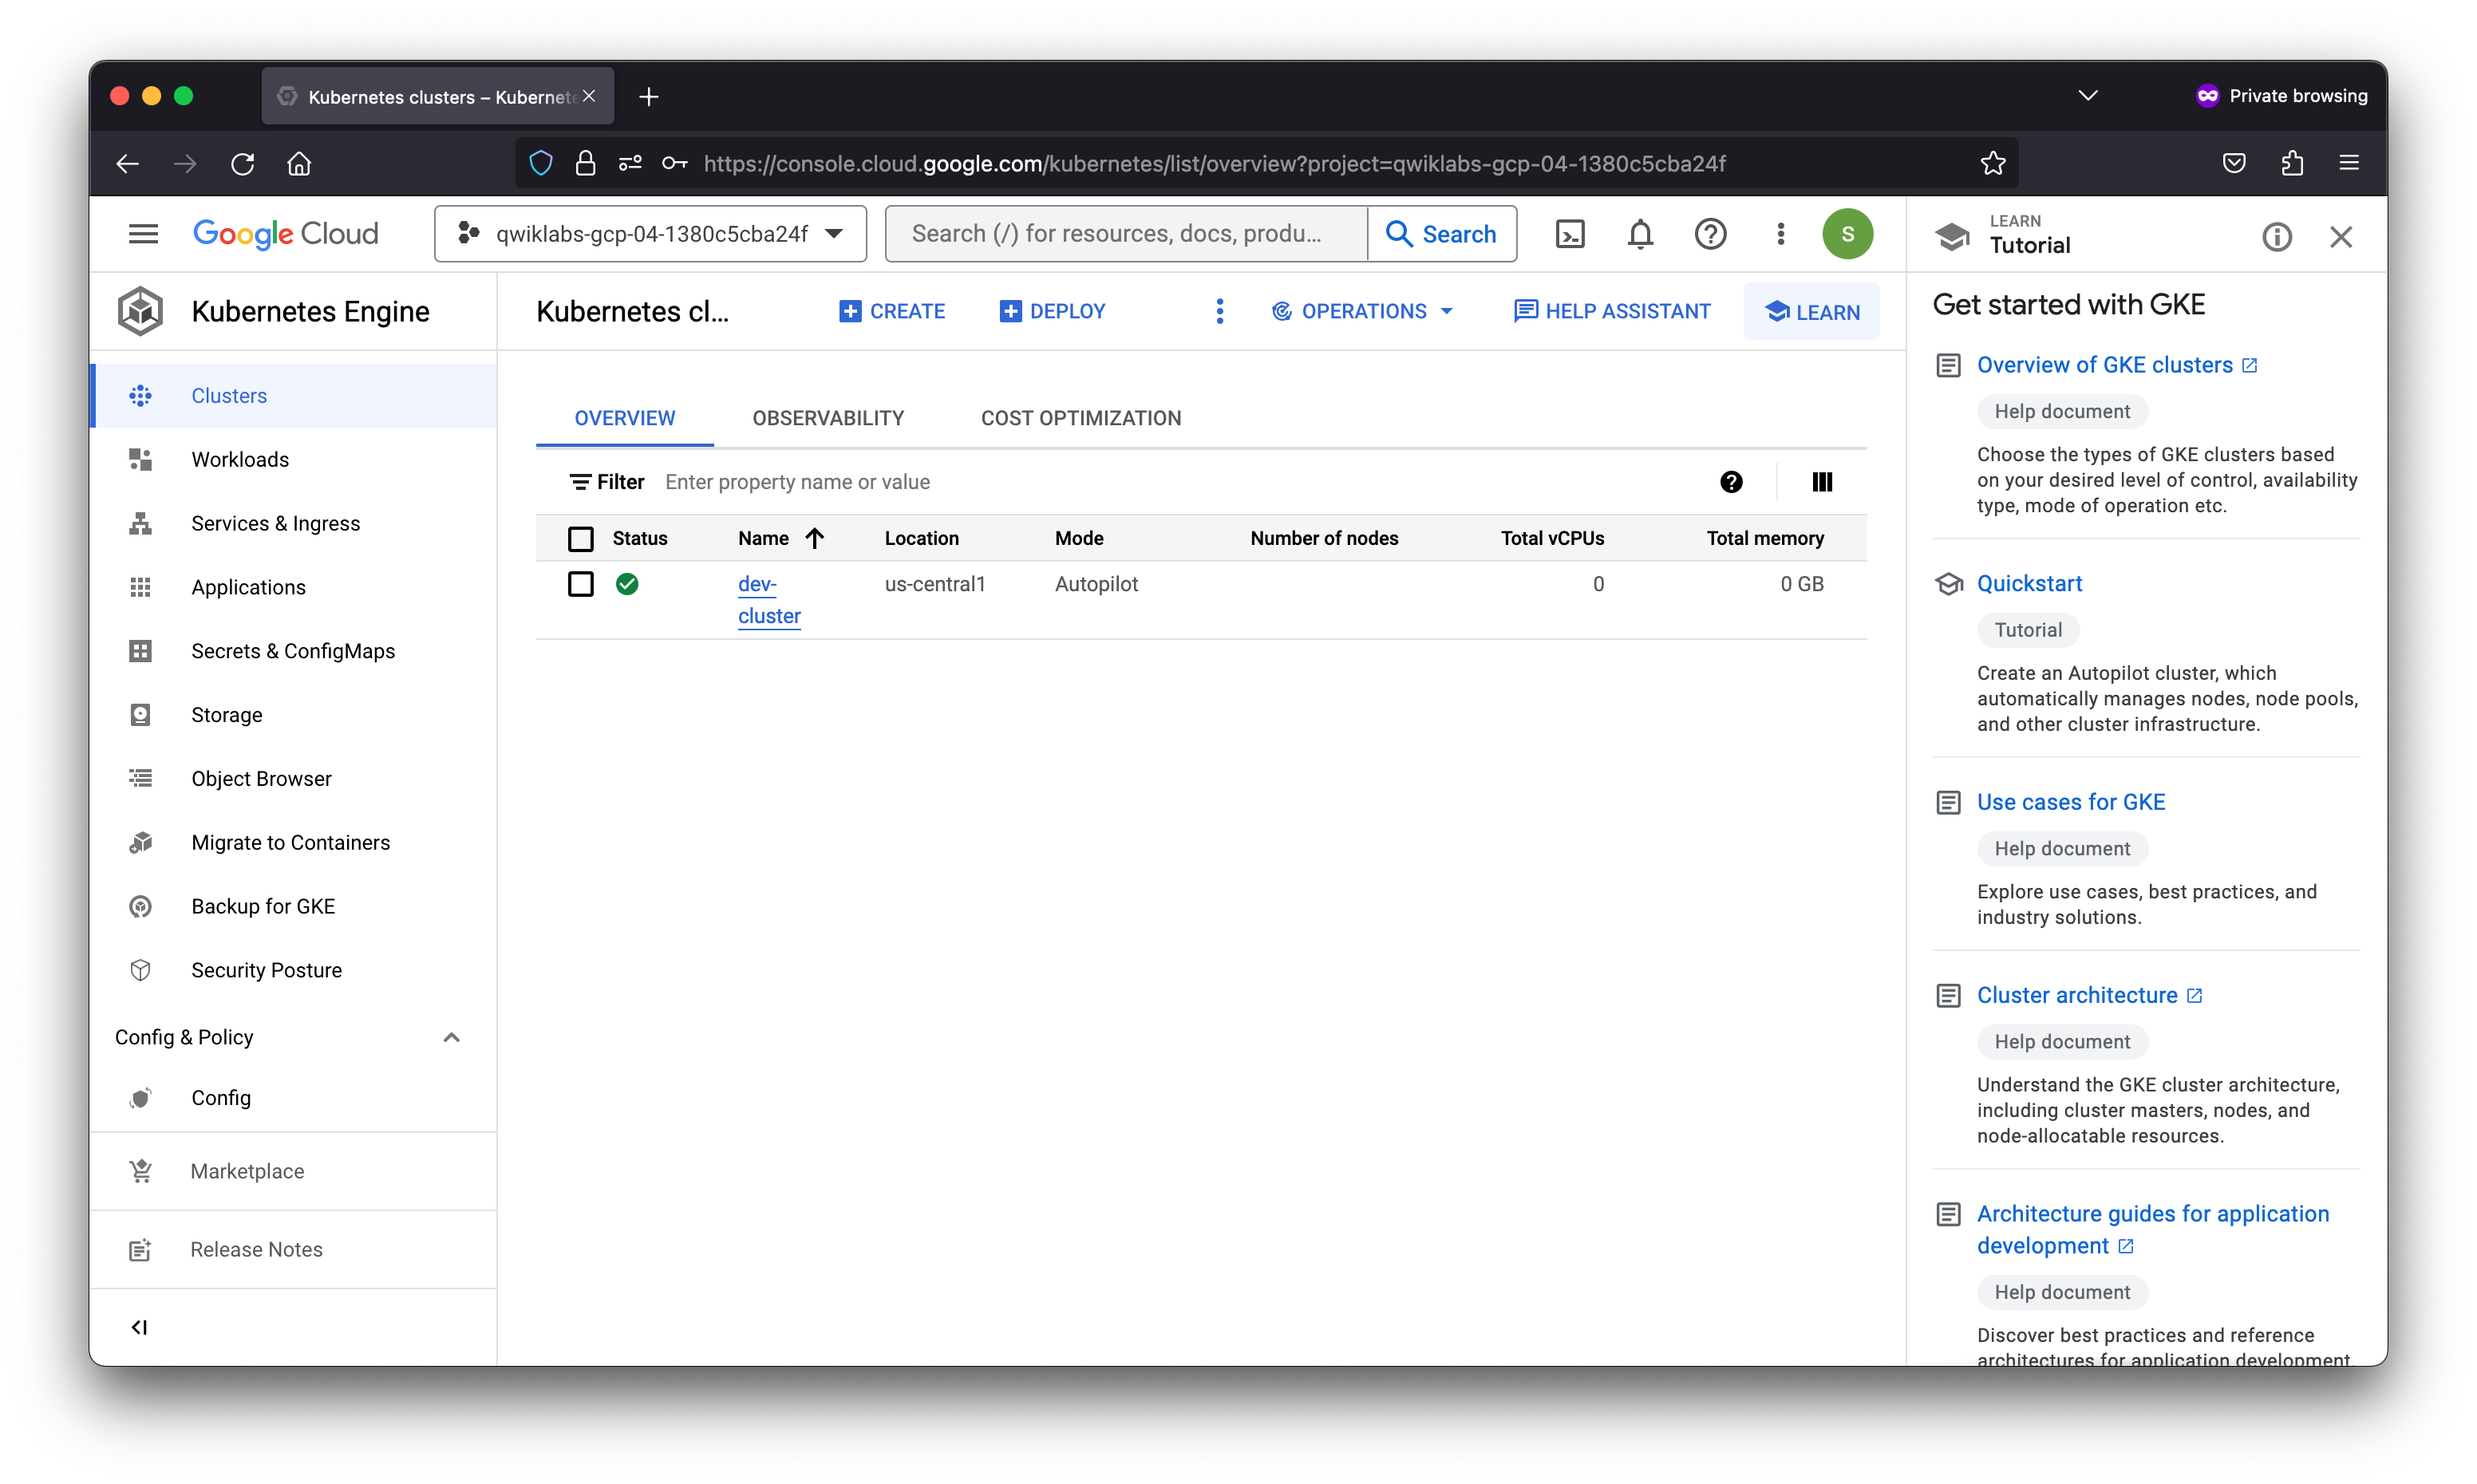
A GKE Autopilot cluster has been preprovisioned within the lab. In this section, you will update the Cloud Code’s KubeConfig to point to the cluster. Once the update is complete, you can then commence the deployment of the demo application.
Existing versions of kubectl and custom Kubernetes clients contain provider-specific code to manage authentication between the client and Google Kubernetes Engine. Starting with v1.26, this code will no longer be included as part of the OSS kubectl. GKE users will need to download and use a separate authentication plugin to generate GKE-specific tokens. This new binary, gke-gcloud-auth-plugin, uses the Kubernetes Client-go Credential Plugin mechanism to extend kubectl’s authentication to support GKE. For more information, you can check out the following documentation.
As part of the setup of the lab, the plugin has already been installed on this instance for you. To have kubectl use the new binary plugin for authentication instead of using the default provider-specific code, use the following steps.
06:15:10 ide-dev@cloudlearningservices voting-demo ±|main|→ echo "export USE_GKE_GCLOUD_AUTH_PLUGIN=True" >> ~/.bashrc
06:15:16 ide-dev@cloudlearningservices voting-demo ±|main|→ source ~/.bashrc
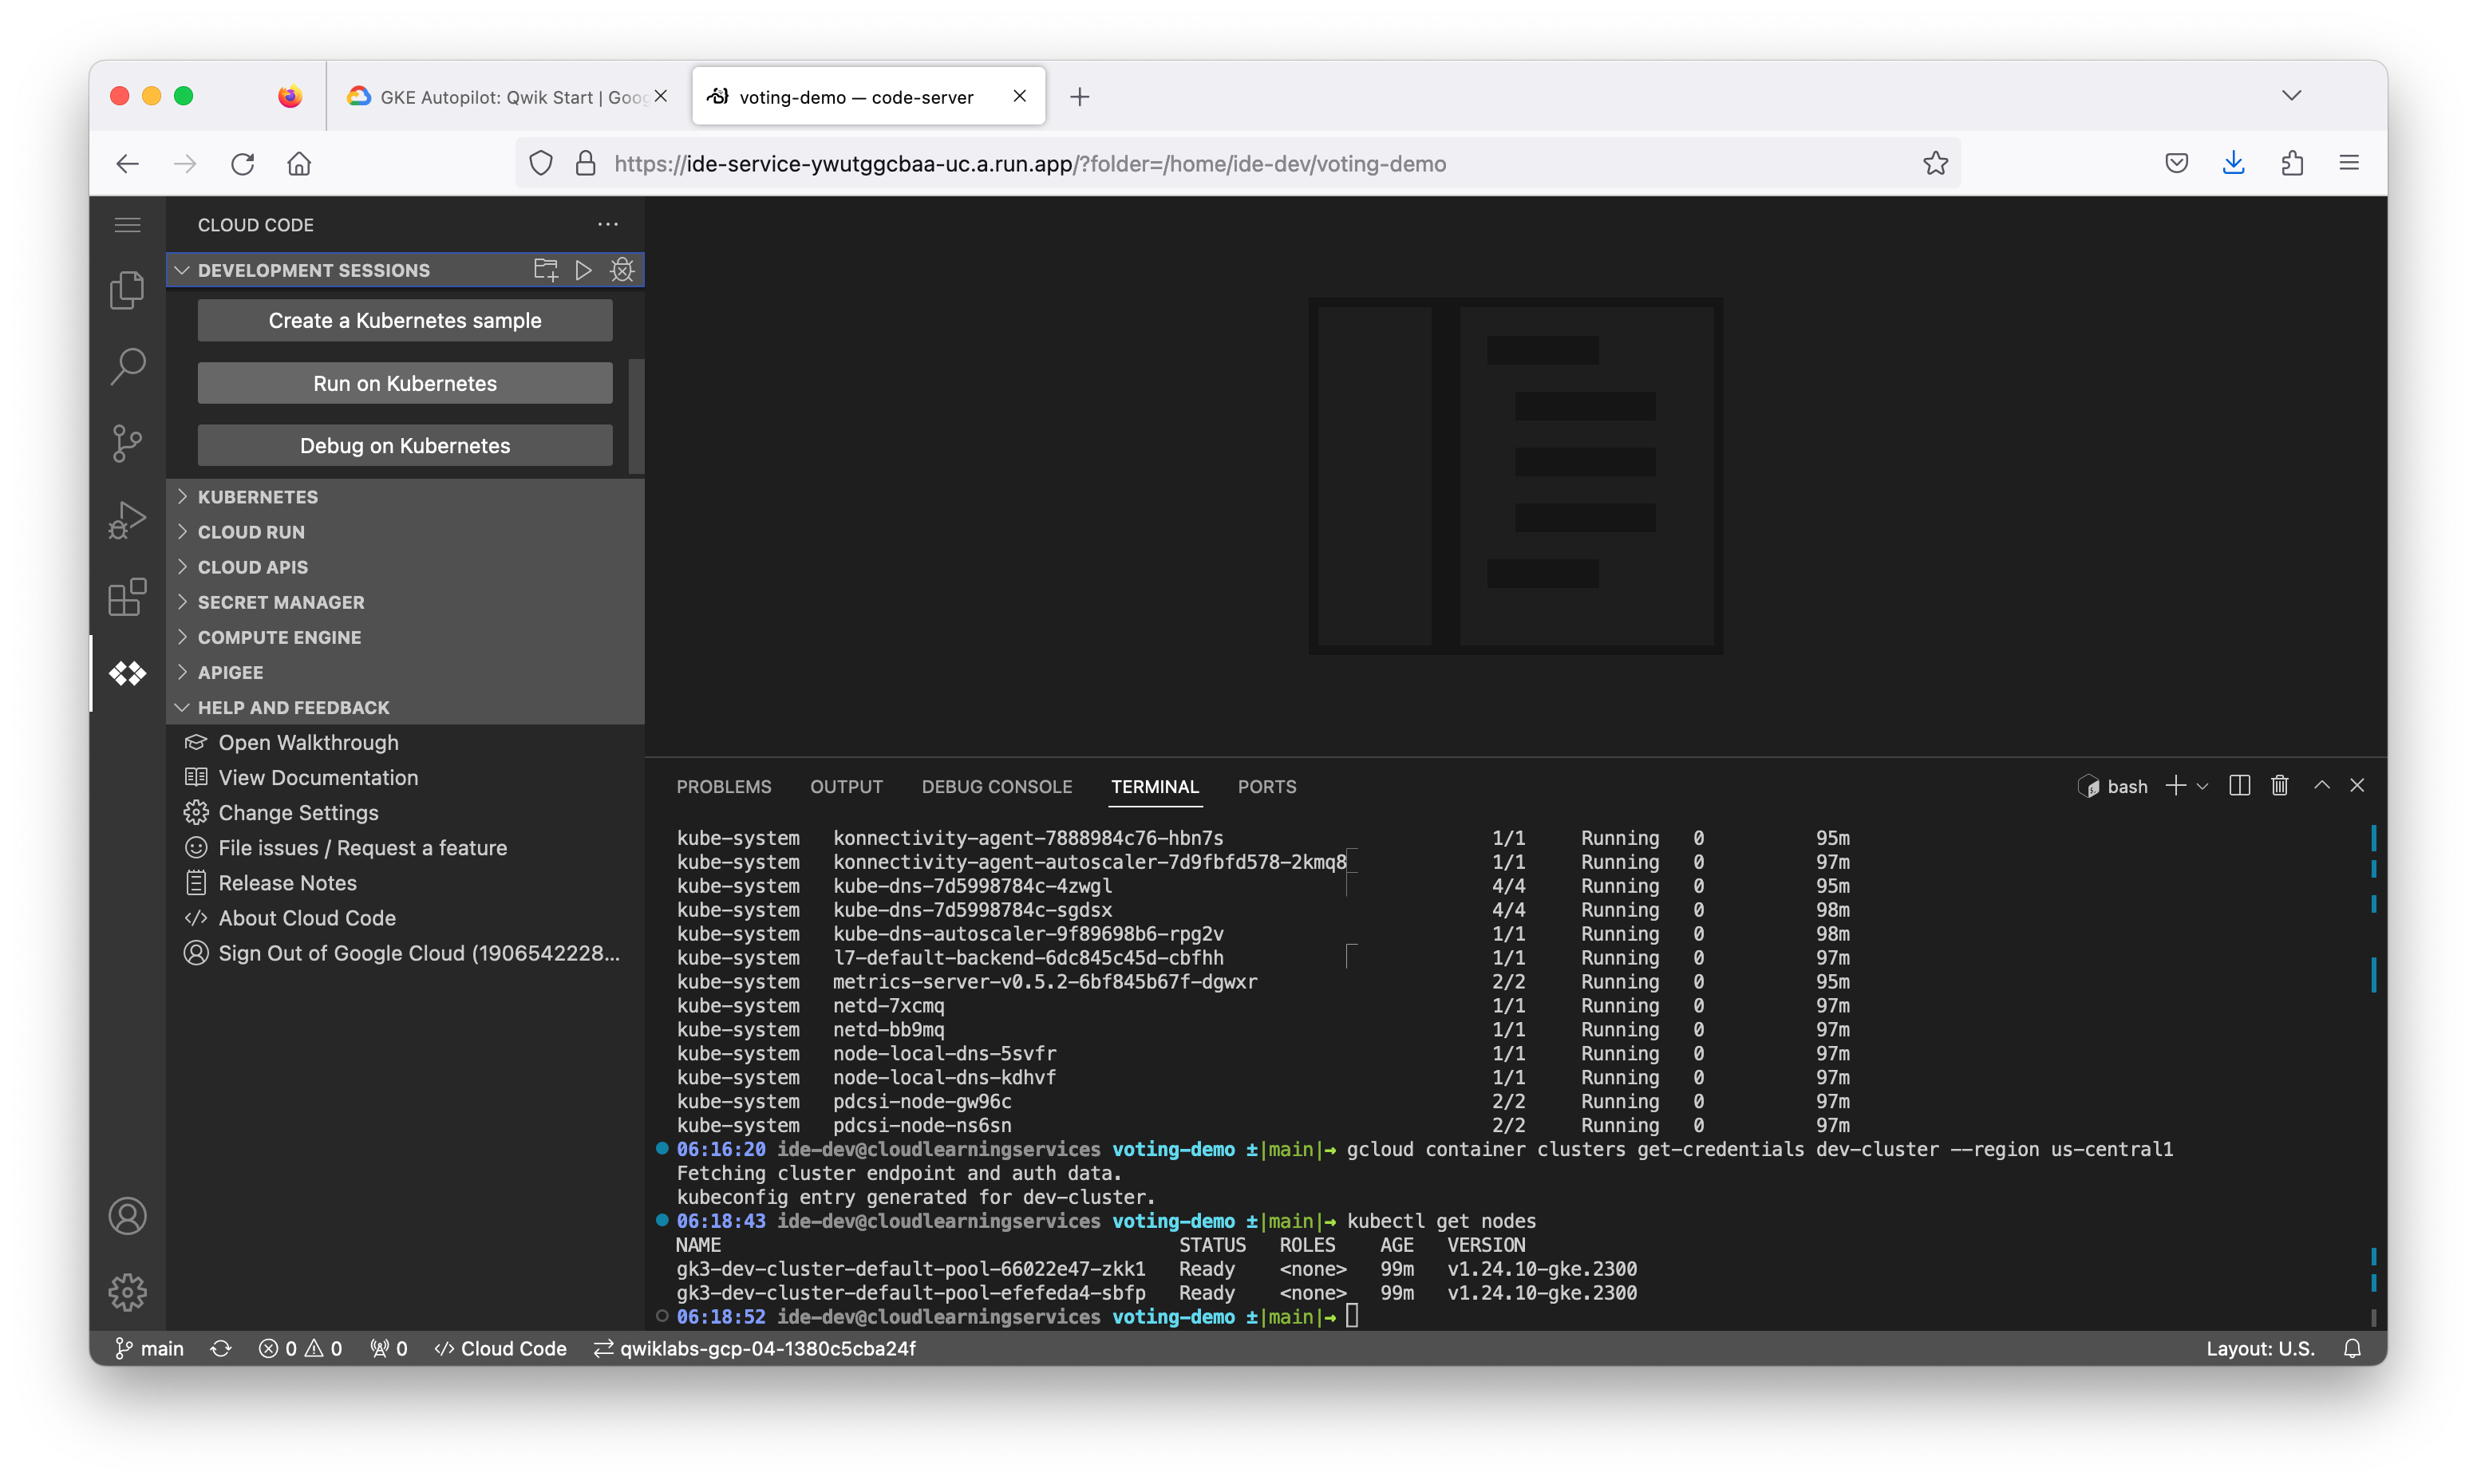
06:15:27 ide-dev@cloudlearningservices voting-demo ±|main|→ gcloud container clusters get-credentials dev-cluster --region us-central1
Fetching cluster endpoint and auth data.
kubeconfig entry generated for dev-cluster.
06:15:36 ide-dev@cloudlearningservices voting-demo ±|main|→ kubectl get nodes
NAME                                         STATUS   ROLES    AGE   VERSION
gk3-dev-cluster-default-pool-66022e47-zkk1   Ready    <none>   97m   v1.24.10-gke.2300
gk3-dev-cluster-default-pool-efefeda4-sbfp   Ready    <none>   96m   v1.24.10-gke.2300
06:16:09 ide-dev@cloudlearningservices voting-demo ±|main|→ kubectl get nodes -o wide
NAME                                         STATUS   ROLES    AGE   VERSION             INTERNAL-IP   EXTERNAL-IP      OS-IMAGE                             KERNEL-VERSION   CONTAINER-RUNTIME
gk3-dev-cluster-default-pool-66022e47-zkk1   Ready    <none>   97m   v1.24.10-gke.2300   10.128.0.3    34.172.109.192   Container-Optimized OS from Google   5.10.162+        containerd://1.6.9
gk3-dev-cluster-default-pool-efefeda4-sbfp   Ready    <none>   97m   v1.24.10-gke.2300   10.128.0.4    35.224.136.177   Container-Optimized OS from Google   5.10.162+        containerd://1.6.9
06:16:14 ide-dev@cloudlearningservices voting-demo ±|main|→ kubectl get pods
No resources found in default namespace.
06:16:18 ide-dev@cloudlearningservices voting-demo ±|main|→ kubectl get pods -A
NAMESPACE     NAME                                                       READY   STATUS    RESTARTS   AGE
kube-system   anetd-rq67j                                                1/1     Running   0          97m
kube-system   anetd-zzdp4                                                1/1     Running   0          97m
kube-system   antrea-controller-horizontal-autoscaler-6fb4bf7847-rphx7   1/1     Running   0          97m
kube-system   egress-nat-controller-5bd498c767-54qk7                     1/1     Running   0          97m
kube-system   event-exporter-gke-857959888b-q54d6                        2/2     Running   0          98m
kube-system   filestore-node-m424c                                       3/3     Running   0          97m
kube-system   filestore-node-qt7n4                                       3/3     Running   0          97m
kube-system   fluentbit-gke-small-879f6                                  2/2     Running   0          97m
kube-system   fluentbit-gke-small-pg6pm                                  2/2     Running   0          97m
kube-system   gke-metadata-server-vsdqx                                  1/1     Running   0          97m
kube-system   gke-metadata-server-xqh4p                                  1/1     Running   0          97m
kube-system   gke-metrics-agent-899dh                                    1/1     Running   0          97m
kube-system   gke-metrics-agent-xckgx                                    1/1     Running   0          97m
kube-system   ip-masq-agent-9r9mc                                        1/1     Running   0          97m
kube-system   ip-masq-agent-m4rl6                                        1/1     Running   0          97m
kube-system   konnectivity-agent-7888984c76-2zksk                        1/1     Running   0          97m
kube-system   konnectivity-agent-7888984c76-hbn7s                        1/1     Running   0          95m
kube-system   konnectivity-agent-autoscaler-7d9fbfd578-2kmq8             1/1     Running   0          97m
kube-system   kube-dns-7d5998784c-4zwgl                                  4/4     Running   0          95m
kube-system   kube-dns-7d5998784c-sgdsx                                  4/4     Running   0          98m
kube-system   kube-dns-autoscaler-9f89698b6-rpg2v                        1/1     Running   0          98m
kube-system   l7-default-backend-6dc845c45d-cbfhh                        1/1     Running   0          97m
kube-system   metrics-server-v0.5.2-6bf845b67f-dgwxr                     2/2     Running   0          95m
kube-system   netd-7xcmq                                                 1/1     Running   0          97m
kube-system   netd-bb9mq                                                 1/1     Running   0          97m
kube-system   node-local-dns-5svfr                                       1/1     Running   0          97m
kube-system   node-local-dns-kdhvf                                       1/1     Running   0          97m
kube-system   pdcsi-node-gw96c                                           2/2     Running   0          97m
kube-system   pdcsi-node-ns6sn                                           2/2     Running   0          97m
06:16:20 ide-dev@cloudlearningservices voting-demo ±|main|→
student_02_b8fe42cd78f0@cs-387634525690-default:~$ kubectl config view
apiVersion: v1
clusters:
- cluster:
    certificate-authority-data: DATA+OMITTED
    server: https://35.202.12.190
  name: gke_qwiklabs-gcp-04-1380c5cba24f_us-central1_dev-cluster
contexts:
- context:
    cluster: gke_qwiklabs-gcp-04-1380c5cba24f_us-central1_dev-cluster
    user: gke_qwiklabs-gcp-04-1380c5cba24f_us-central1_dev-cluster
  name: gke_qwiklabs-gcp-04-1380c5cba24f_us-central1_dev-cluster
current-context: gke_qwiklabs-gcp-04-1380c5cba24f_us-central1_dev-cluster
kind: Config
preferences: {}
users:
- name: gke_qwiklabs-gcp-04-1380c5cba24f_us-central1_dev-cluster
  user:
    exec:
      apiVersion: client.authentication.k8s.io/v1beta1
      args: null
      command: gke-gcloud-auth-plugin
      env: null
      installHint: Install gke-gcloud-auth-plugin for use with kubectl by following
        https://cloud.google.com/blog/products/containers-kubernetes/kubectl-auth-changes-in-gke
      interactiveMode: IfAvailable
      provideClusterInfo: true
student_02_b8fe42cd78f0@cs-387634525690-default:~$
Task 4. Build and deploy the app
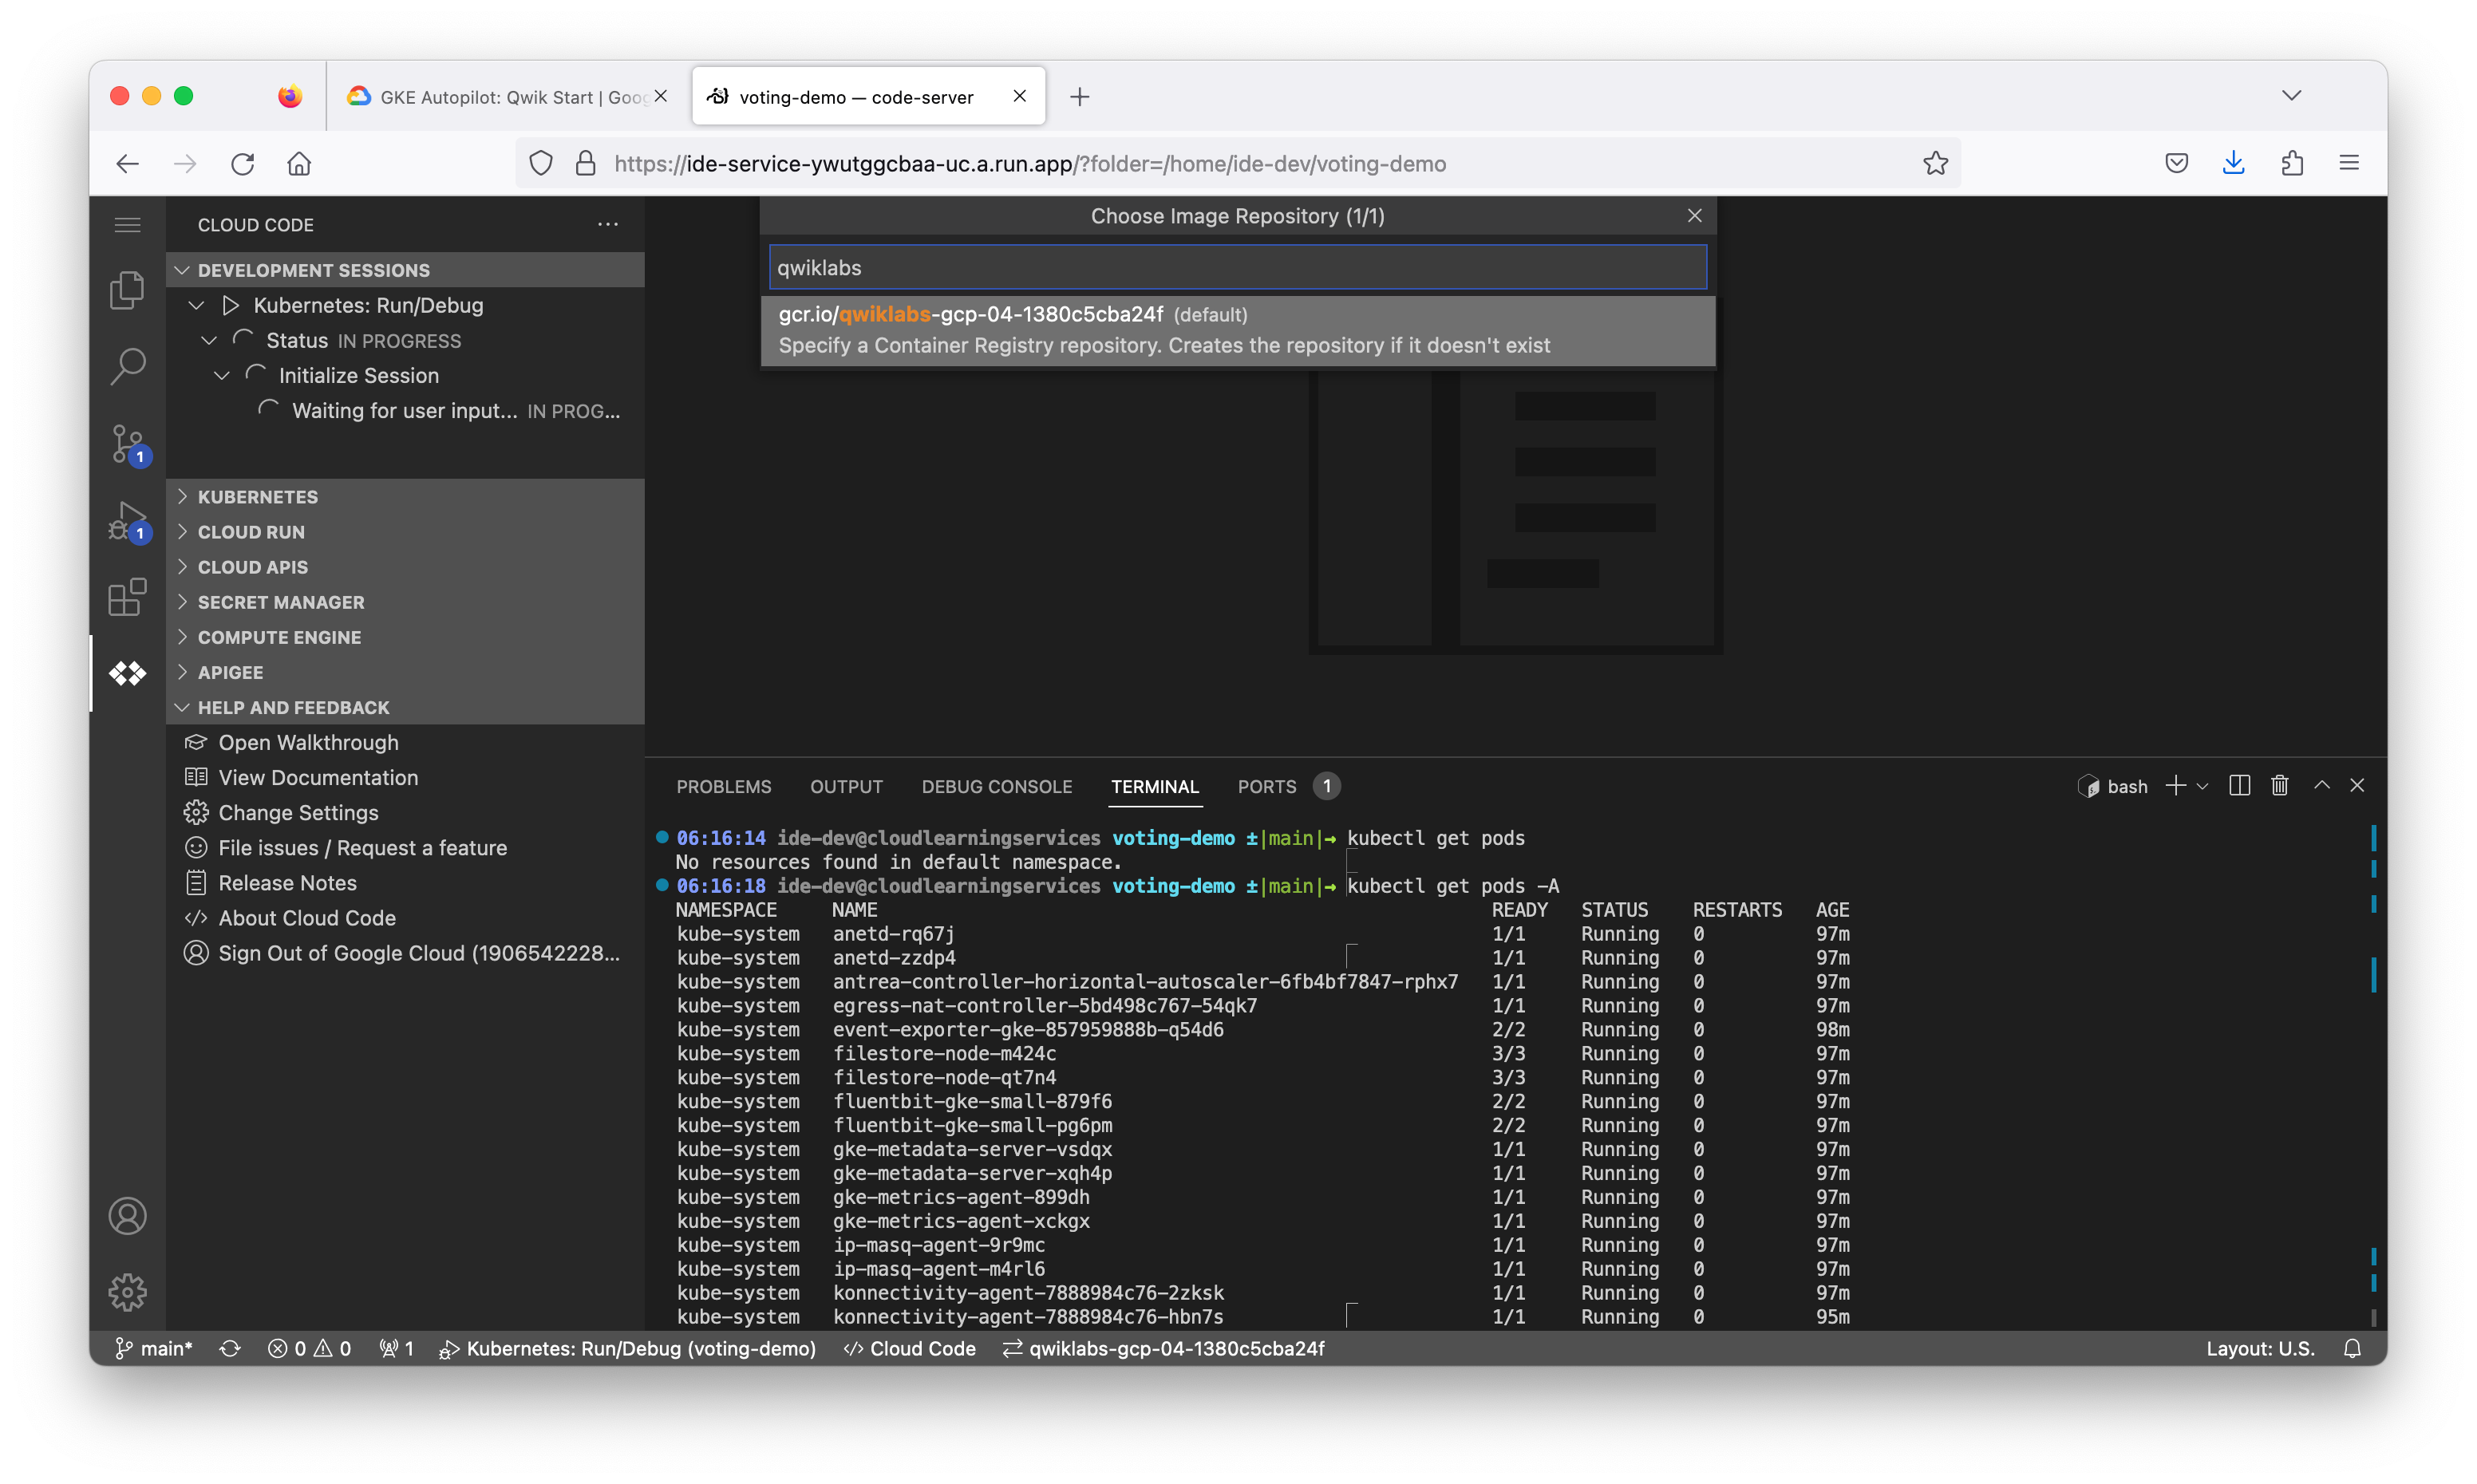
Before we can deploy an application, we need a container for our application. In this environment, you will utilize a skaffold manifest which builds the web and vote containers to google container registry and then deploys your application’s Kubernetes manifests which use these container images.
- Select the Cloud Code button from the left side panel.
- Click the Development Sessions tab from the list of options.
- Click the Run on Kubernetes button.
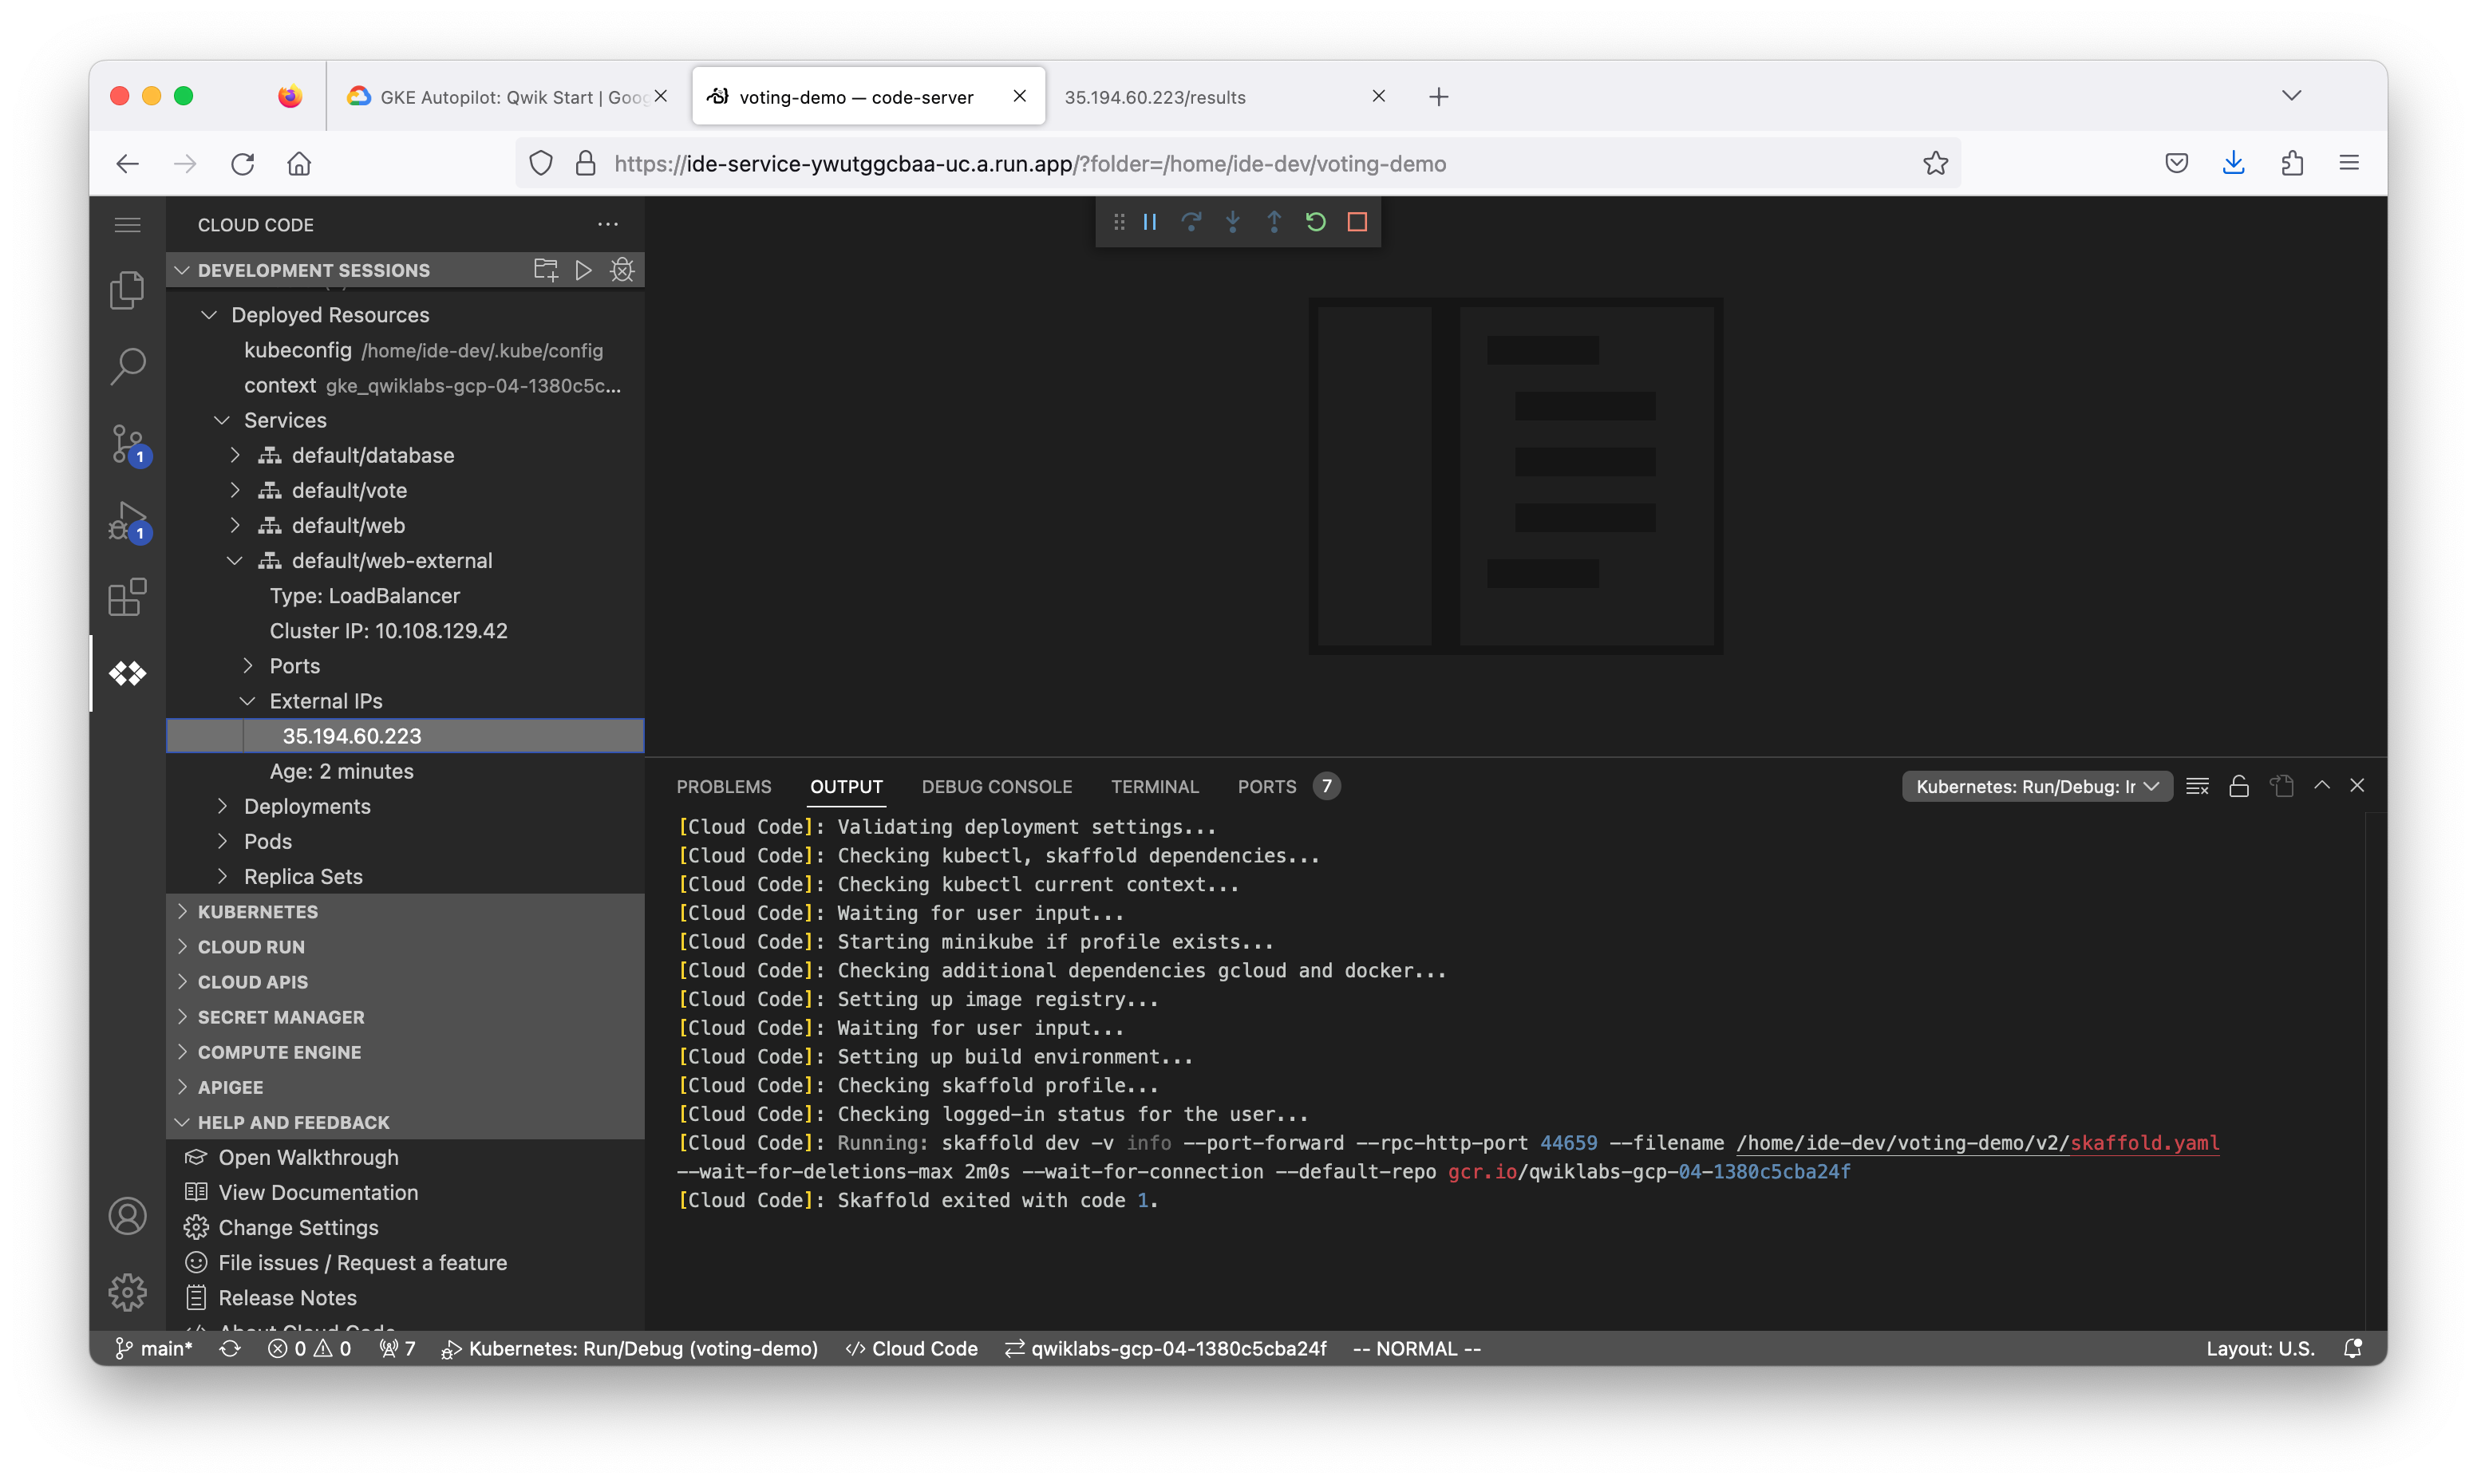
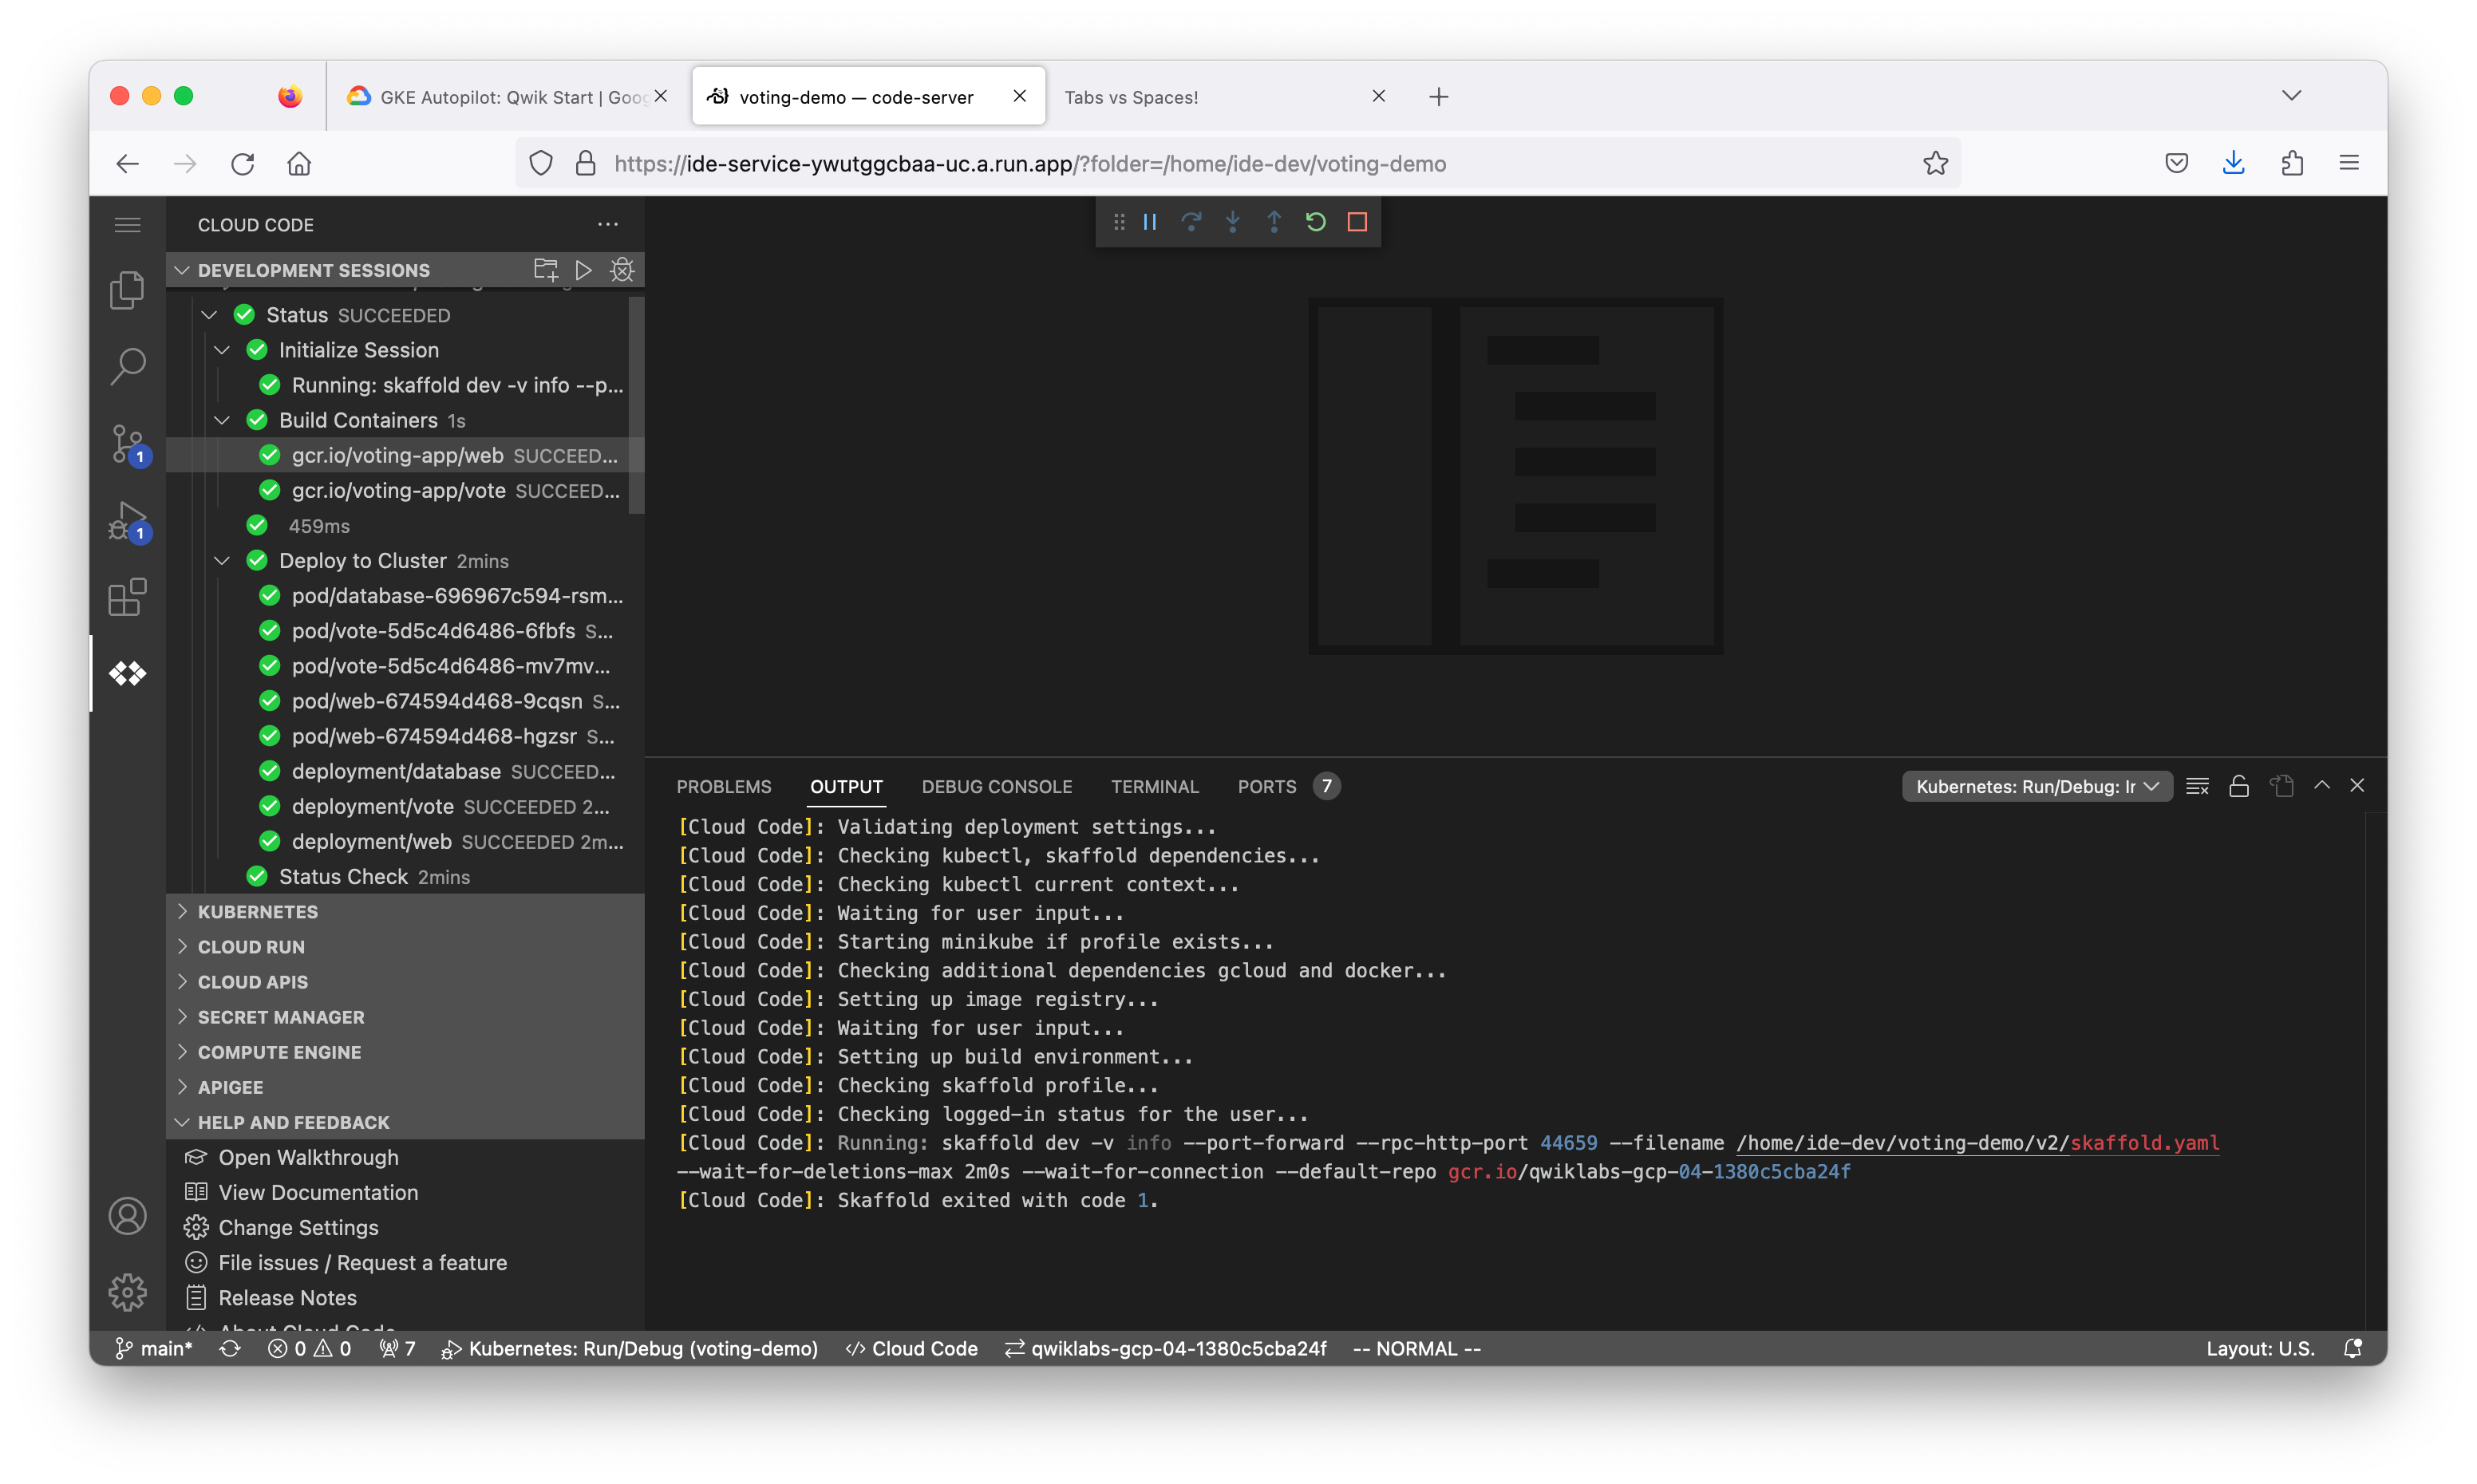
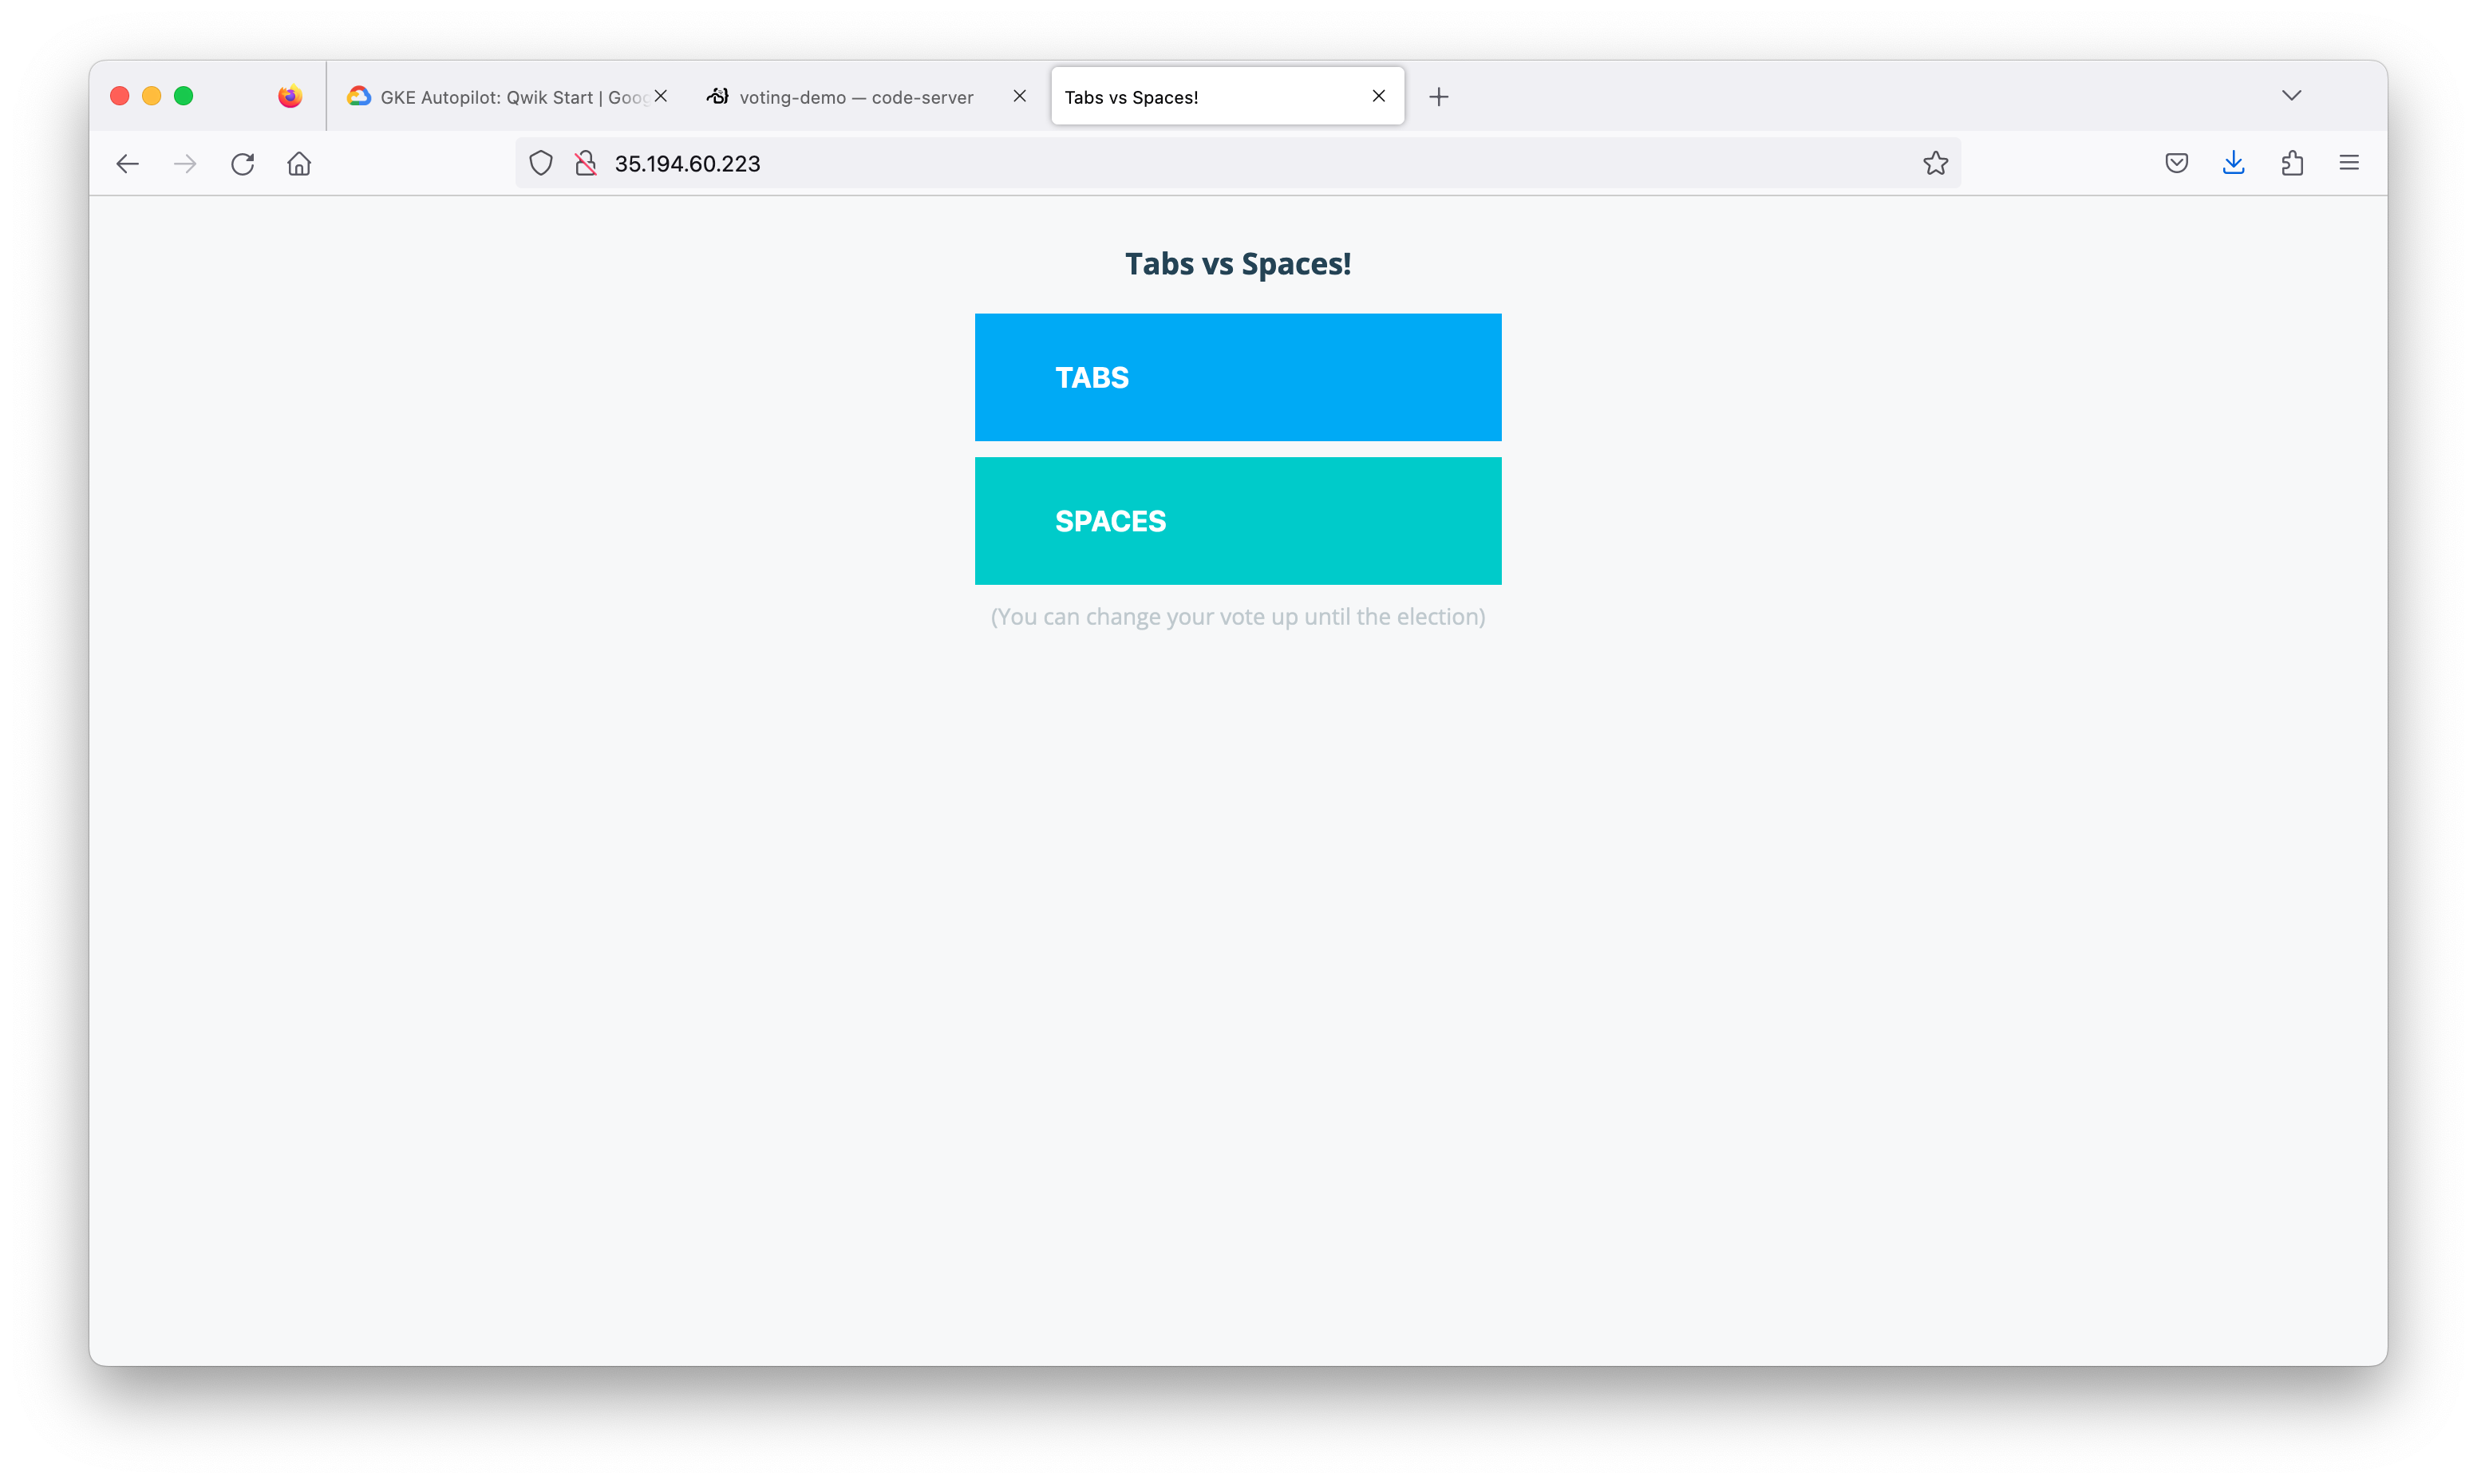
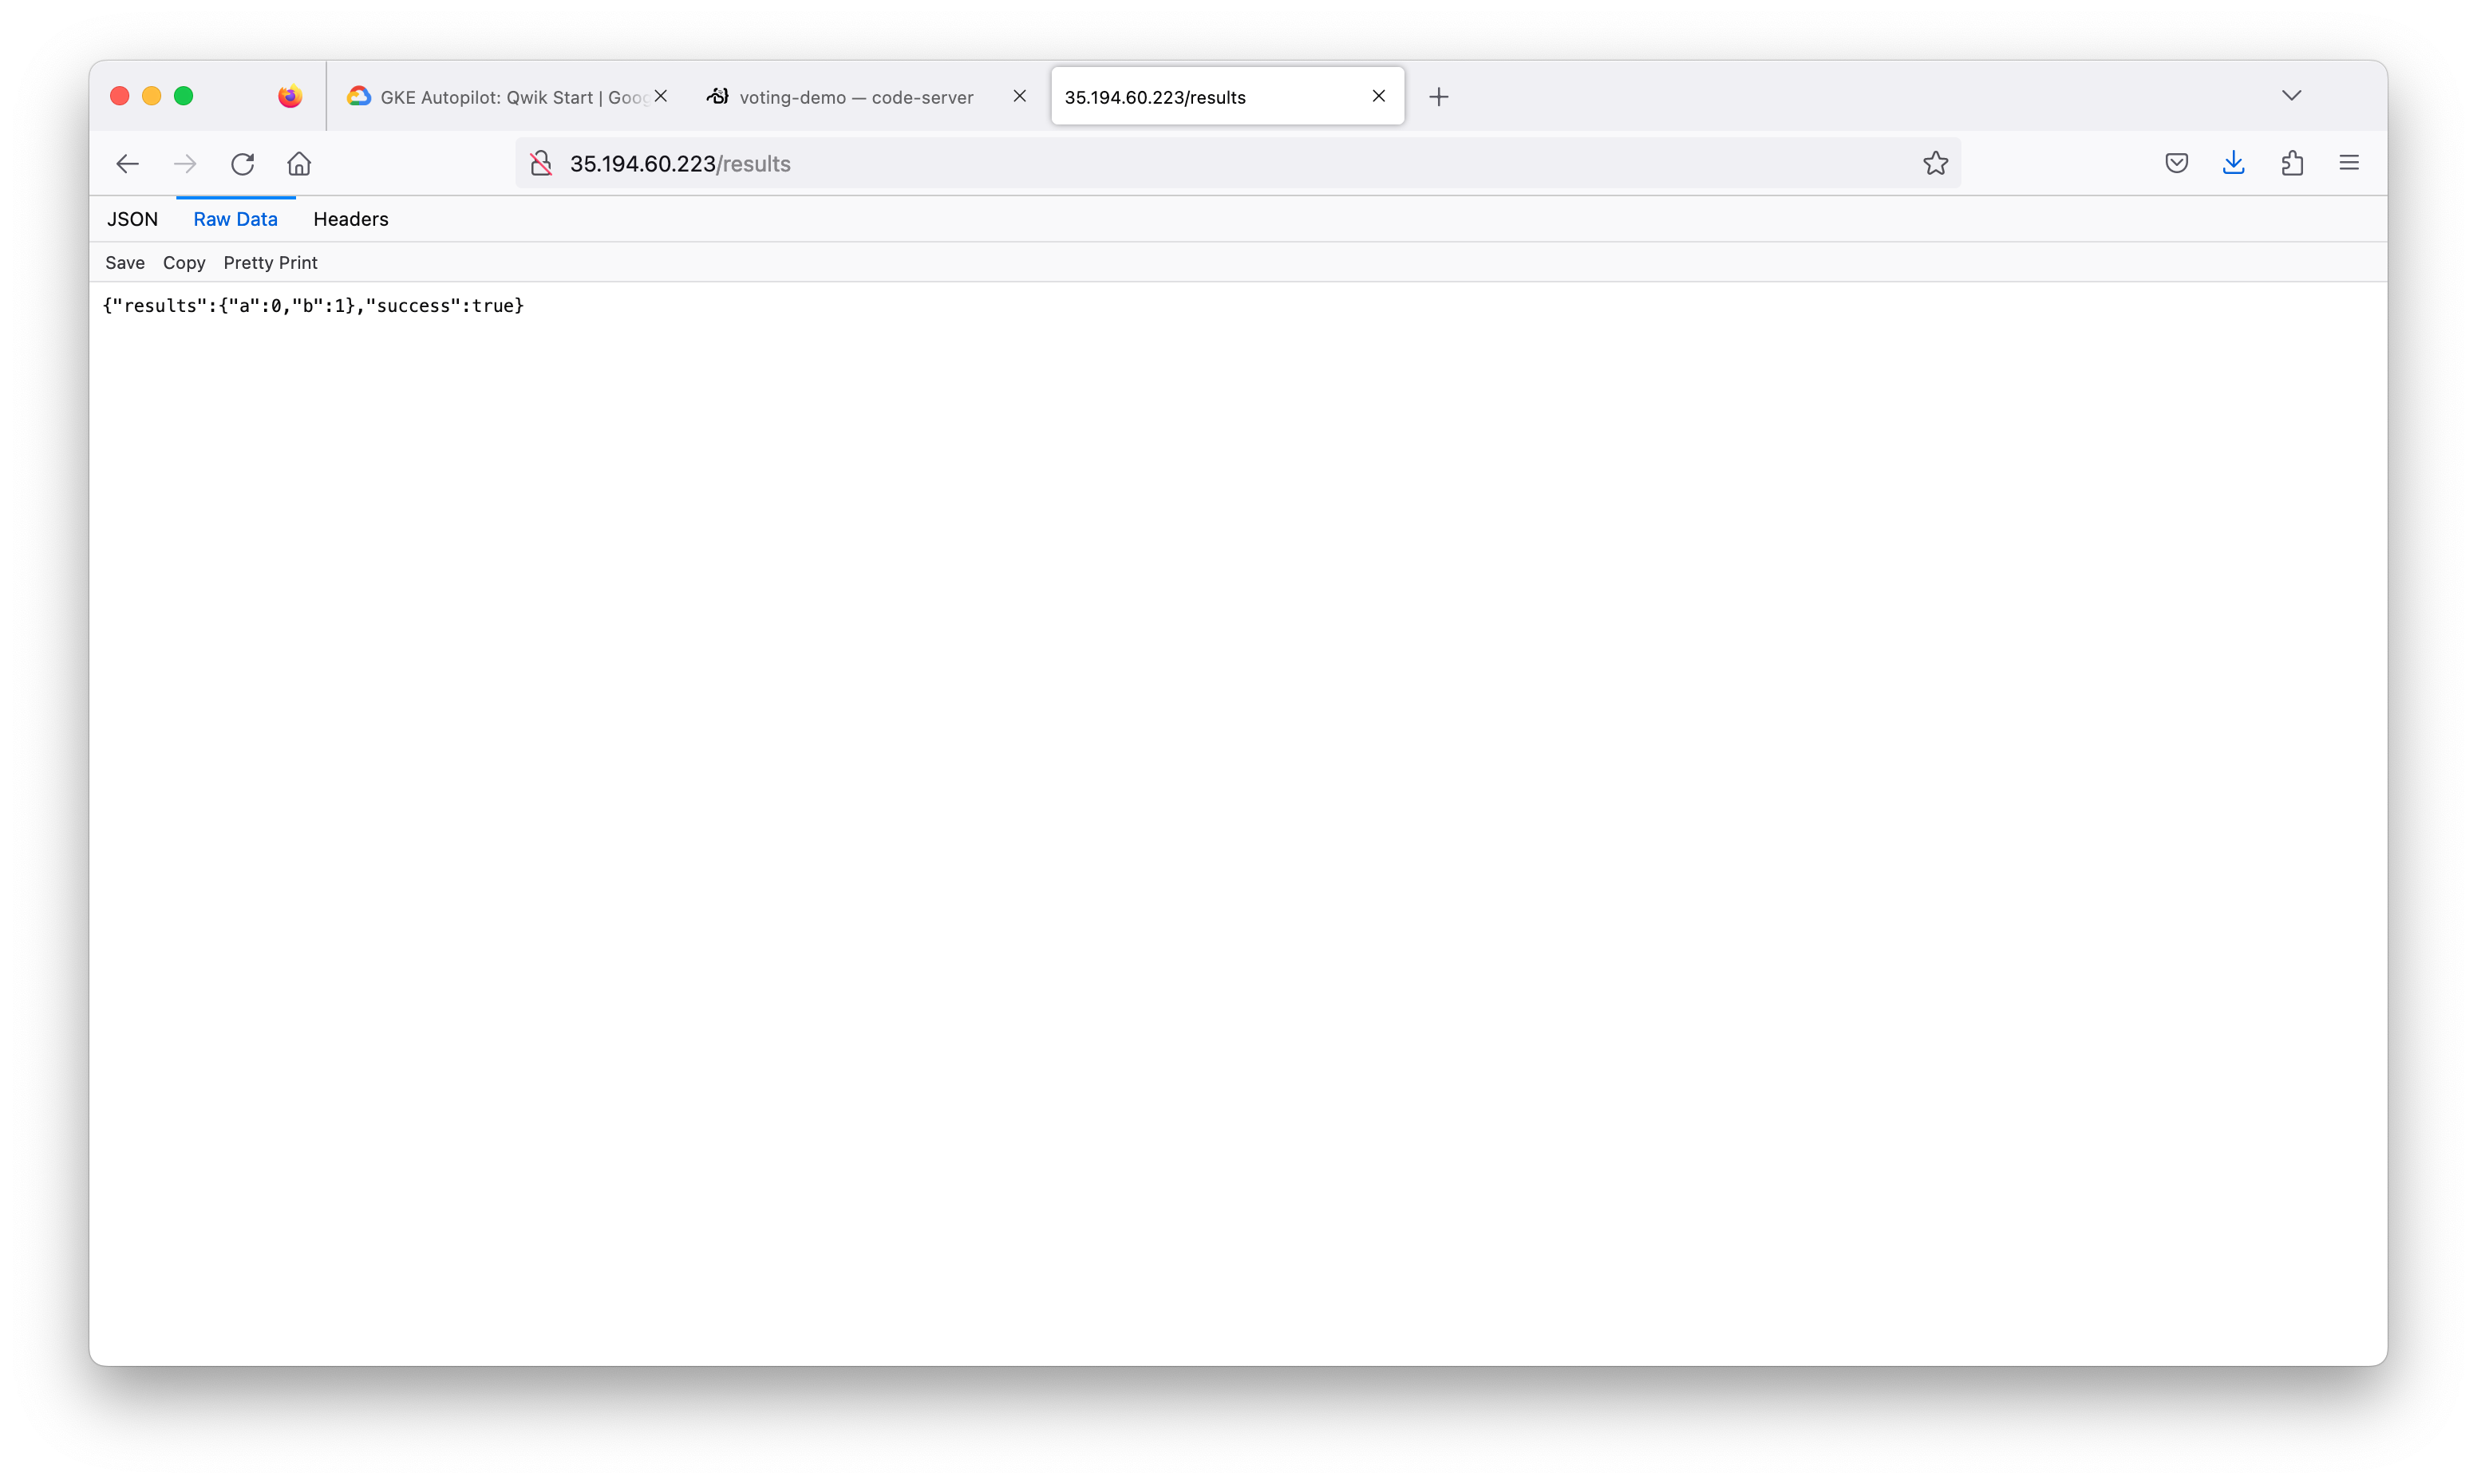
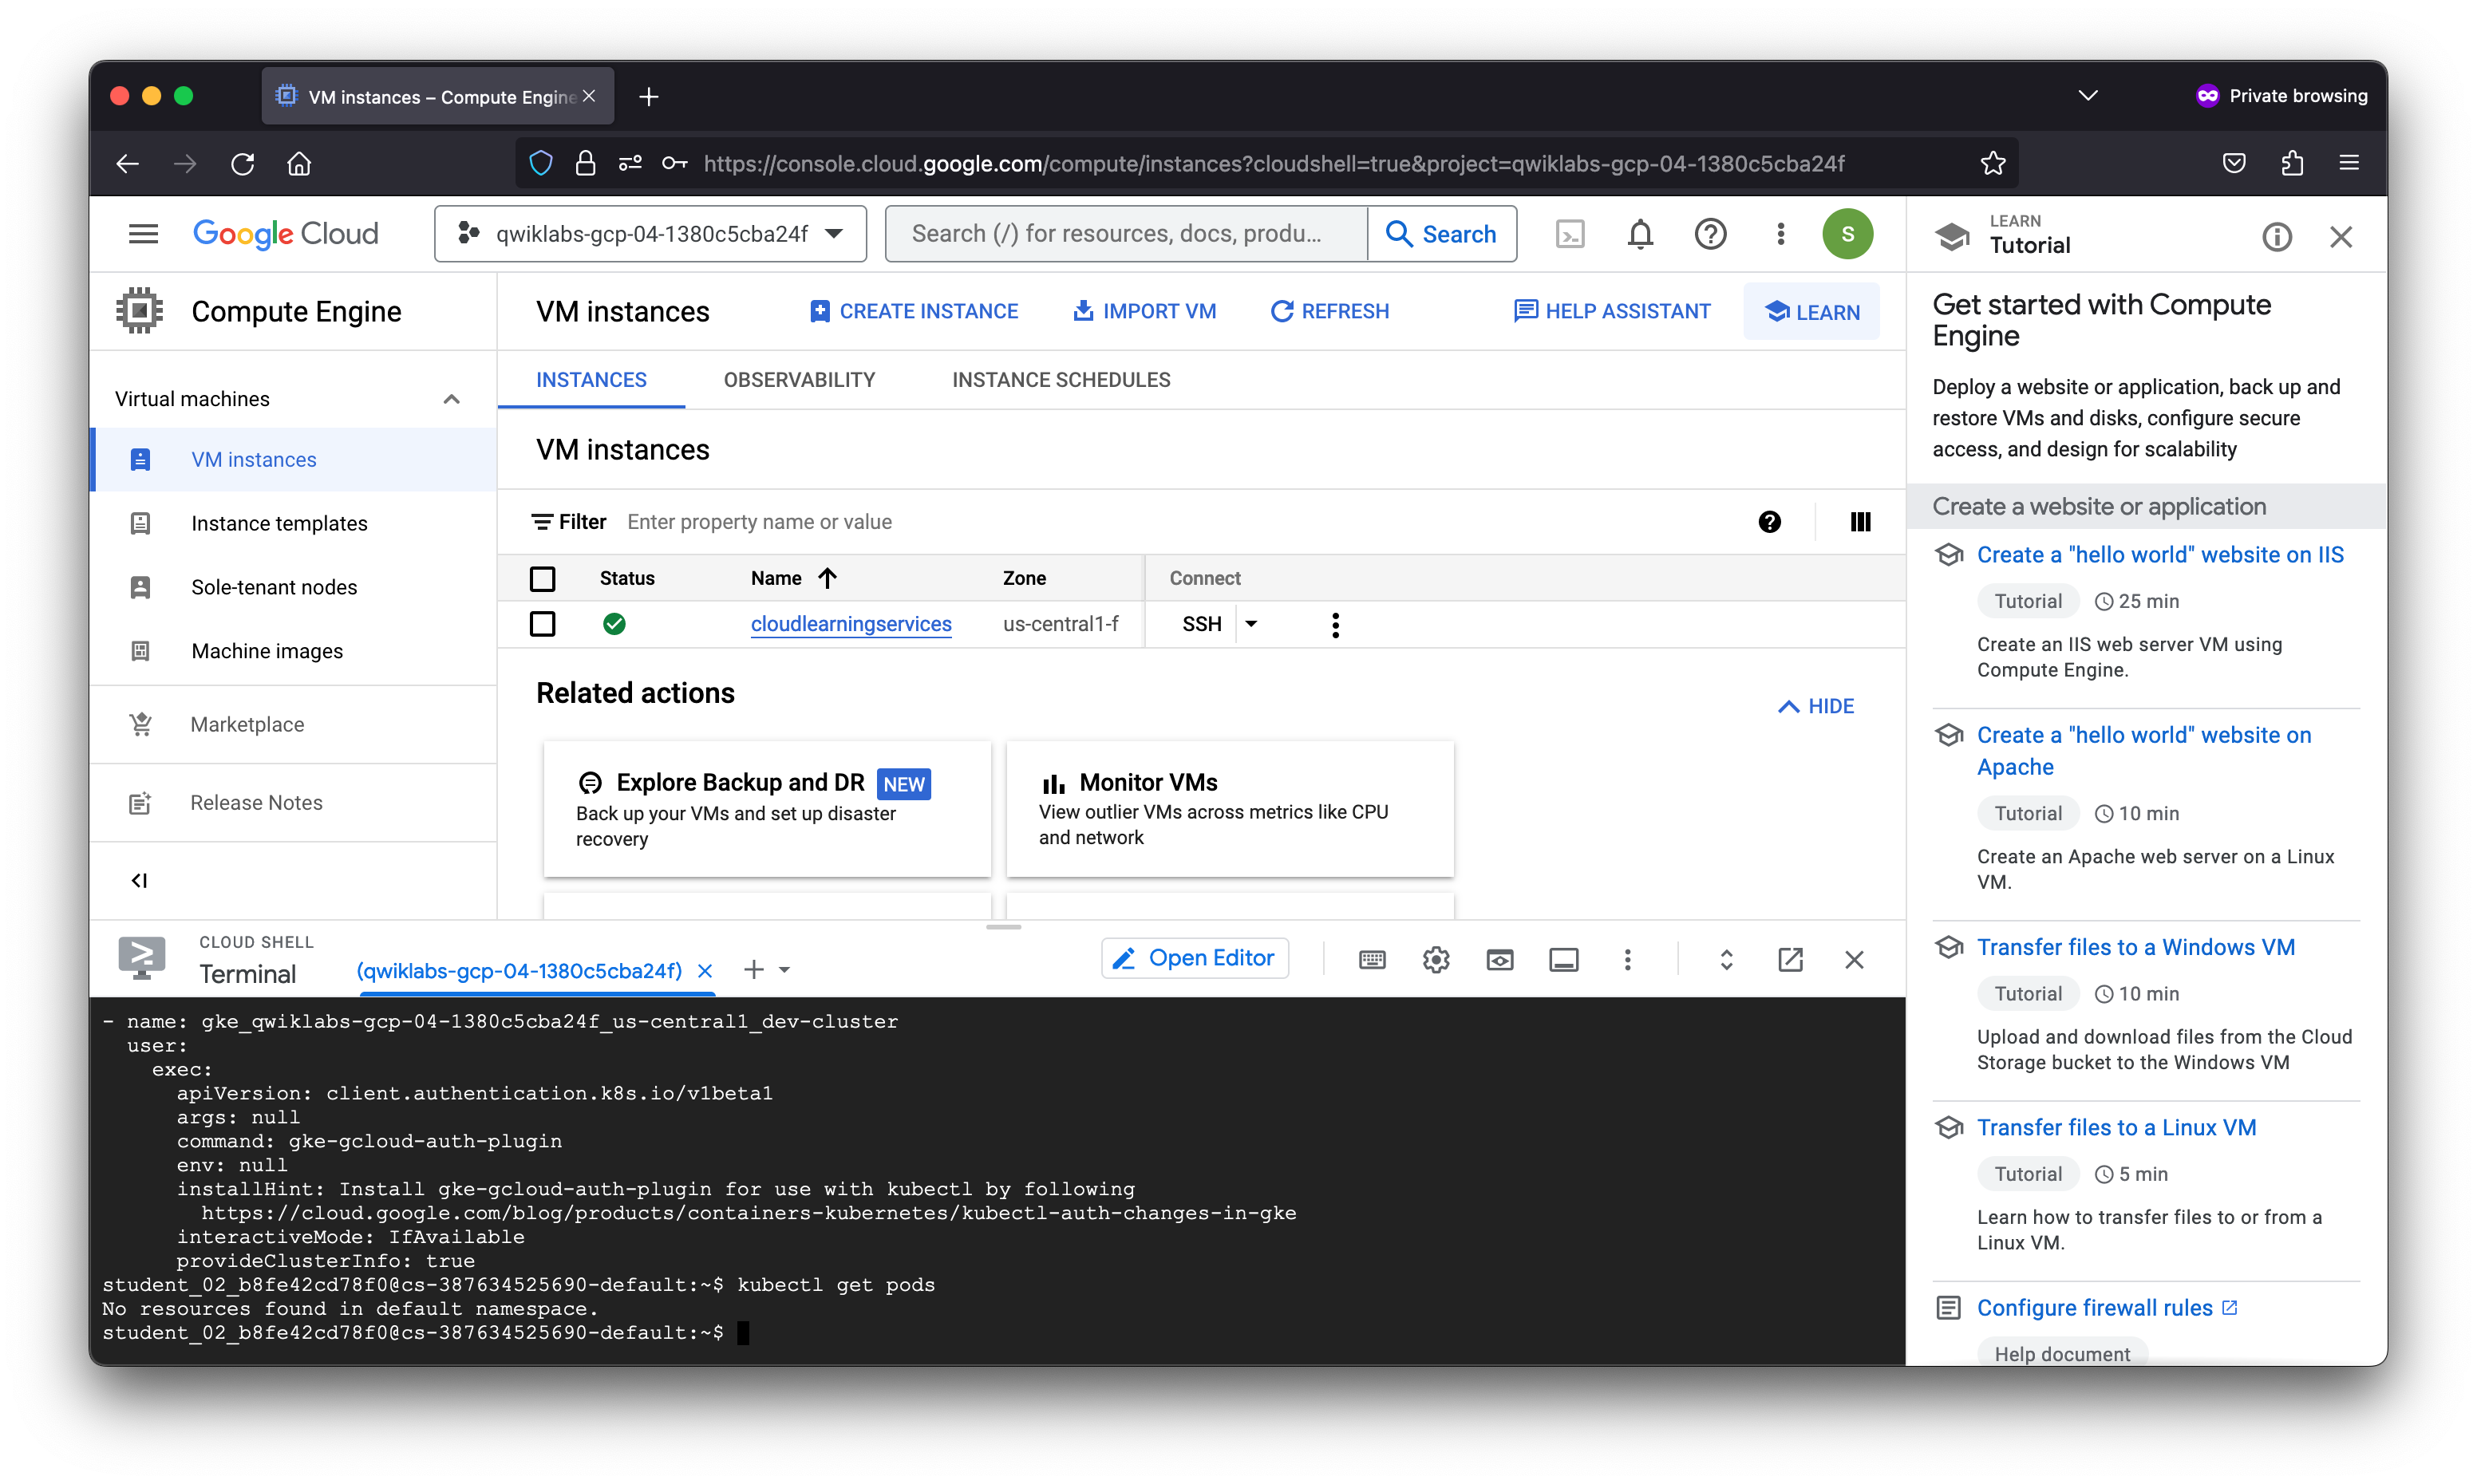
Great job! You now have your voting application deployed to a cluster. GKE Autopilot has taken care of the management of the Kubernetes infrastructure.
Congratulations!
You have just deployed a containerized application to Kubernetes Engine! In this lab you have performed the following tasks:
- Cloned an external public repository
- Update the KubeConfig to point to our GKE Autopilot cluster
- Used Skaffold to create a remote container image without needing to install software
- Deployed a container to the GKE Autopilot cluster
- Tested the application using HTTP
- Cleaned up existing resources
