
Getting Started with Google Cloud—Containers
Containers in the Cloud
- Introduction to containers
- Kubernetes
- Google Kubernetes Engine
- Hybrid and multi-cloud
- Anthos
- Getting Started with GKE Lab
Use the Google Cloud Console to build and manipulate GKE clusters
Use the Google Cloud Console to deploy a Pod
Use the Google Cloud Console to examine the cluster and Pods
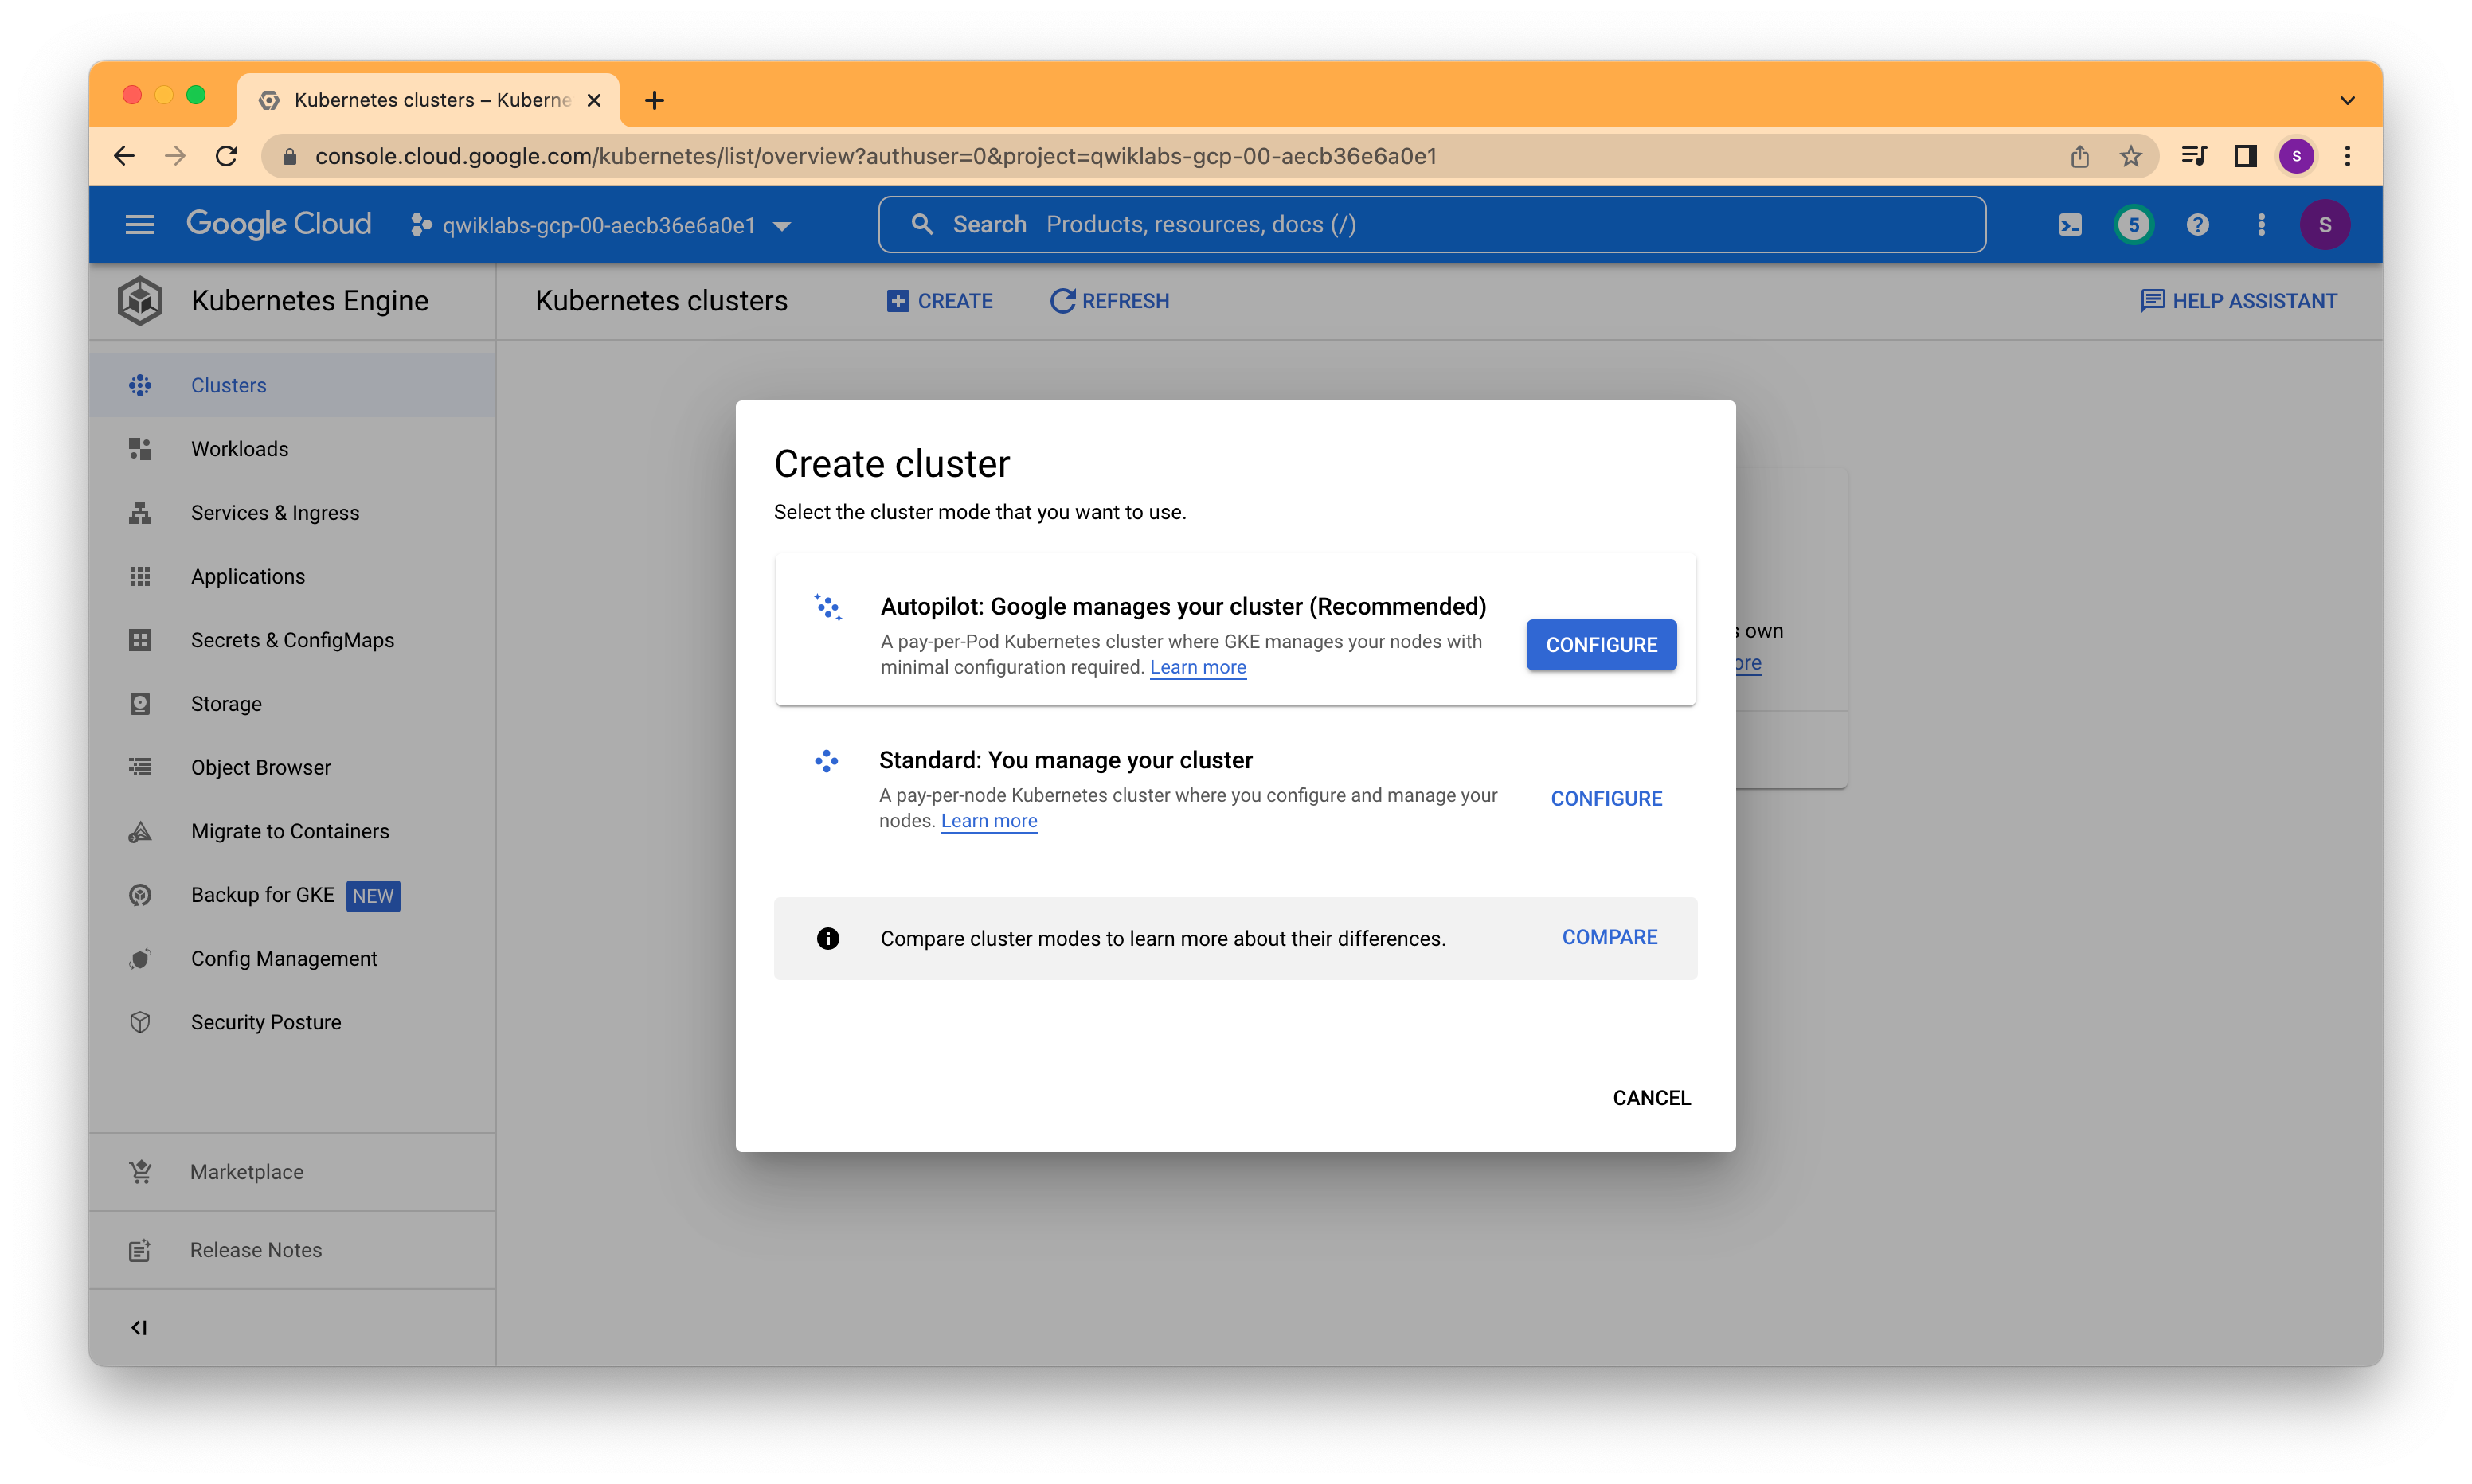
Use the Google Cloud Console to deploy a GKE cluster In the Google Cloud Console, on the Navigation menu (Navigation menu icon), click Kubernetes Engine > Clusters.
Click Create to begin creating a GKE cluster. Click configure for Standard: You manage your cluster.
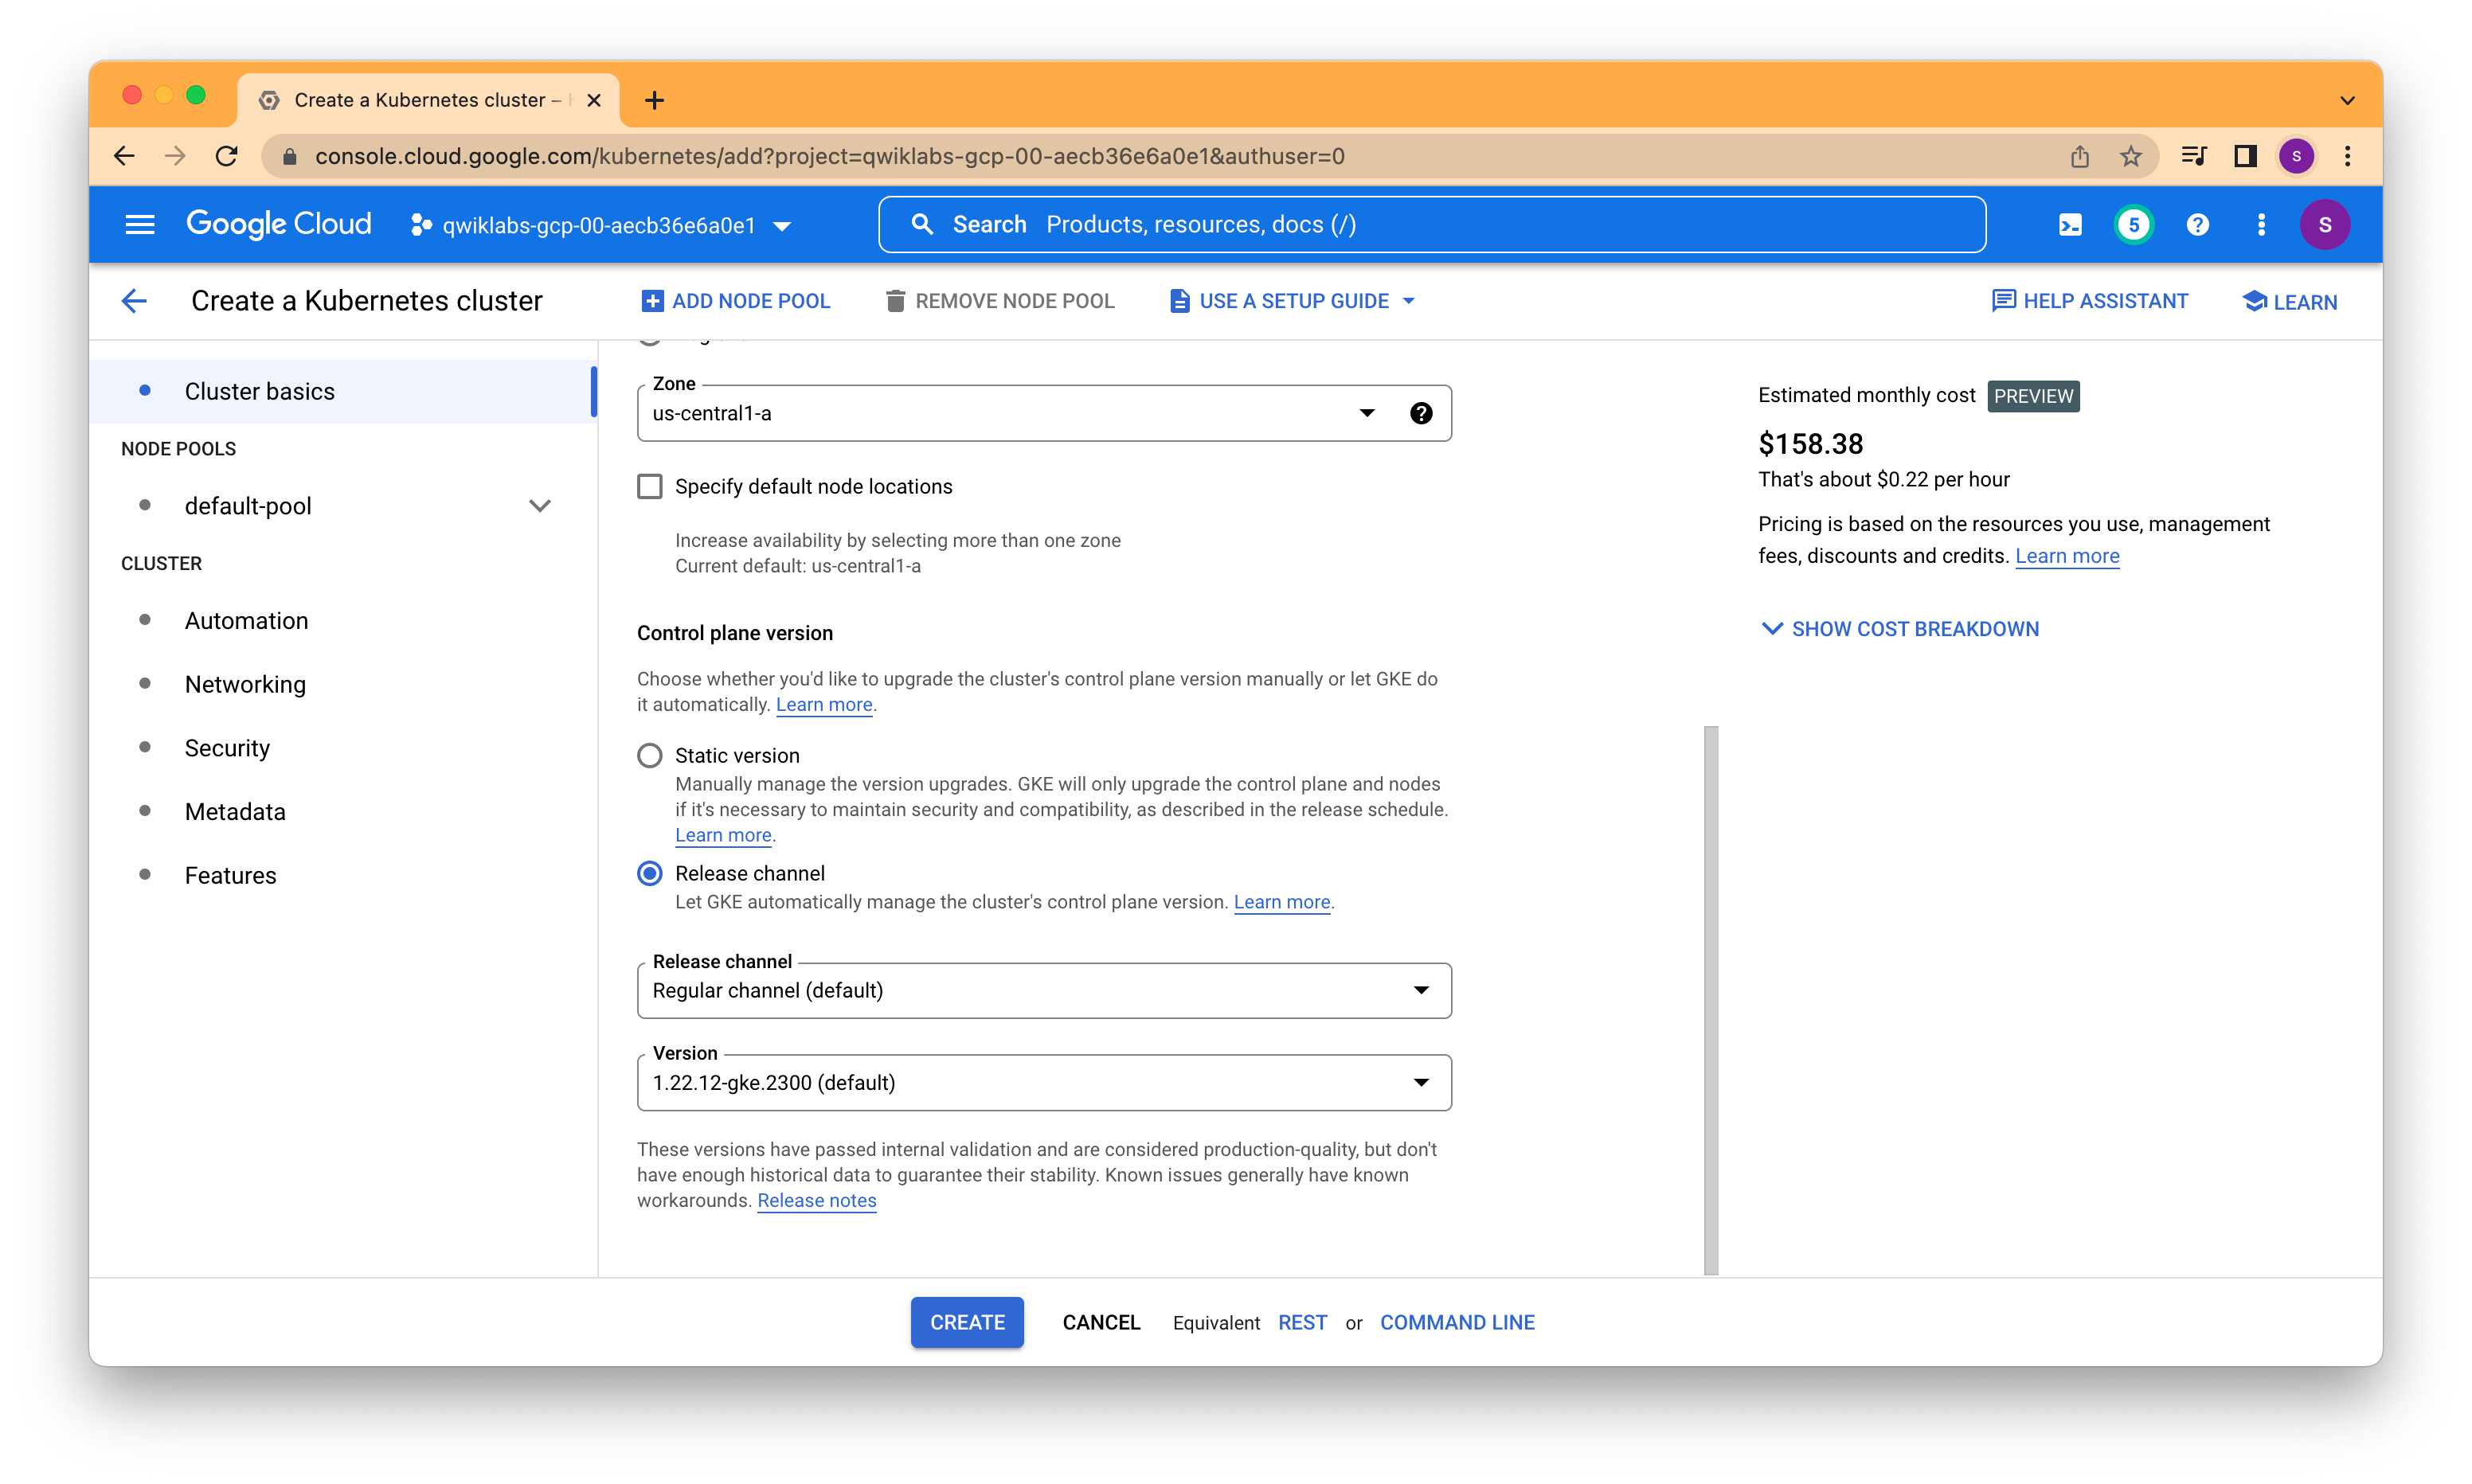
Examine the console UI and the controls to change the cluster name, the cluster location, Kubernetes version, the number of nodes, and the node resources such as the machine type in the default node pool.
Clusters can be created across a region or in a single zone. A single zone is the default. When you deploy across a region the nodes are deployed to three separate zones and the total number of nodes deployed will be three times higher.
Change the cluster name to standard-cluster-1 and zone to us-central1-a. Leave all the values at their defaults and click Create.
The cluster begins provisioning.

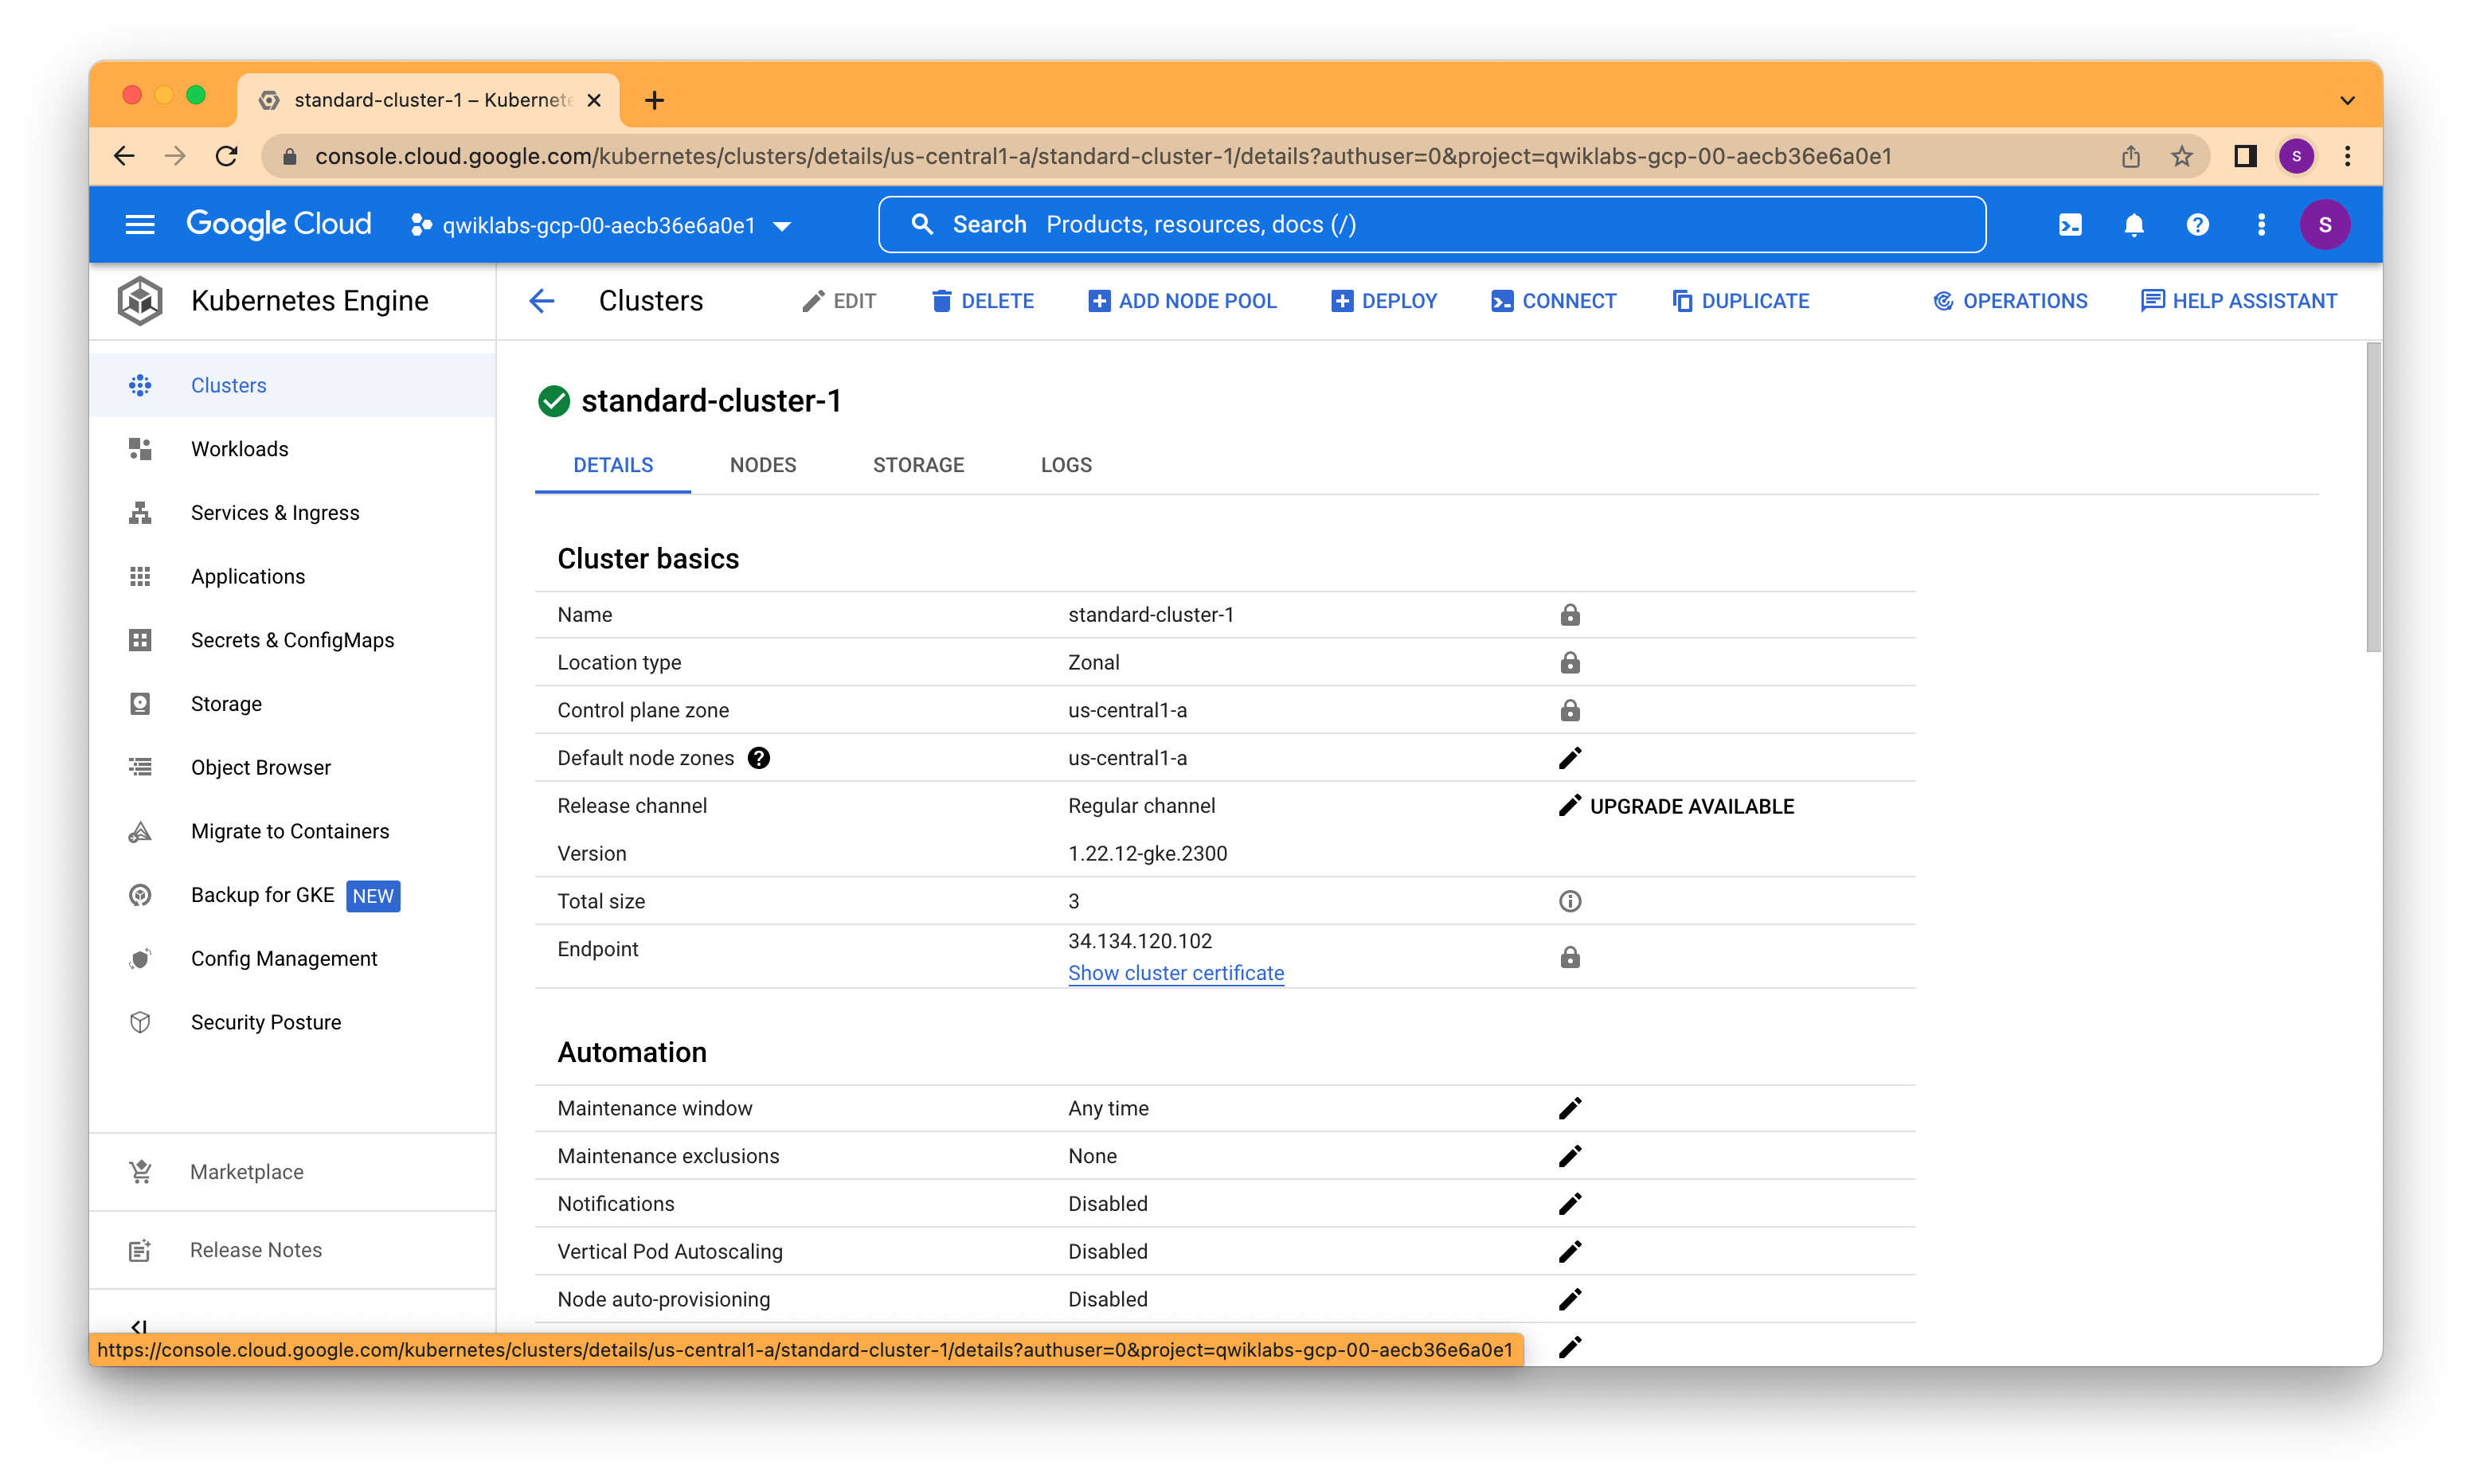
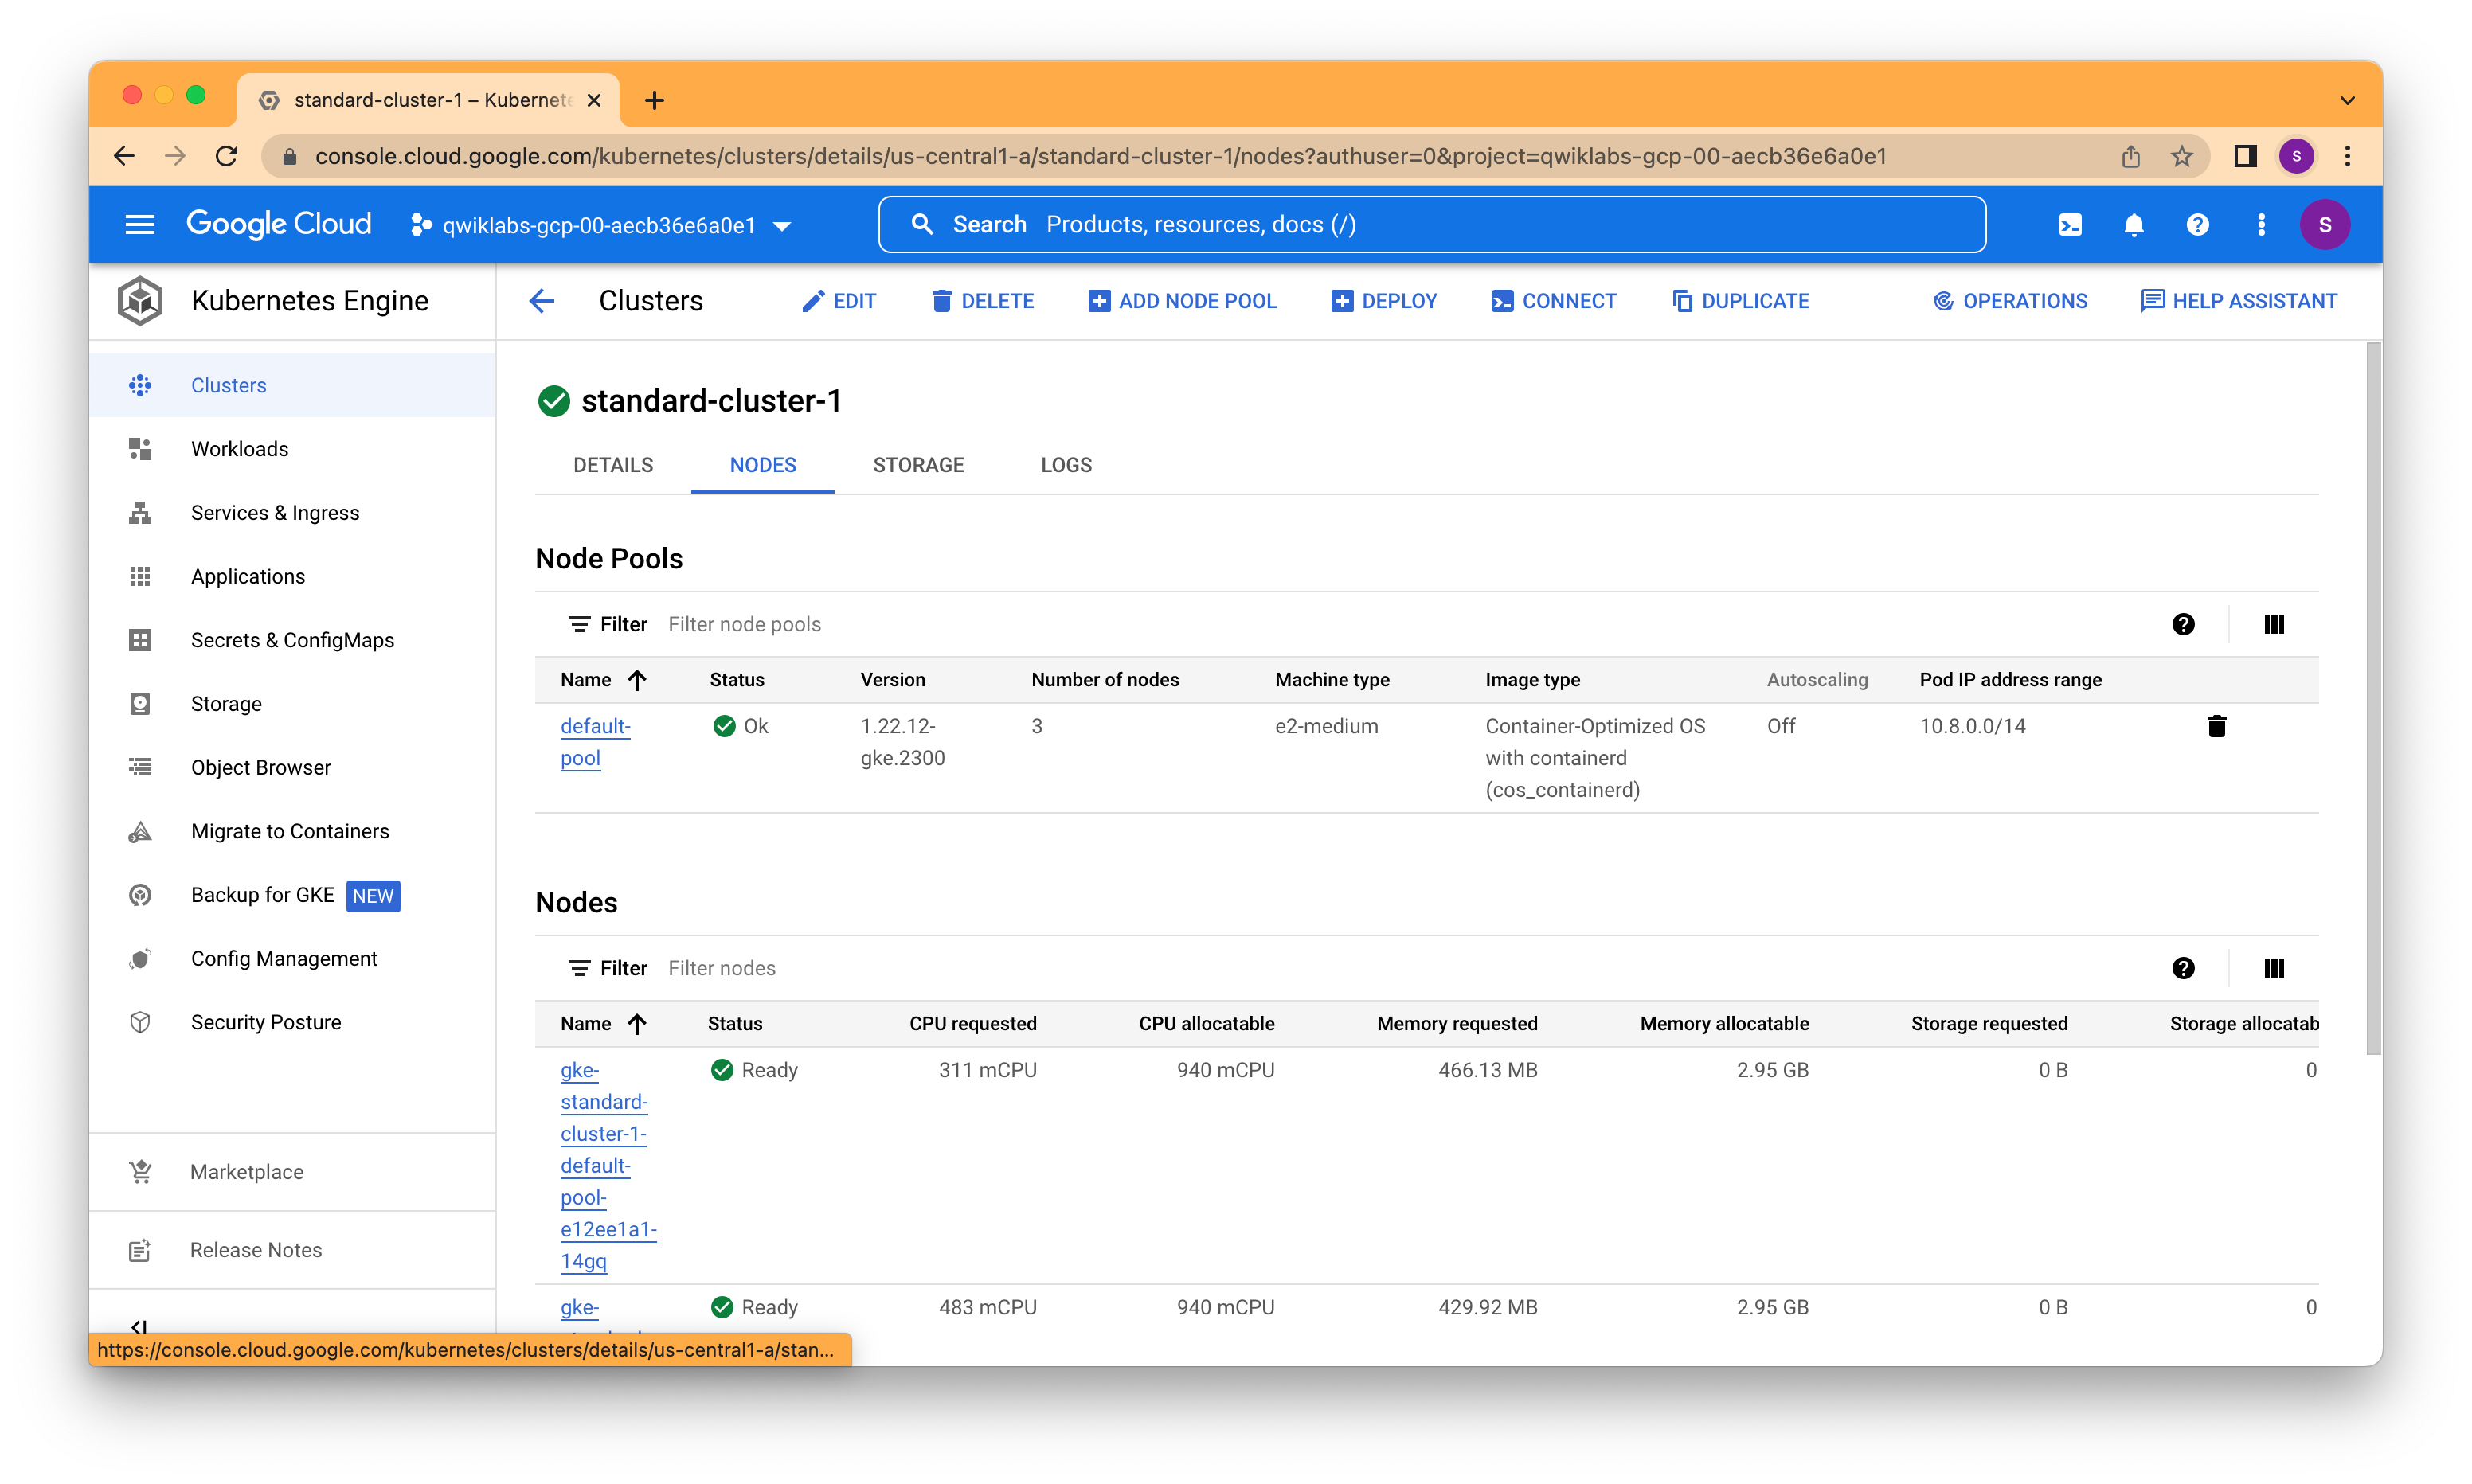
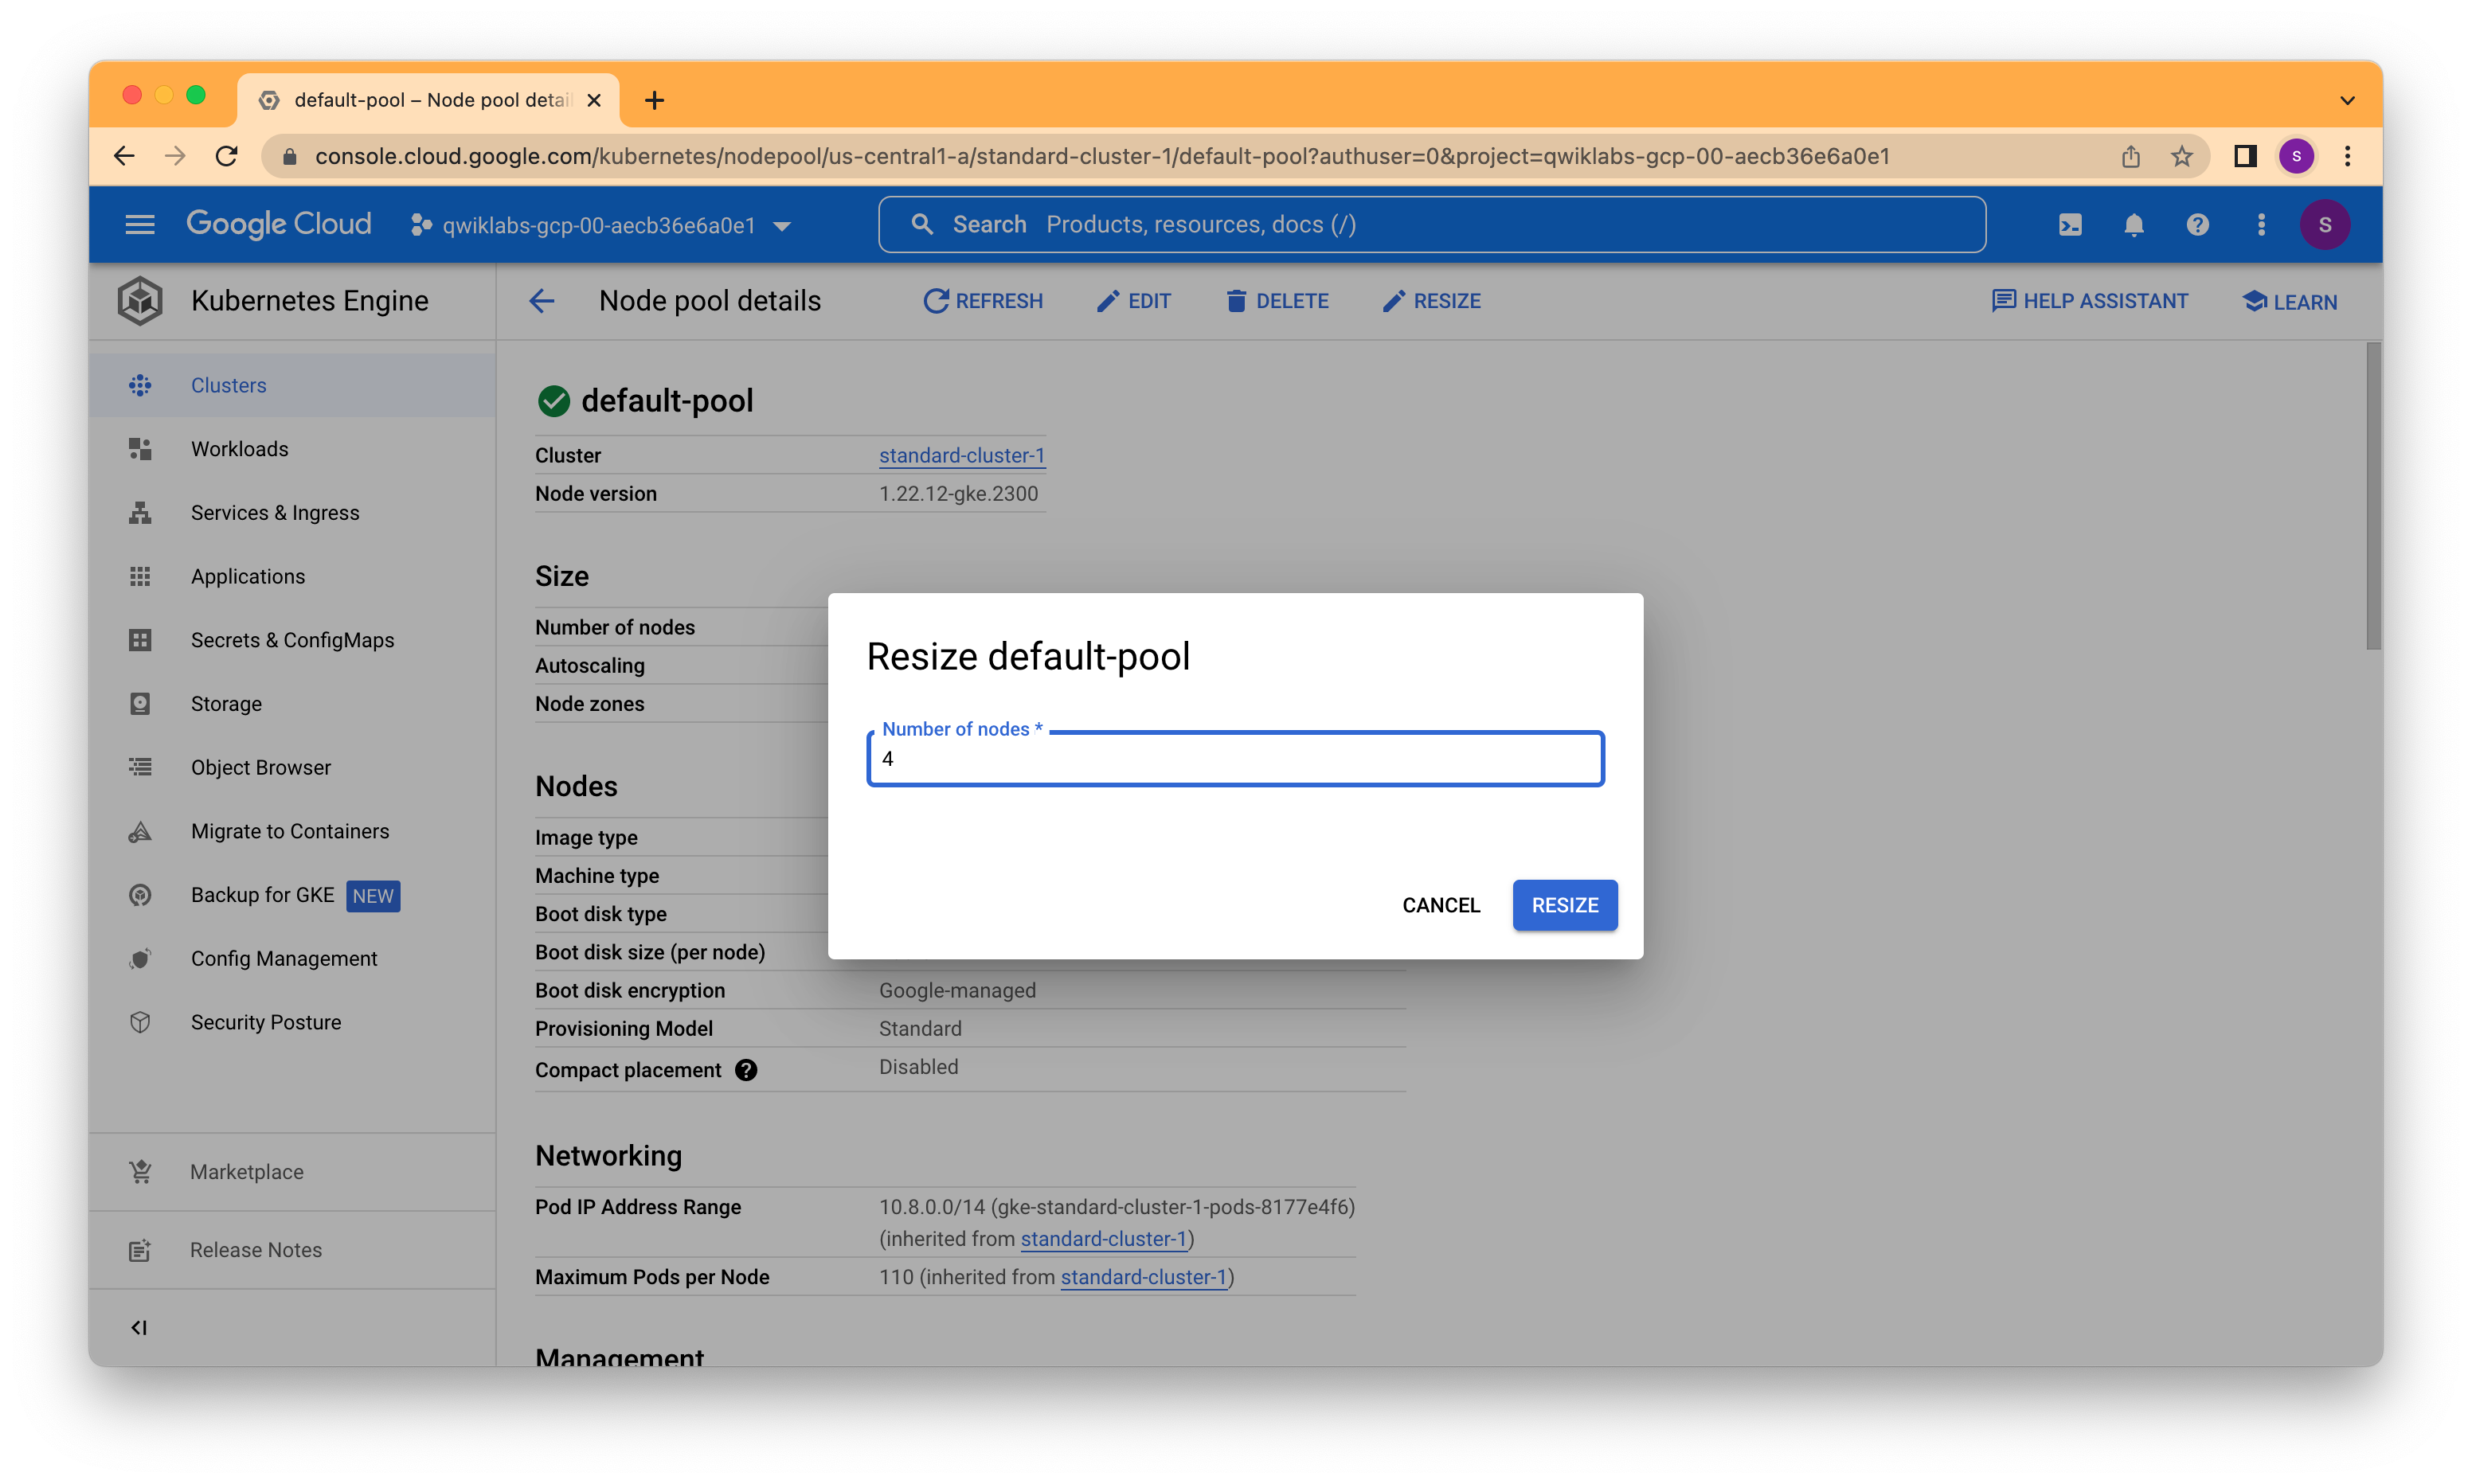
It is easy to modify many of the parameters of existing clusters using either the Google Cloud Console or Cloud Shell. In this task, you use the Google Cloud Console to modify the size of GKE clusters.
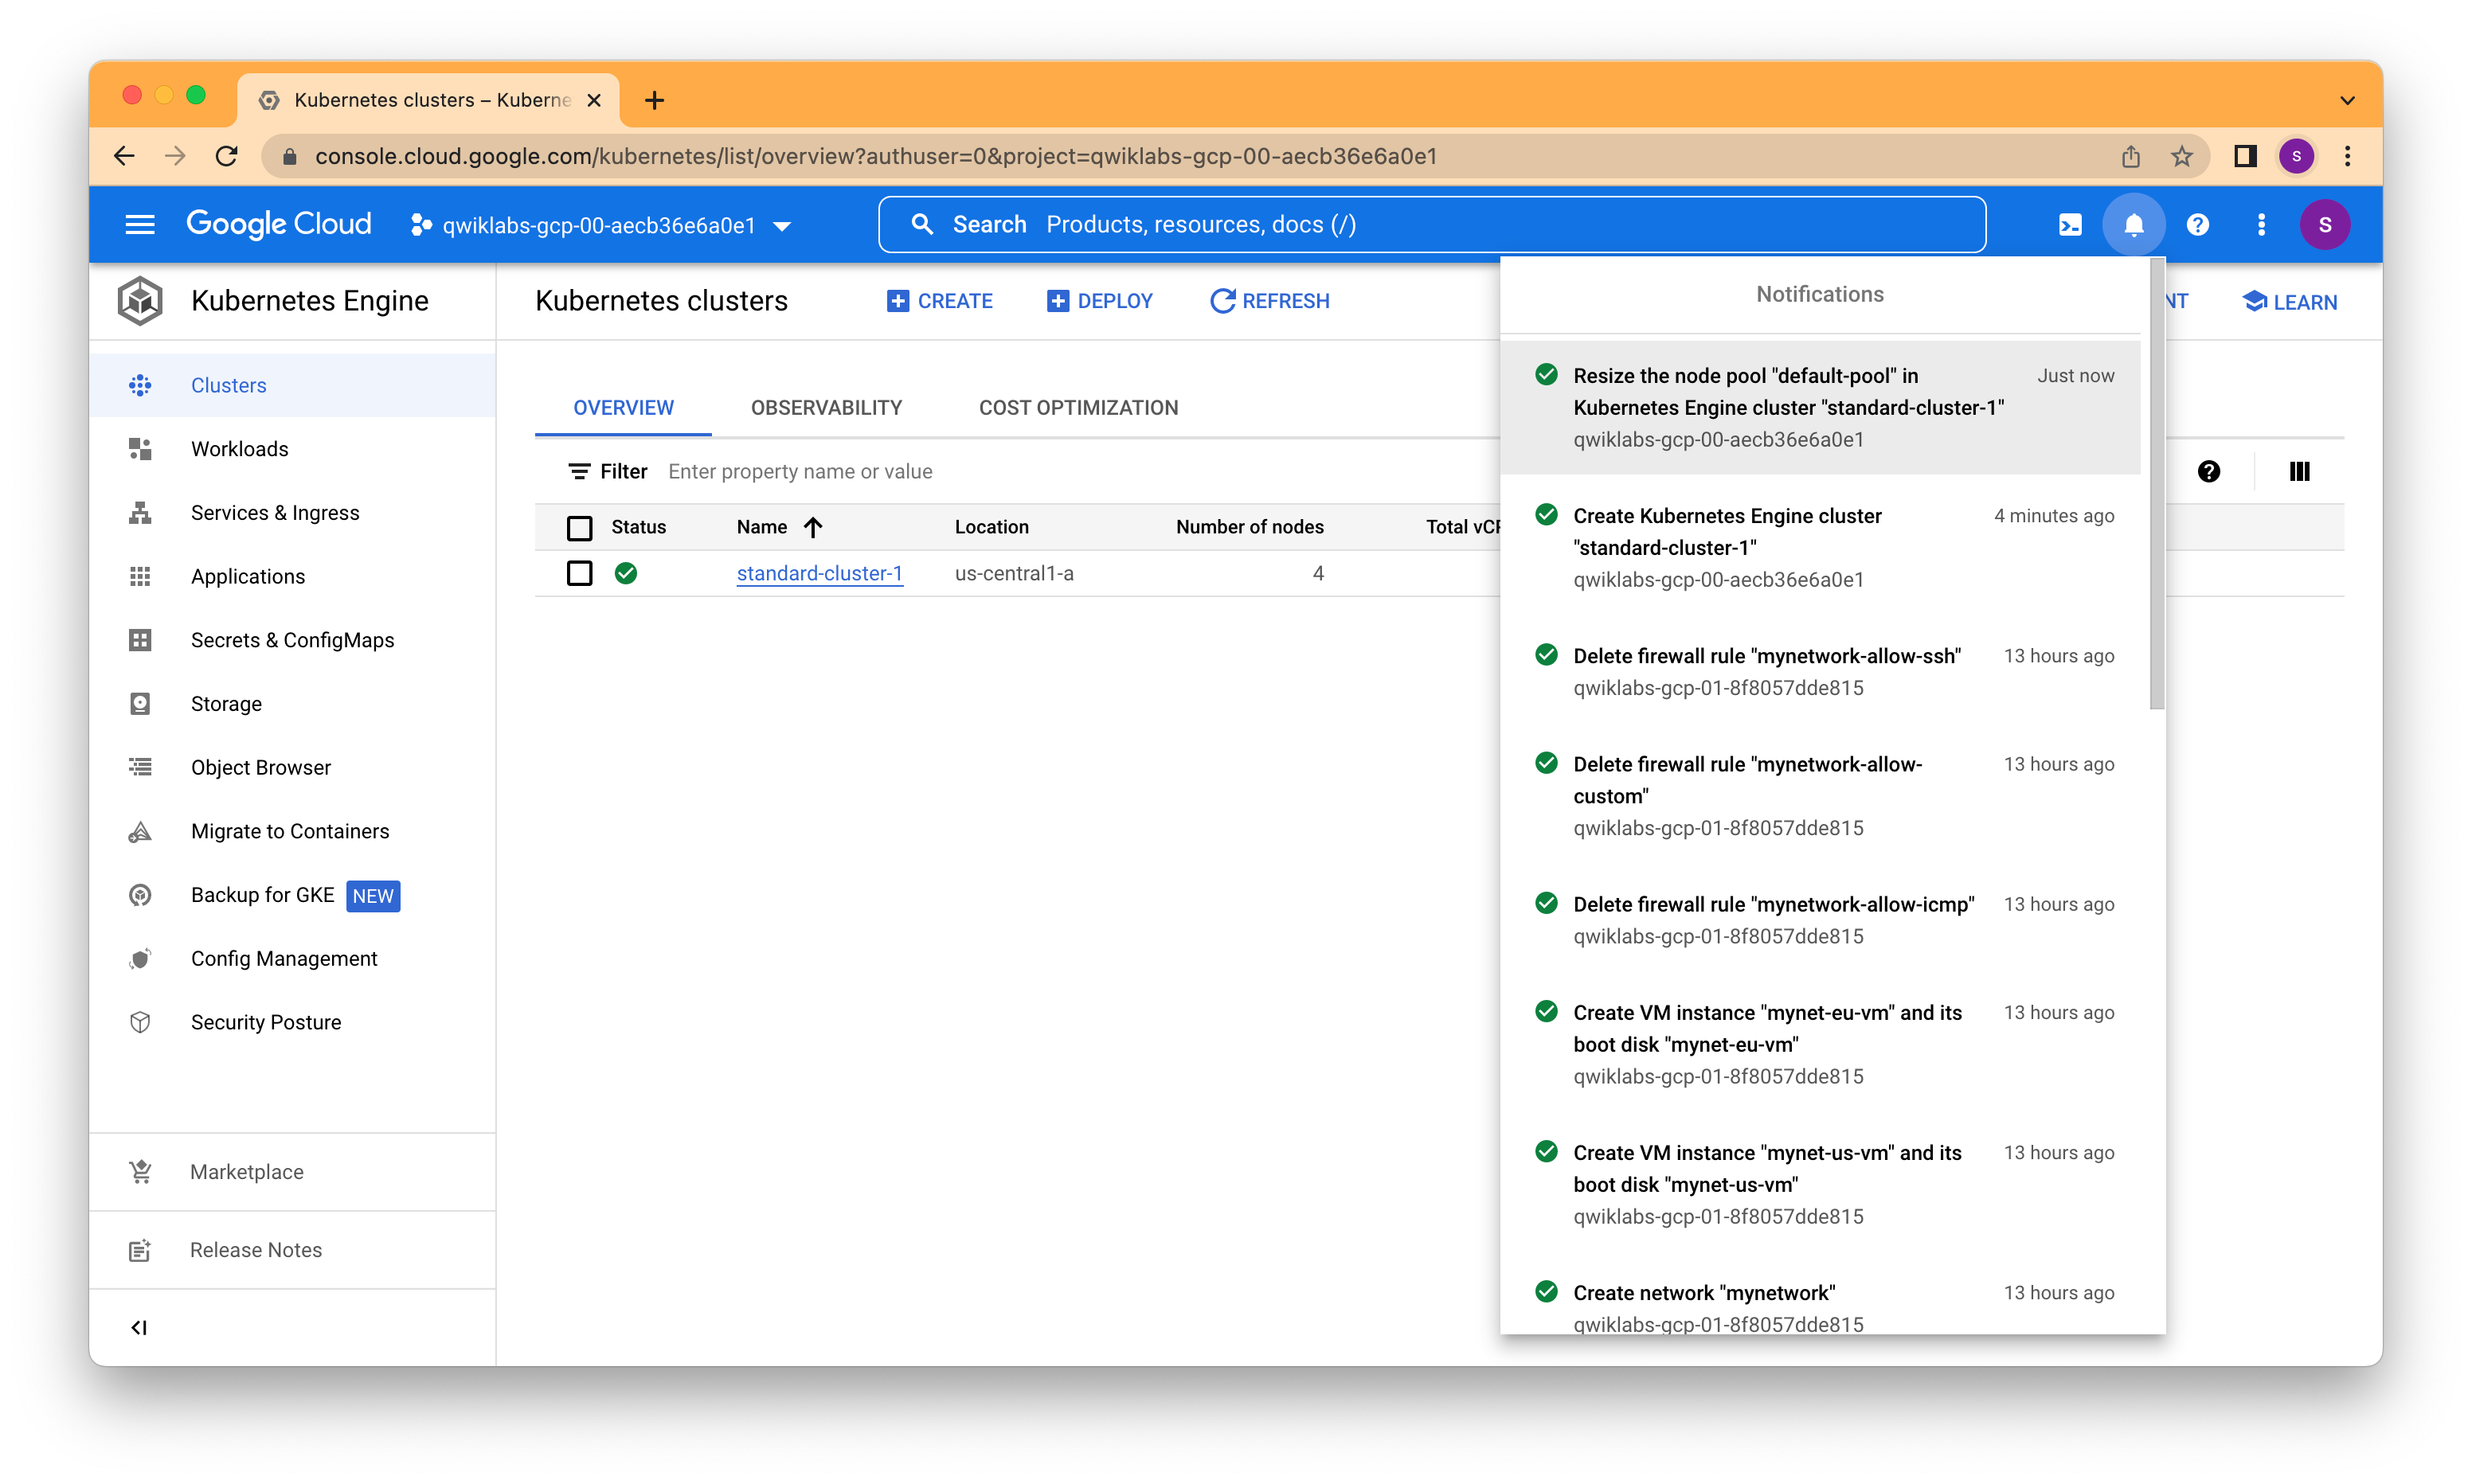
In the Google Cloud Console, on the Navigation menu (Navigation menu icon), click Kubernetes Engine > Clusters > standard-cluster-1, click NODES at the top of the details page. In Node Pools section, click default-pool. In the Google Cloud Console, click RESIZE at the top of the Node Pool Details page. Change the number of nodes from 3 to 4 and click RESIZE.

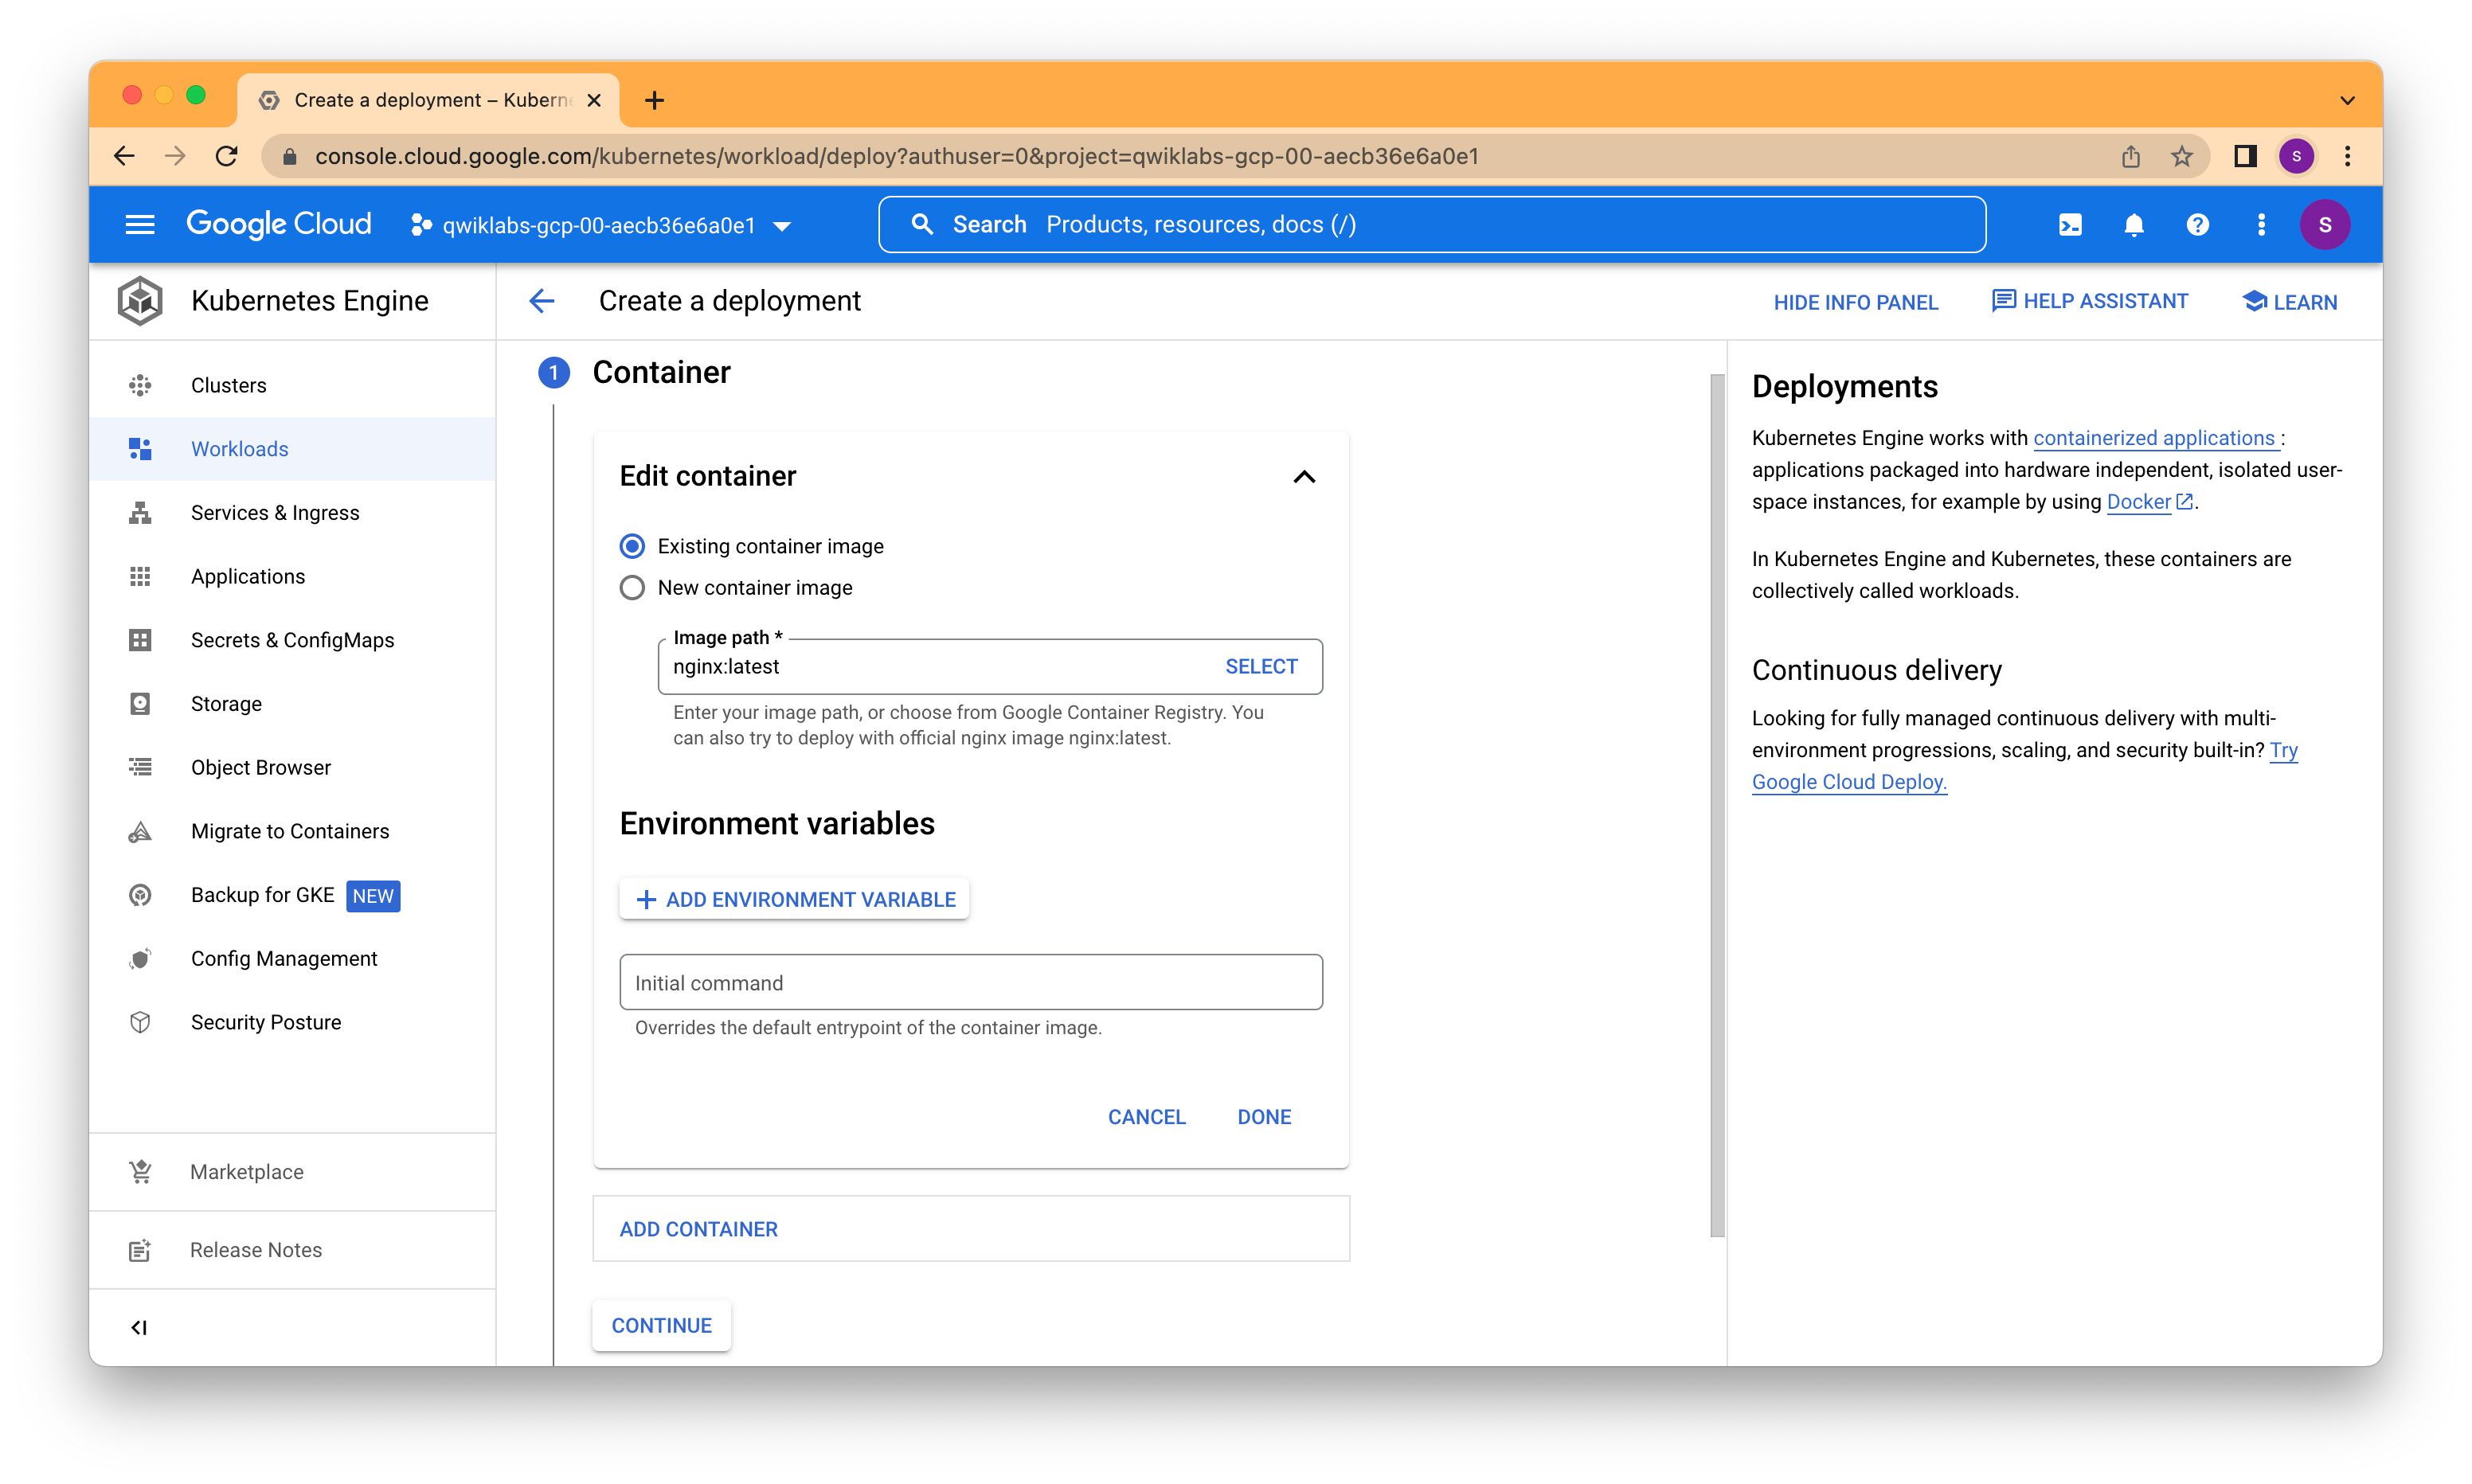
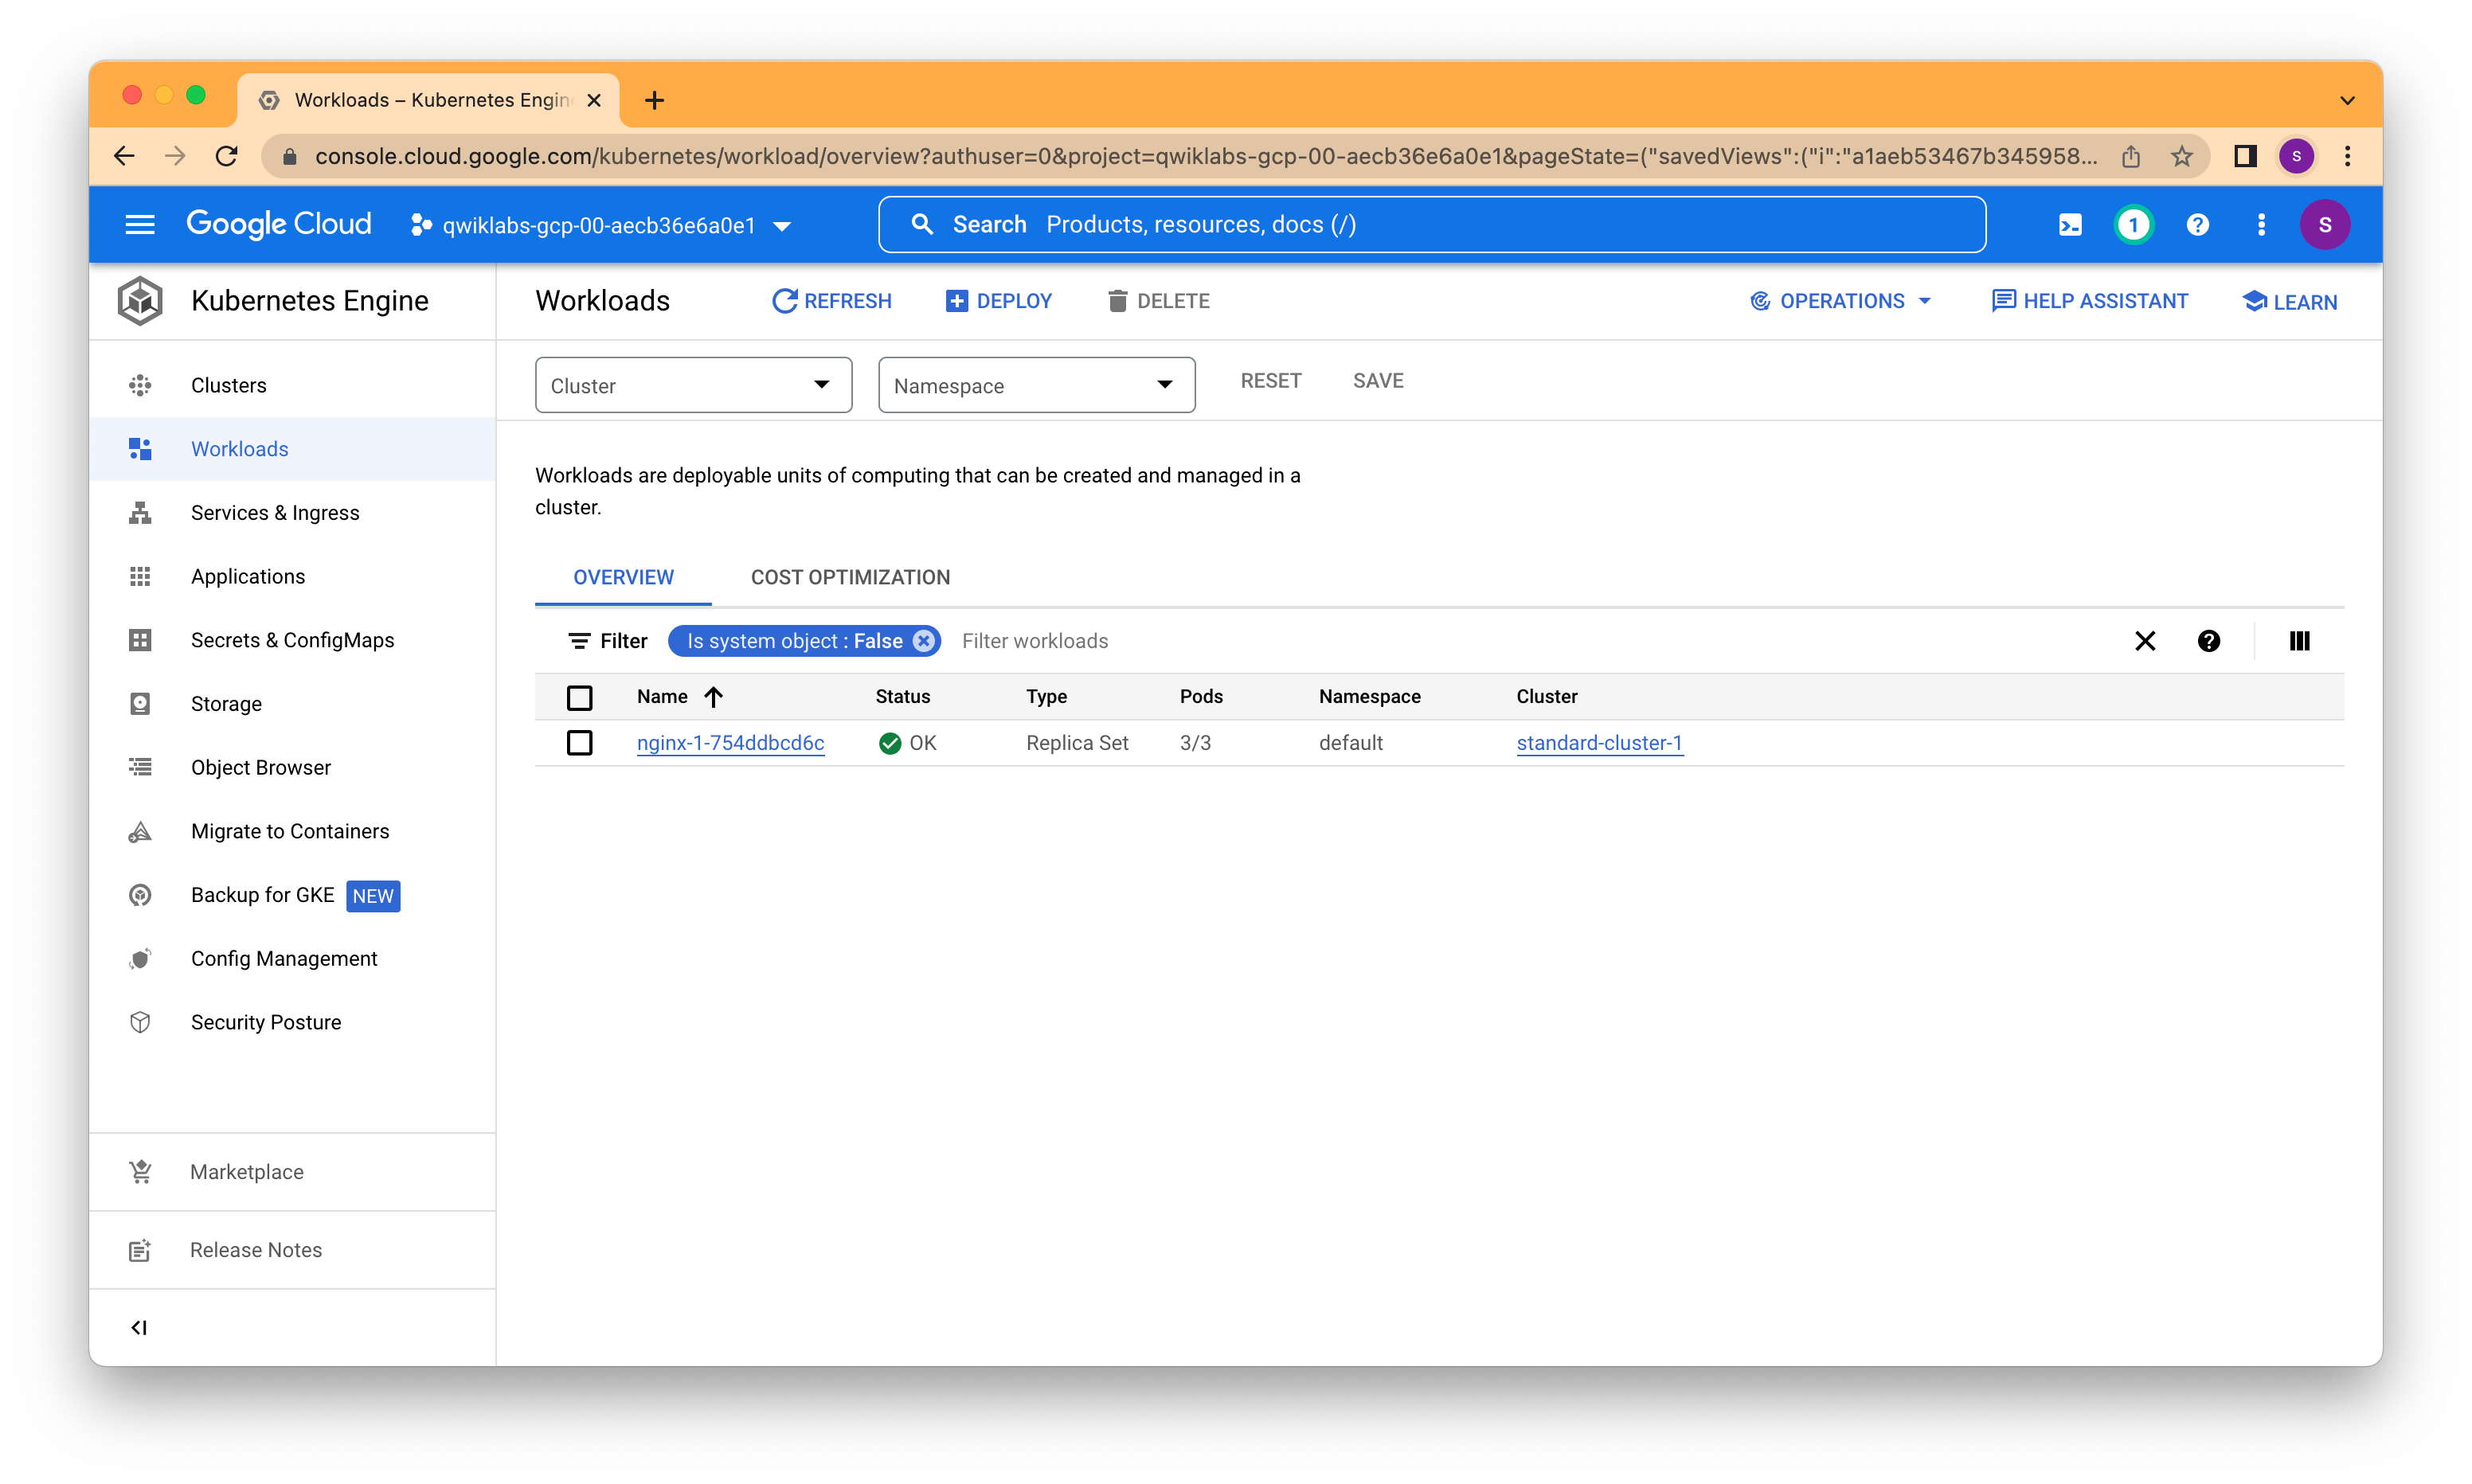
In this task, using the Google Cloud console you will deploy a Pod running the nginx web server as a sample workload.
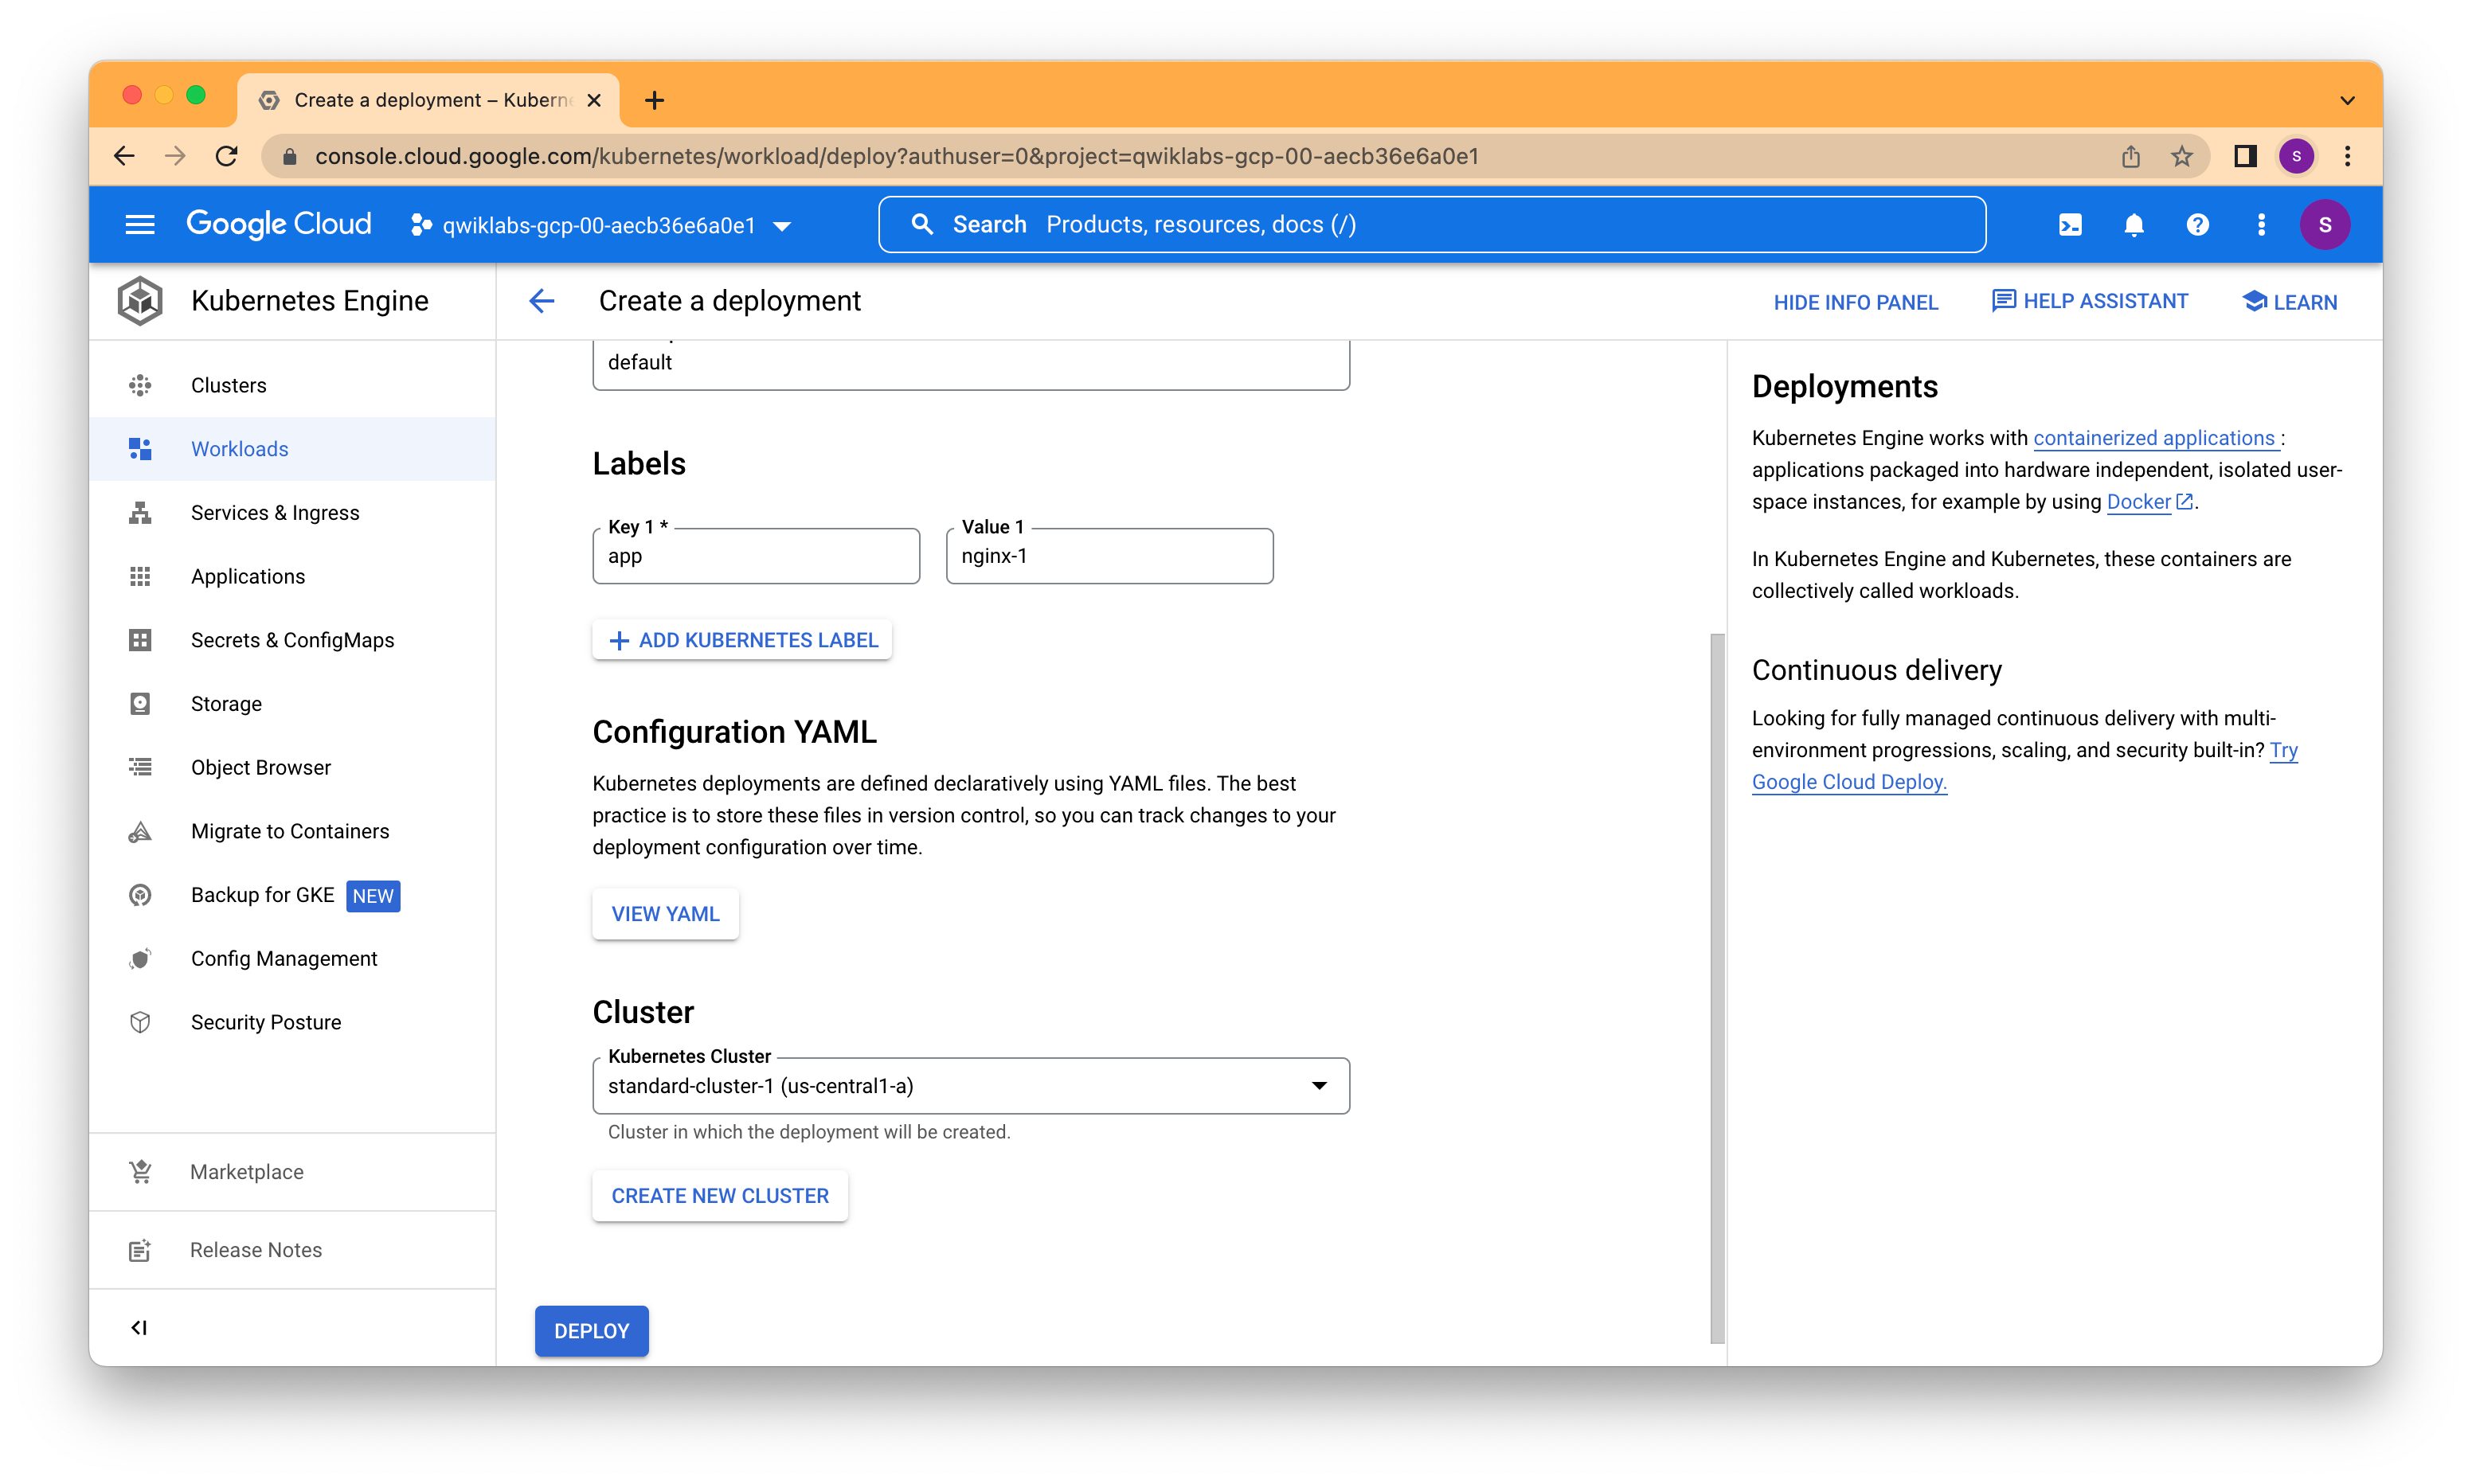
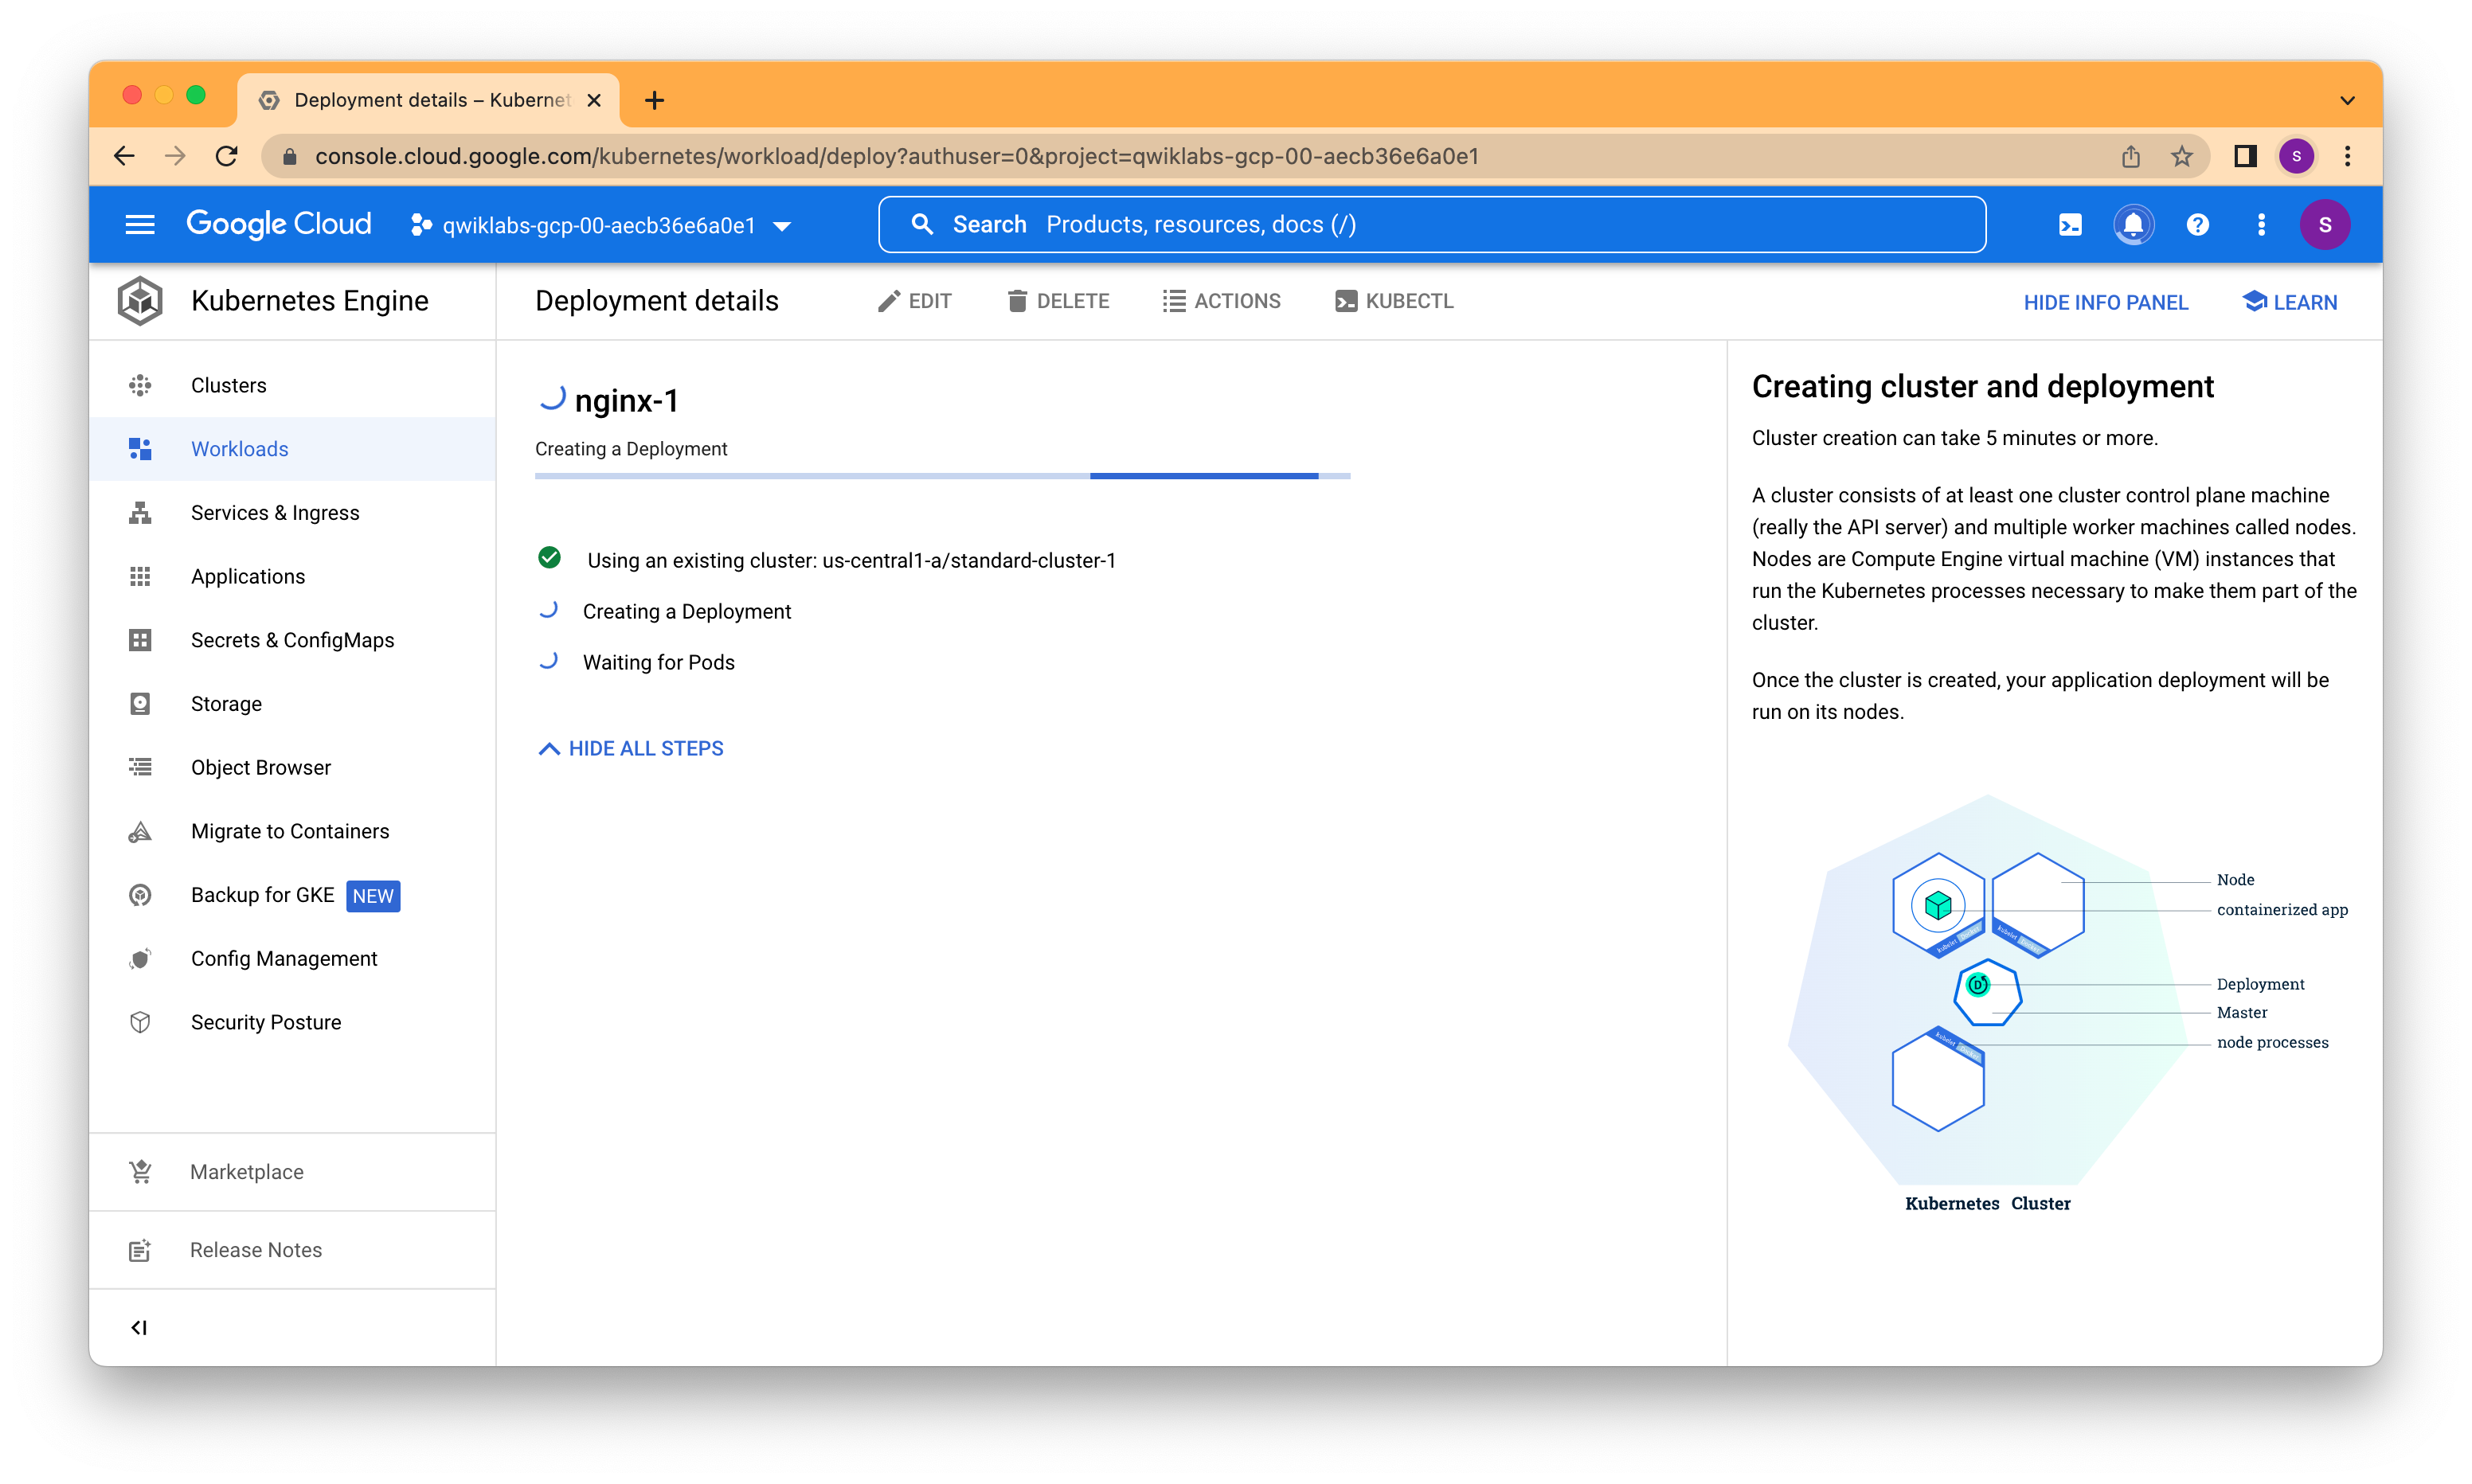
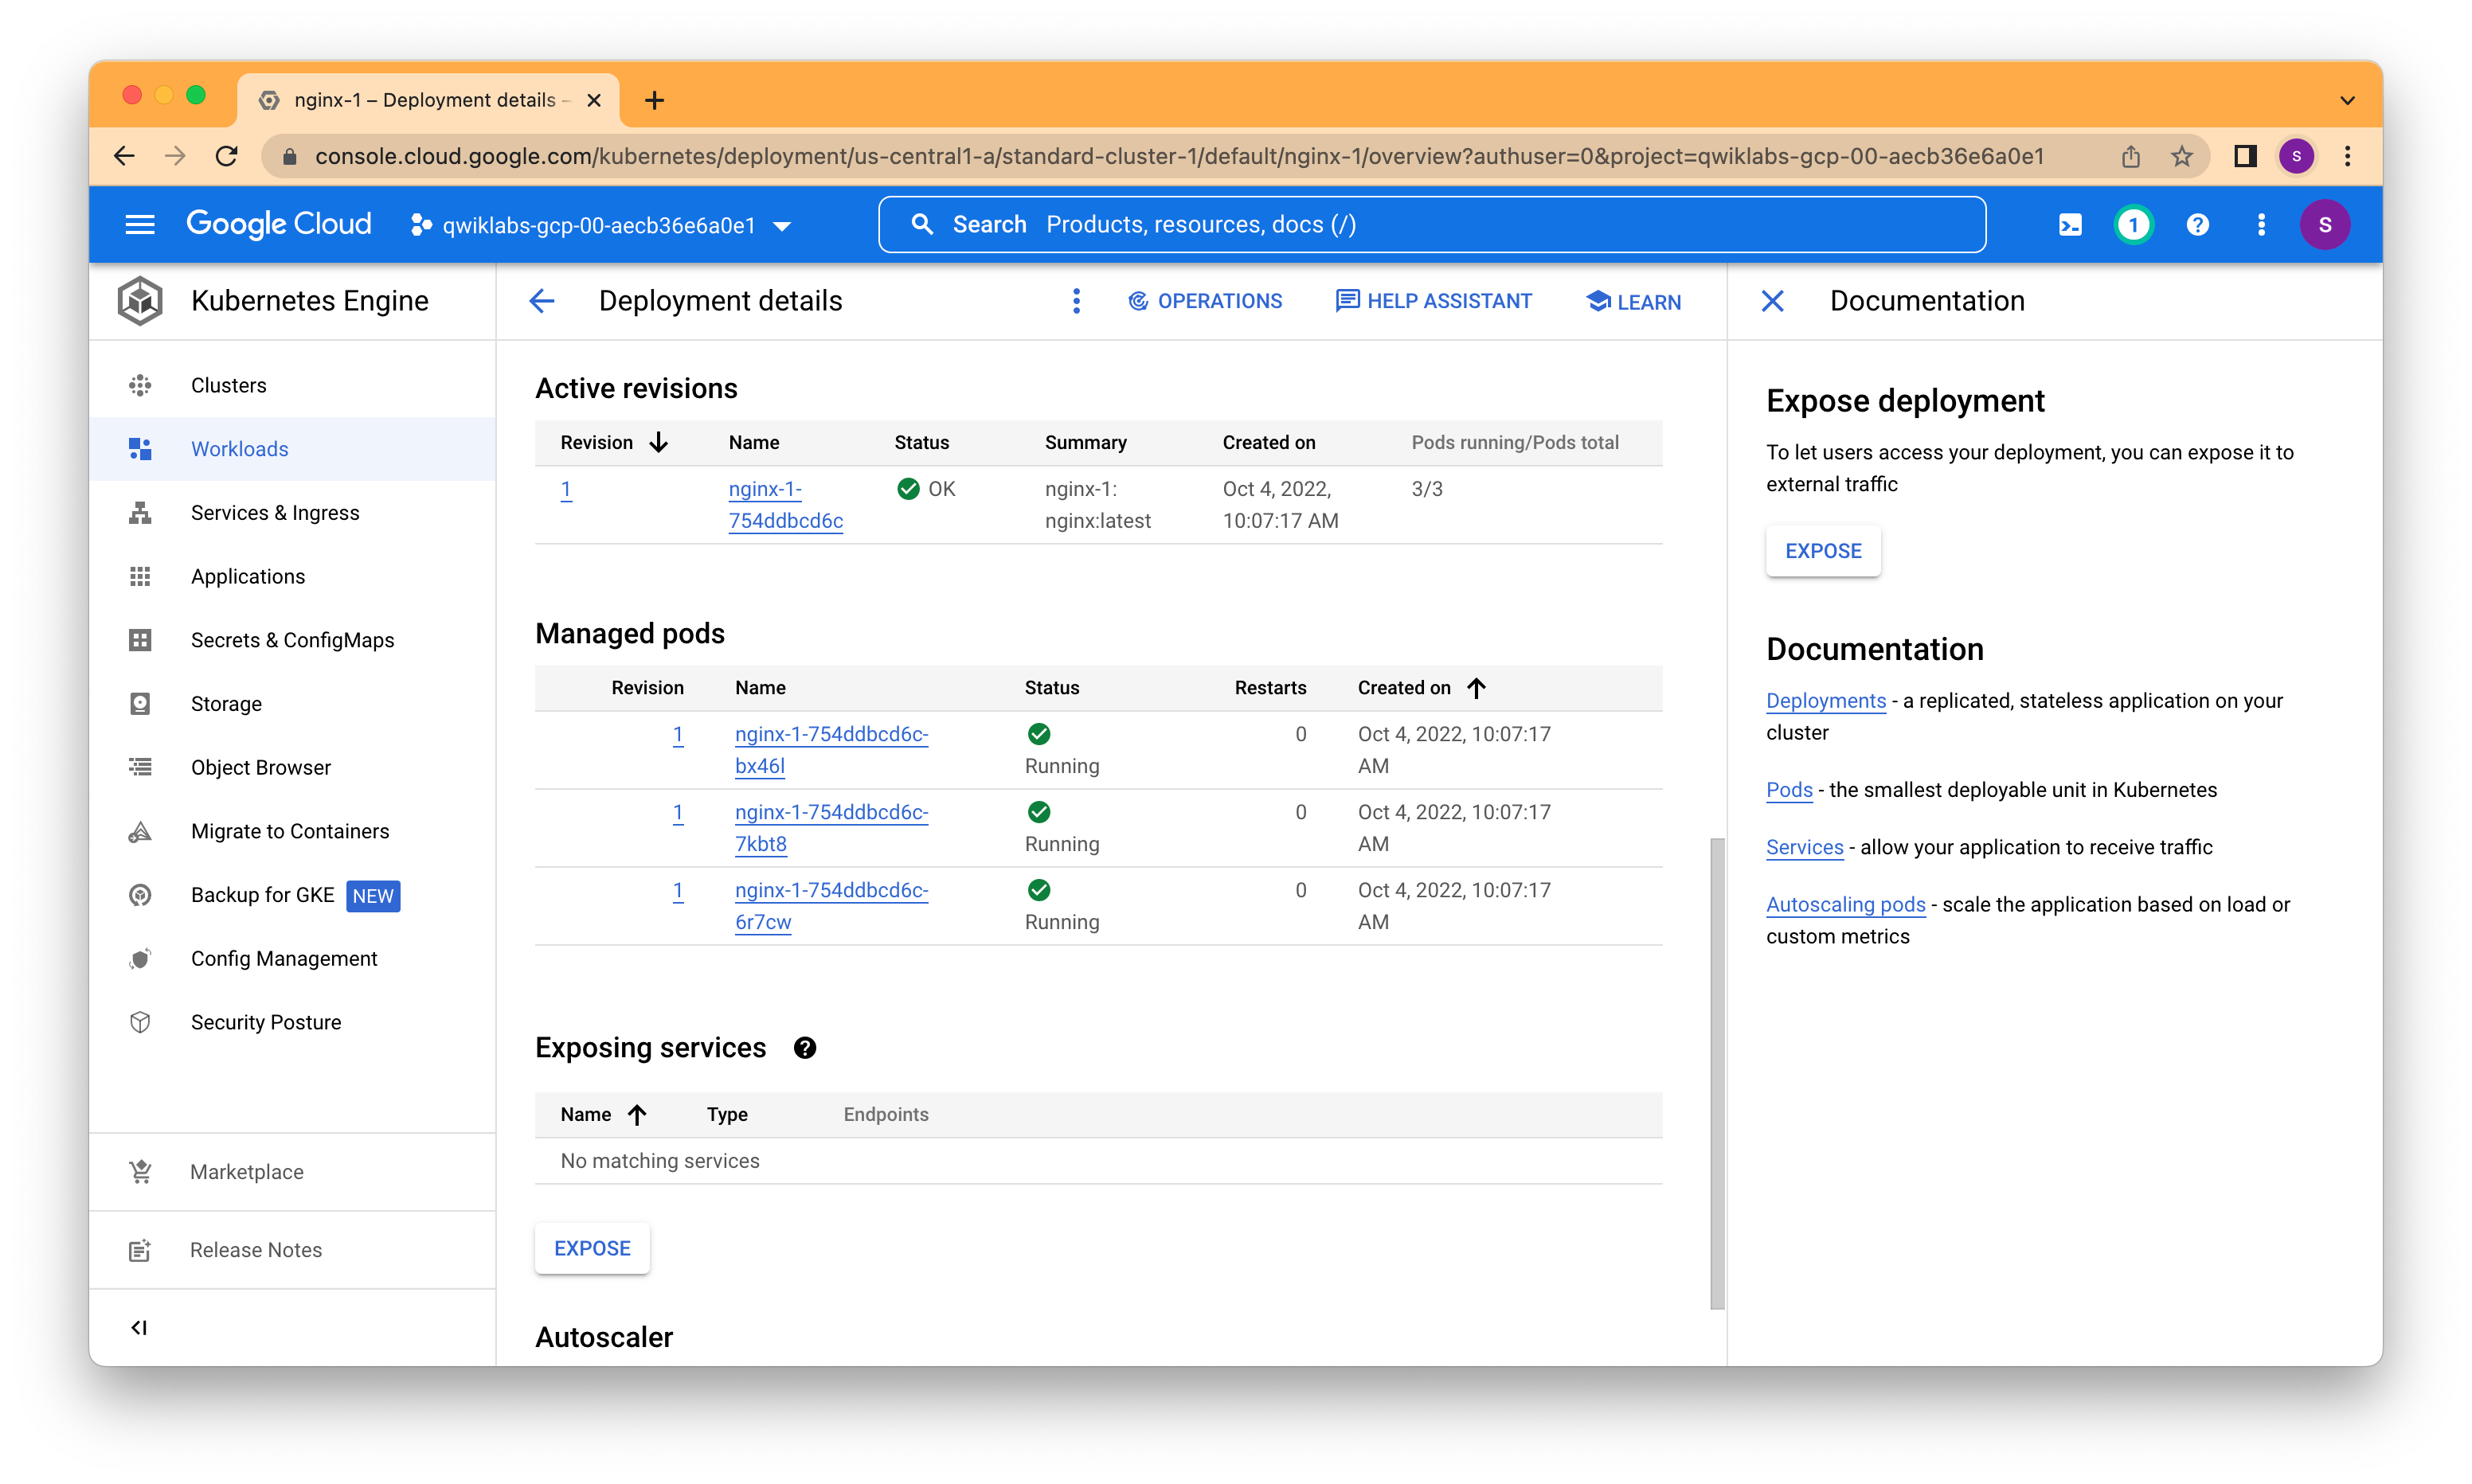
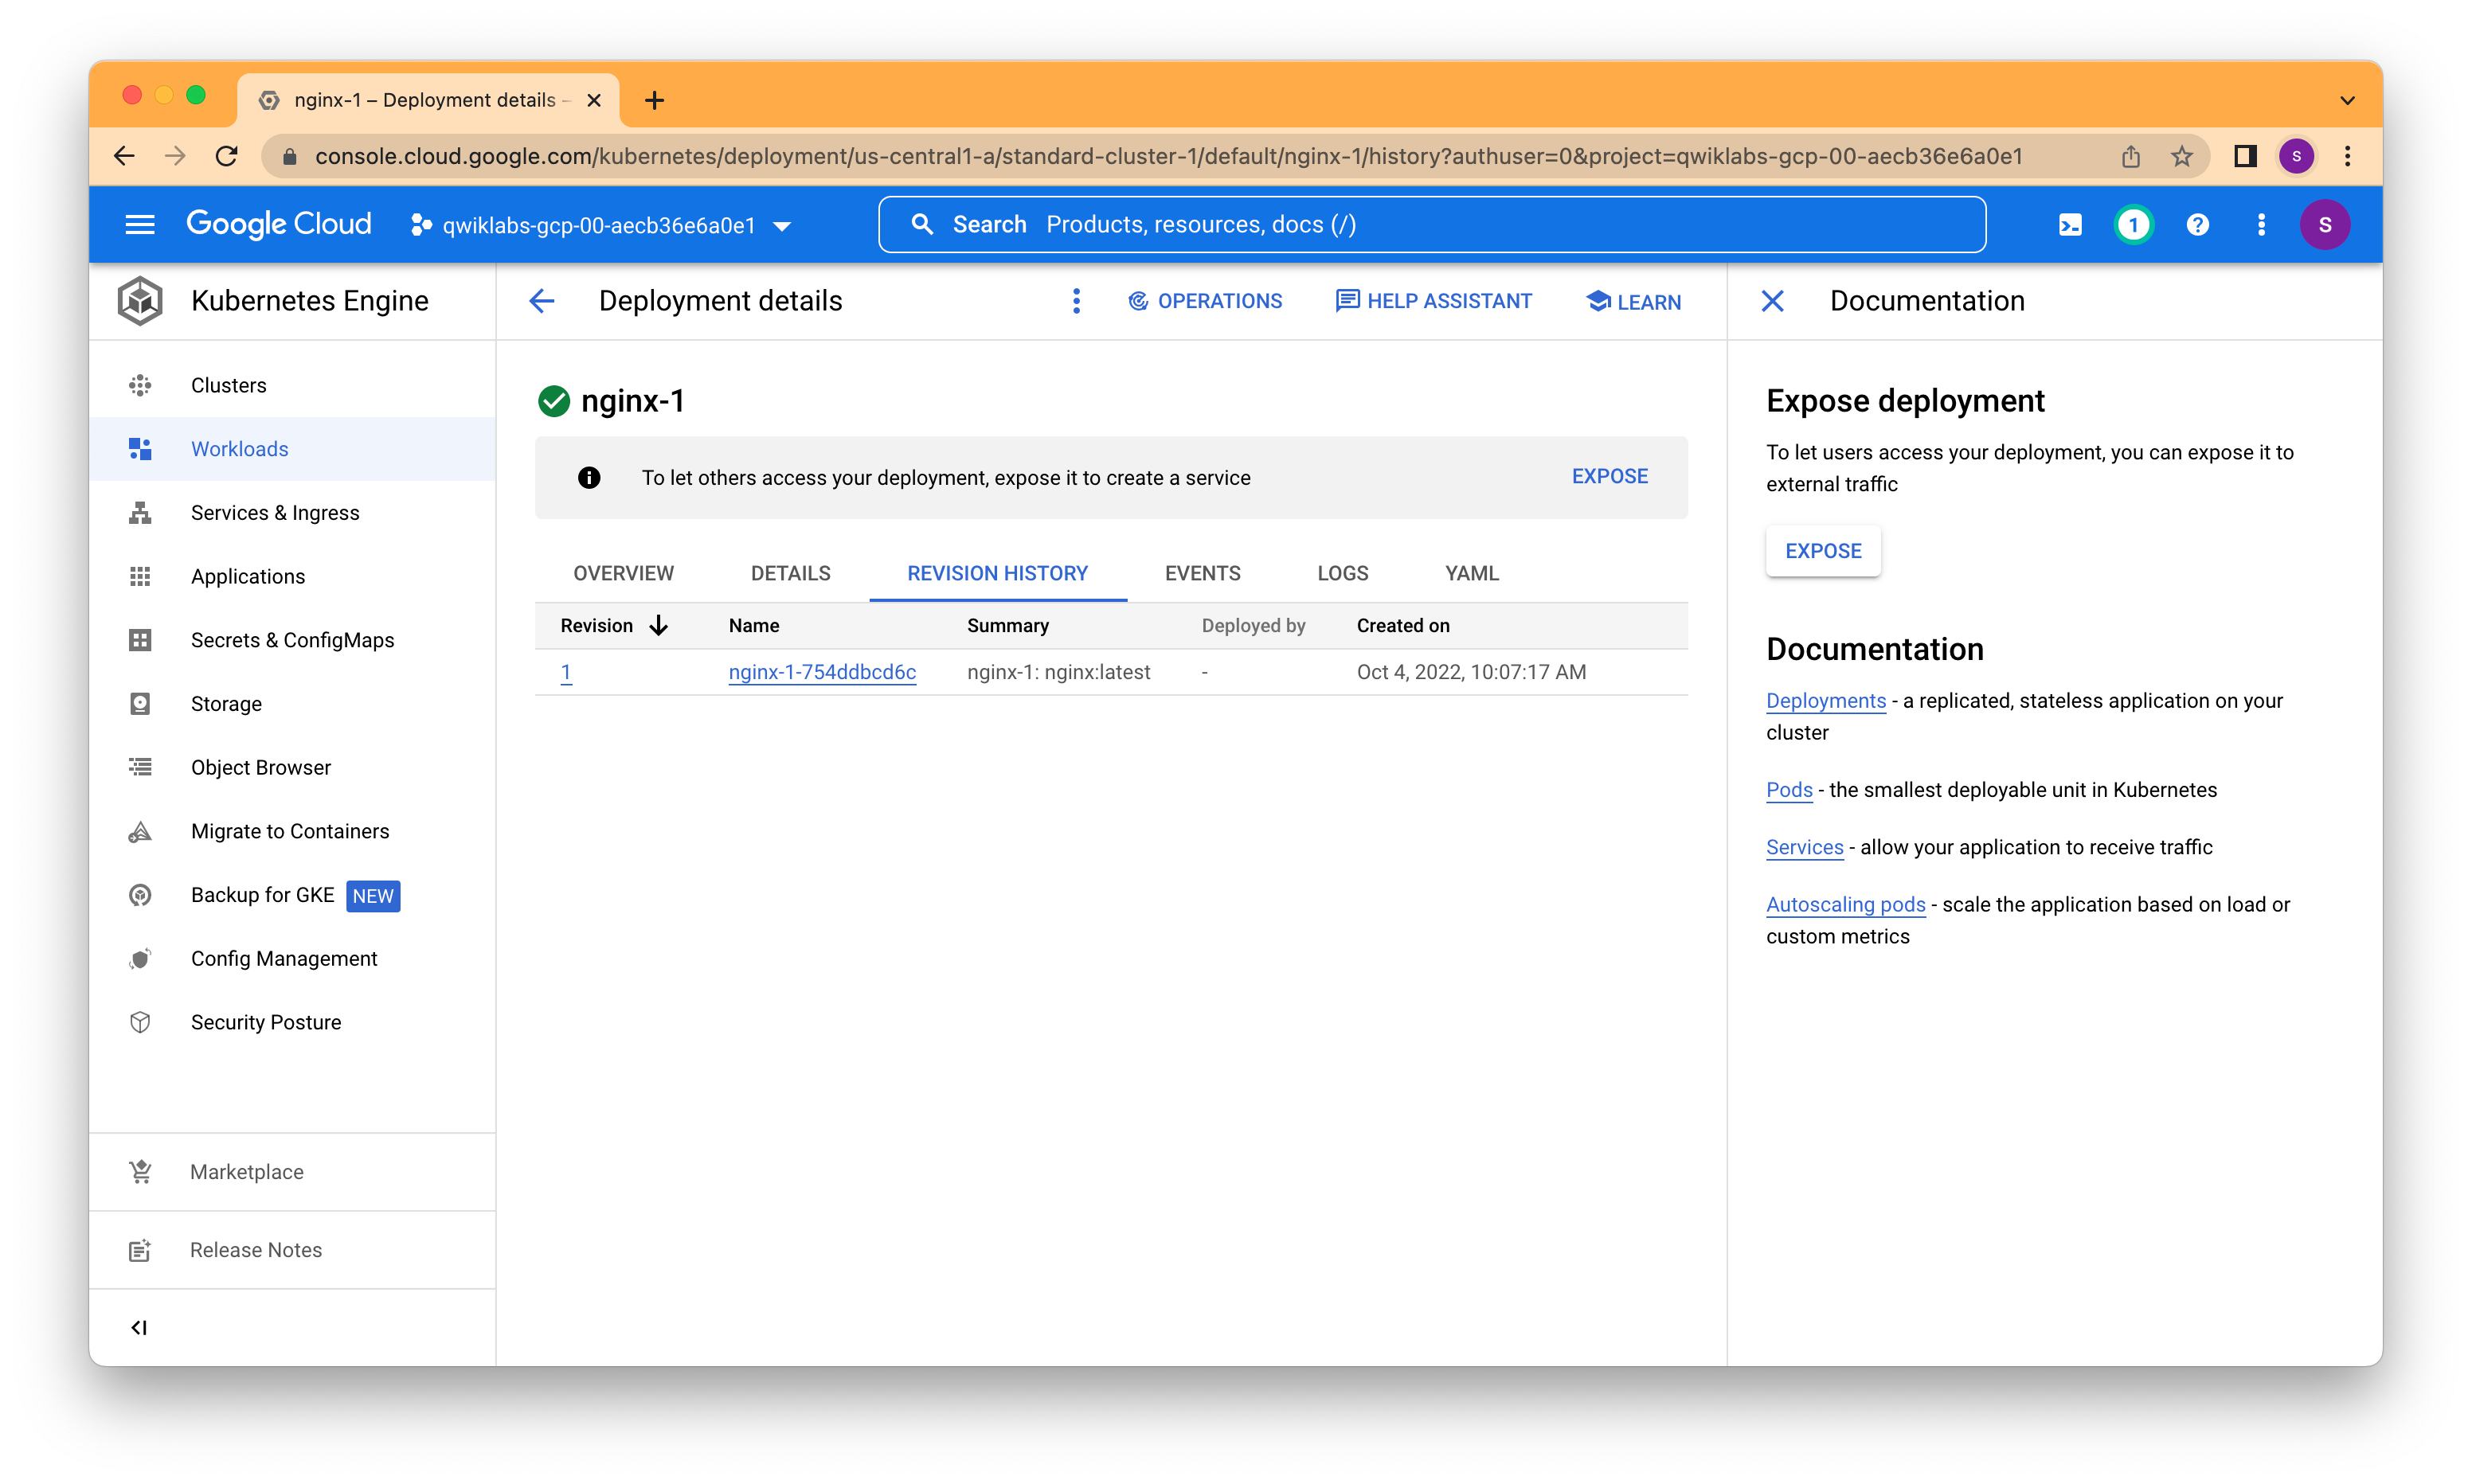
In the Google Cloud Console, on the Navigation menu(Navigation menu icon), click Kubernetes Engine > Workloads. Click Deploy to show the Create a deployment wizard. Click Continue to accept the default container image, nginx:latest, which deploys 3 Pods each with a single container running the latest version of nginx. Scroll to the bottom of the window and click the Deploy button leaving the Configuration details at the defaults. When the deployment completes your screen will refresh to show the details of your new nginx deployment.
apiVersion: apps/v1
kind: Deployment
metadata:
  annotations:
    deployment.kubernetes.io/revision: "1"
  creationTimestamp: "2022-10-04T04:37:17Z"
  generation: 1
  labels:
    app: nginx-1
  managedFields:
  - apiVersion: apps/v1
    fieldsType: FieldsV1
    fieldsV1:
      f:metadata:
        f:labels:
          .: {}
          f:app: {}
      f:spec:
        f:progressDeadlineSeconds: {}
        f:replicas: {}
        f:revisionHistoryLimit: {}
        f:selector: {}
        f:strategy:
          f:rollingUpdate:
            .: {}
            f:maxSurge: {}
            f:maxUnavailable: {}
          f:type: {}
        f:template:
          f:metadata:
            f:labels:
              .: {}
              f:app: {}
          f:spec:
            f:containers:
              k:{"name":"nginx-1"}:
                .: {}
                f:image: {}
                f:imagePullPolicy: {}
                f:name: {}
                f:resources: {}
                f:terminationMessagePath: {}
                f:terminationMessagePolicy: {}
            f:dnsPolicy: {}
            f:restartPolicy: {}
            f:schedulerName: {}
            f:securityContext: {}
            f:terminationGracePeriodSeconds: {}
    manager: GoogleCloudConsole
    operation: Update
    time: "2022-10-04T04:37:17Z"
  - apiVersion: apps/v1
    fieldsType: FieldsV1
    fieldsV1:
      f:metadata:
        f:annotations:
          .: {}
          f:deployment.kubernetes.io/revision: {}
      f:status:
        f:availableReplicas: {}
        f:conditions:
          .: {}
          k:{"type":"Available"}:
            .: {}
            f:lastTransitionTime: {}
            f:lastUpdateTime: {}
            f:message: {}
            f:reason: {}
            f:status: {}
            f:type: {}
          k:{"type":"Progressing"}:
            .: {}
            f:lastTransitionTime: {}
            f:lastUpdateTime: {}
            f:message: {}
            f:reason: {}
            f:status: {}
            f:type: {}
        f:observedGeneration: {}
        f:readyReplicas: {}
        f:replicas: {}
        f:updatedReplicas: {}
    manager: kube-controller-manager
    operation: Update
    subresource: status
    time: "2022-10-04T04:37:25Z"
  name: nginx-1
  namespace: default
  resourceVersion: "4303"
  uid: 34426609-eeff-4bb3-90f1-089b5aa6b2c6
spec:
  progressDeadlineSeconds: 600
  replicas: 3
  revisionHistoryLimit: 10
  selector:
    matchLabels:
      app: nginx-1
  strategy:
    rollingUpdate:
      maxSurge: 25%
      maxUnavailable: 25%
    type: RollingUpdate
  template:
    metadata:
      creationTimestamp: null
      labels:
        app: nginx-1
    spec:
      containers:
      - image: nginx:latest
        imagePullPolicy: Always
        name: nginx-1
        resources: {}
        terminationMessagePath: /dev/termination-log
        terminationMessagePolicy: File
      dnsPolicy: ClusterFirst
      restartPolicy: Always
      schedulerName: default-scheduler
      securityContext: {}
      terminationGracePeriodSeconds: 30
status:
  availableReplicas: 3
  conditions:
  - lastTransitionTime: "2022-10-04T04:37:25Z"
    lastUpdateTime: "2022-10-04T04:37:25Z"
    message: Deployment has minimum availability.
    reason: MinimumReplicasAvailable
    status: "True"
    type: Available
  - lastTransitionTime: "2022-10-04T04:37:17Z"
    lastUpdateTime: "2022-10-04T04:37:25Z"
    message: ReplicaSet "nginx-1-754ddbcd6c" has successfully progressed.
    reason: NewReplicaSetAvailable
    status: "True"
    type: Progressing
  observedGeneration: 1
  readyReplicas: 3
  replicas: 3
  updatedReplicas: 3


