Google Cloud Fundamentals—Storage
Storage in the Cloud
-
Google Cloud storage options
-
Cloud Storage
-
Storae classes and data transfer
-
Cloud SQL
-
Cloud Spanner
-
Firestore
-
Cloud Bigtable
-
Compare storage options
-
Getting started with Cloud Storage and Cloud SQL Lab
In this lab,
-
Create a Cloud Storage bucket and place an image into it.
-
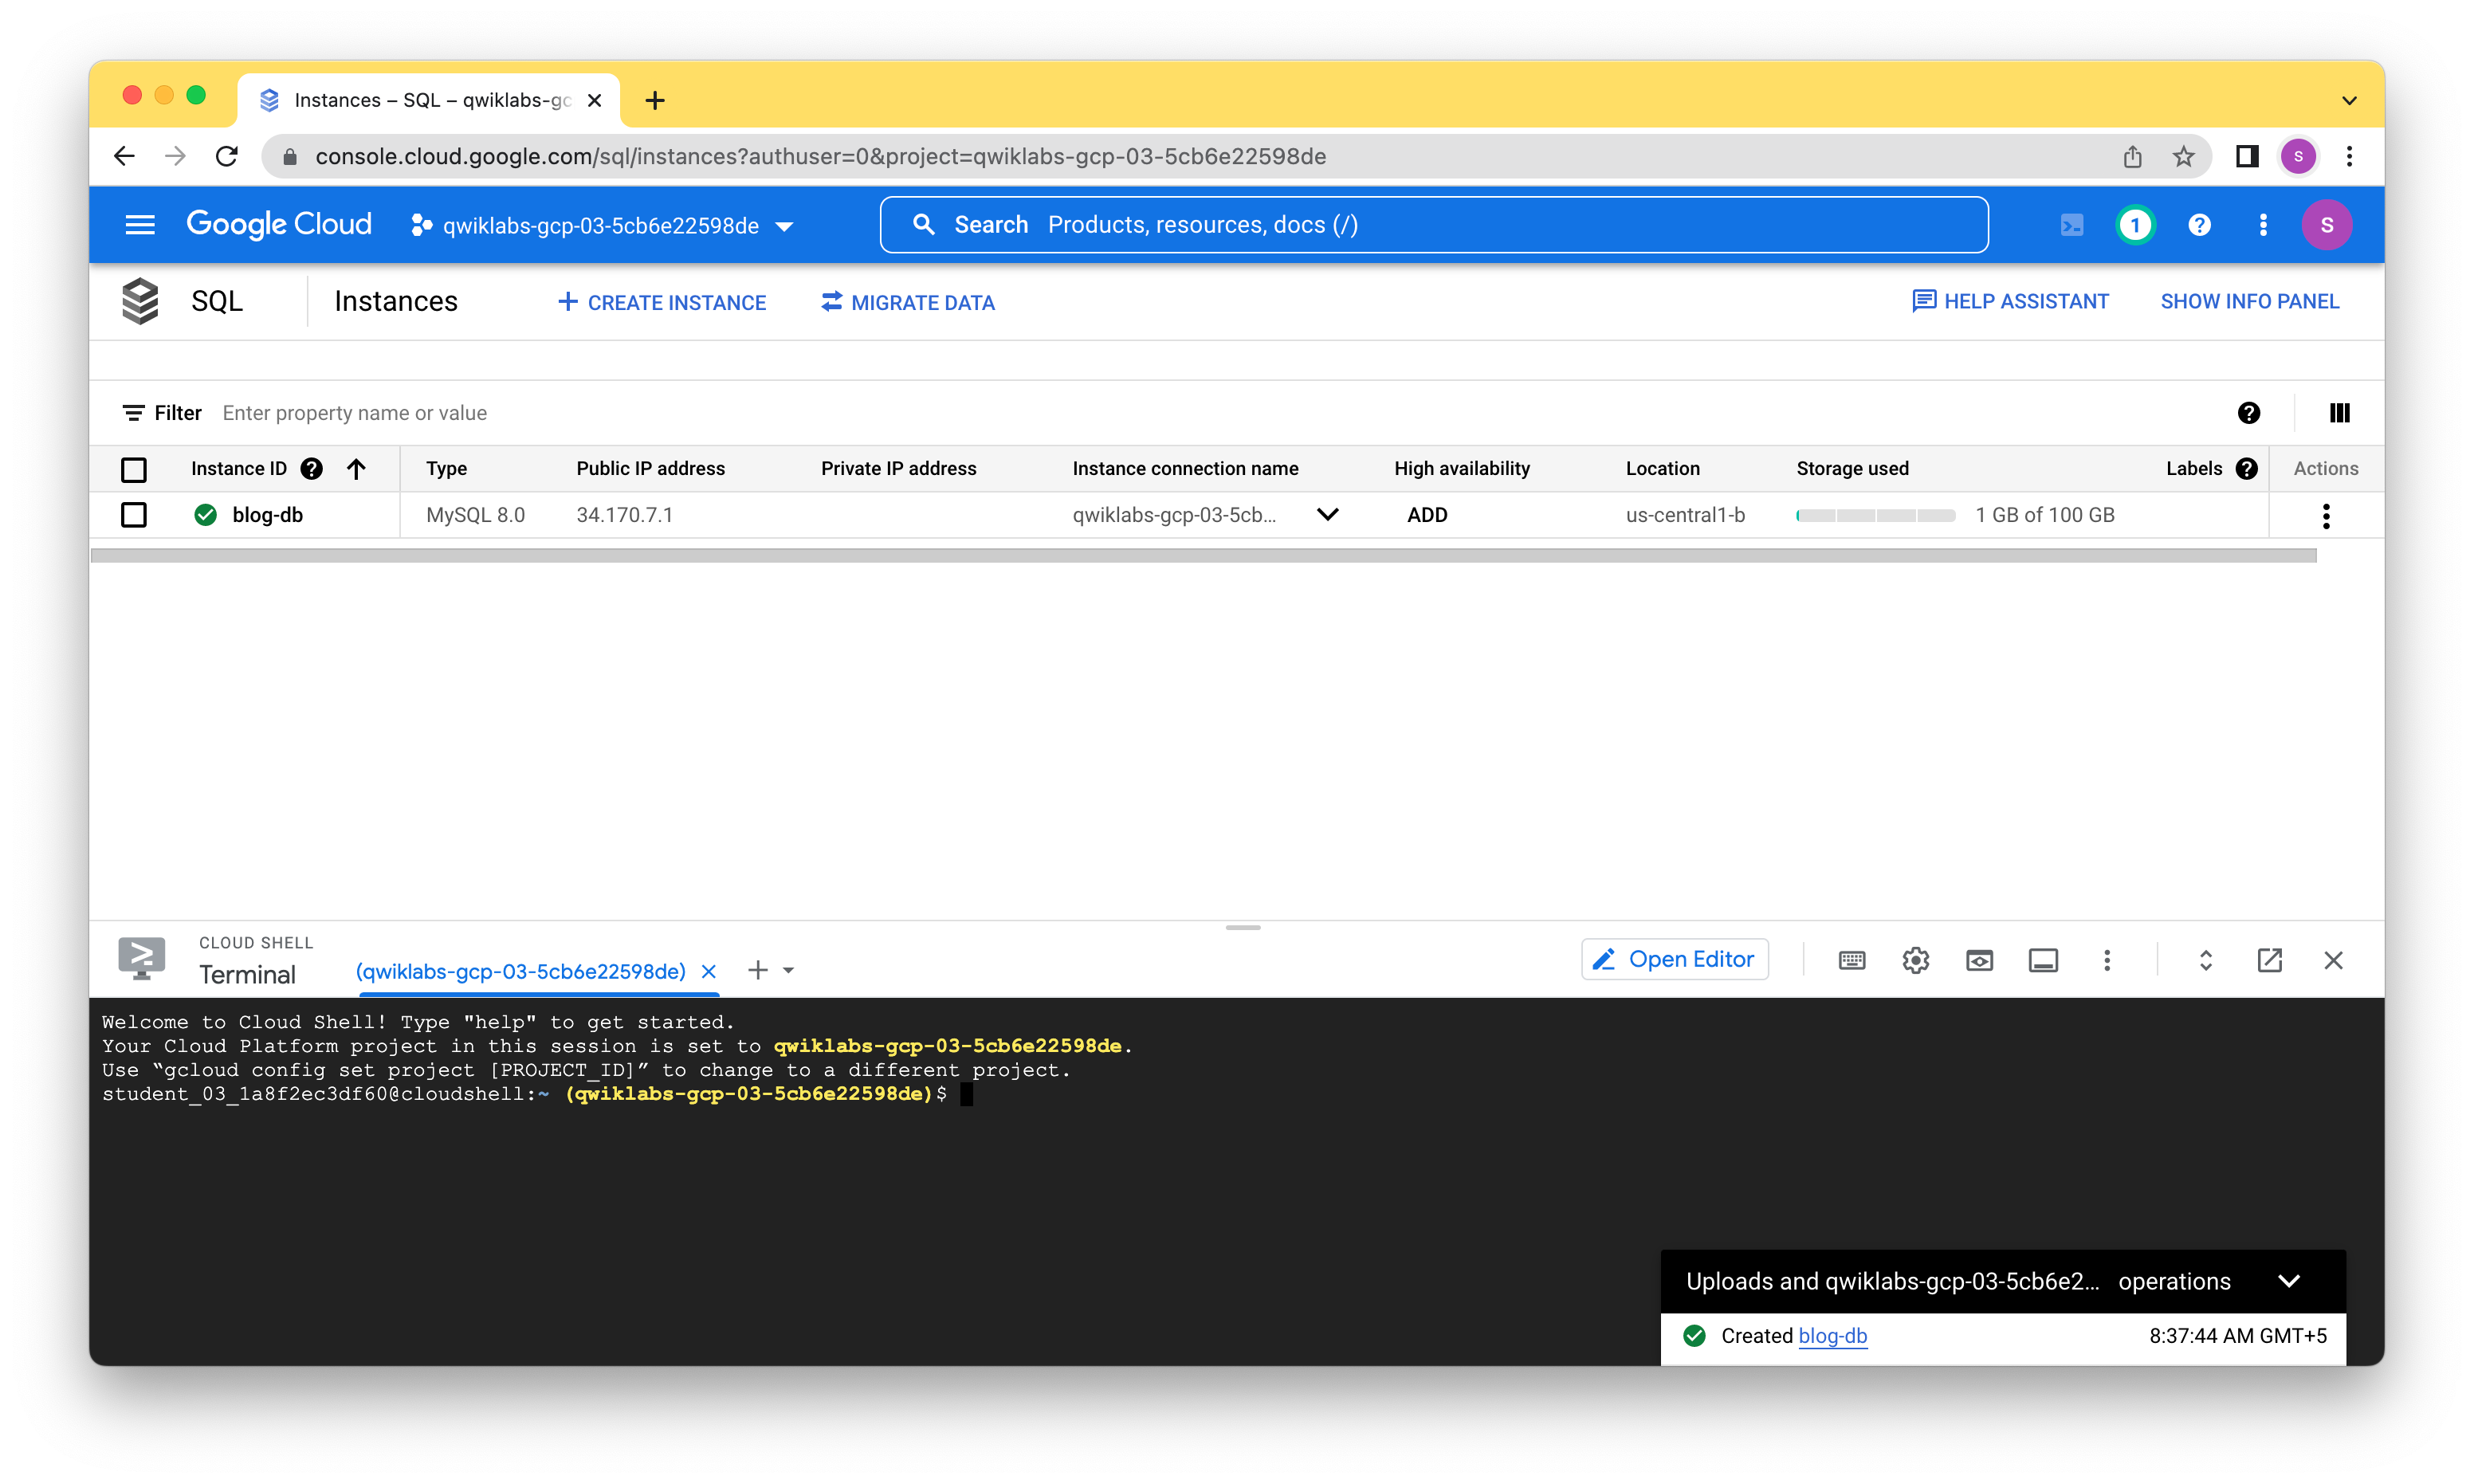
Create a Cloud SQL instance and configure it.
-
Connect to the Cloud SQL instance from a web server.
-
Use the image in the Cloud Storage bucket on a web page.
Deploy a web server VM instance
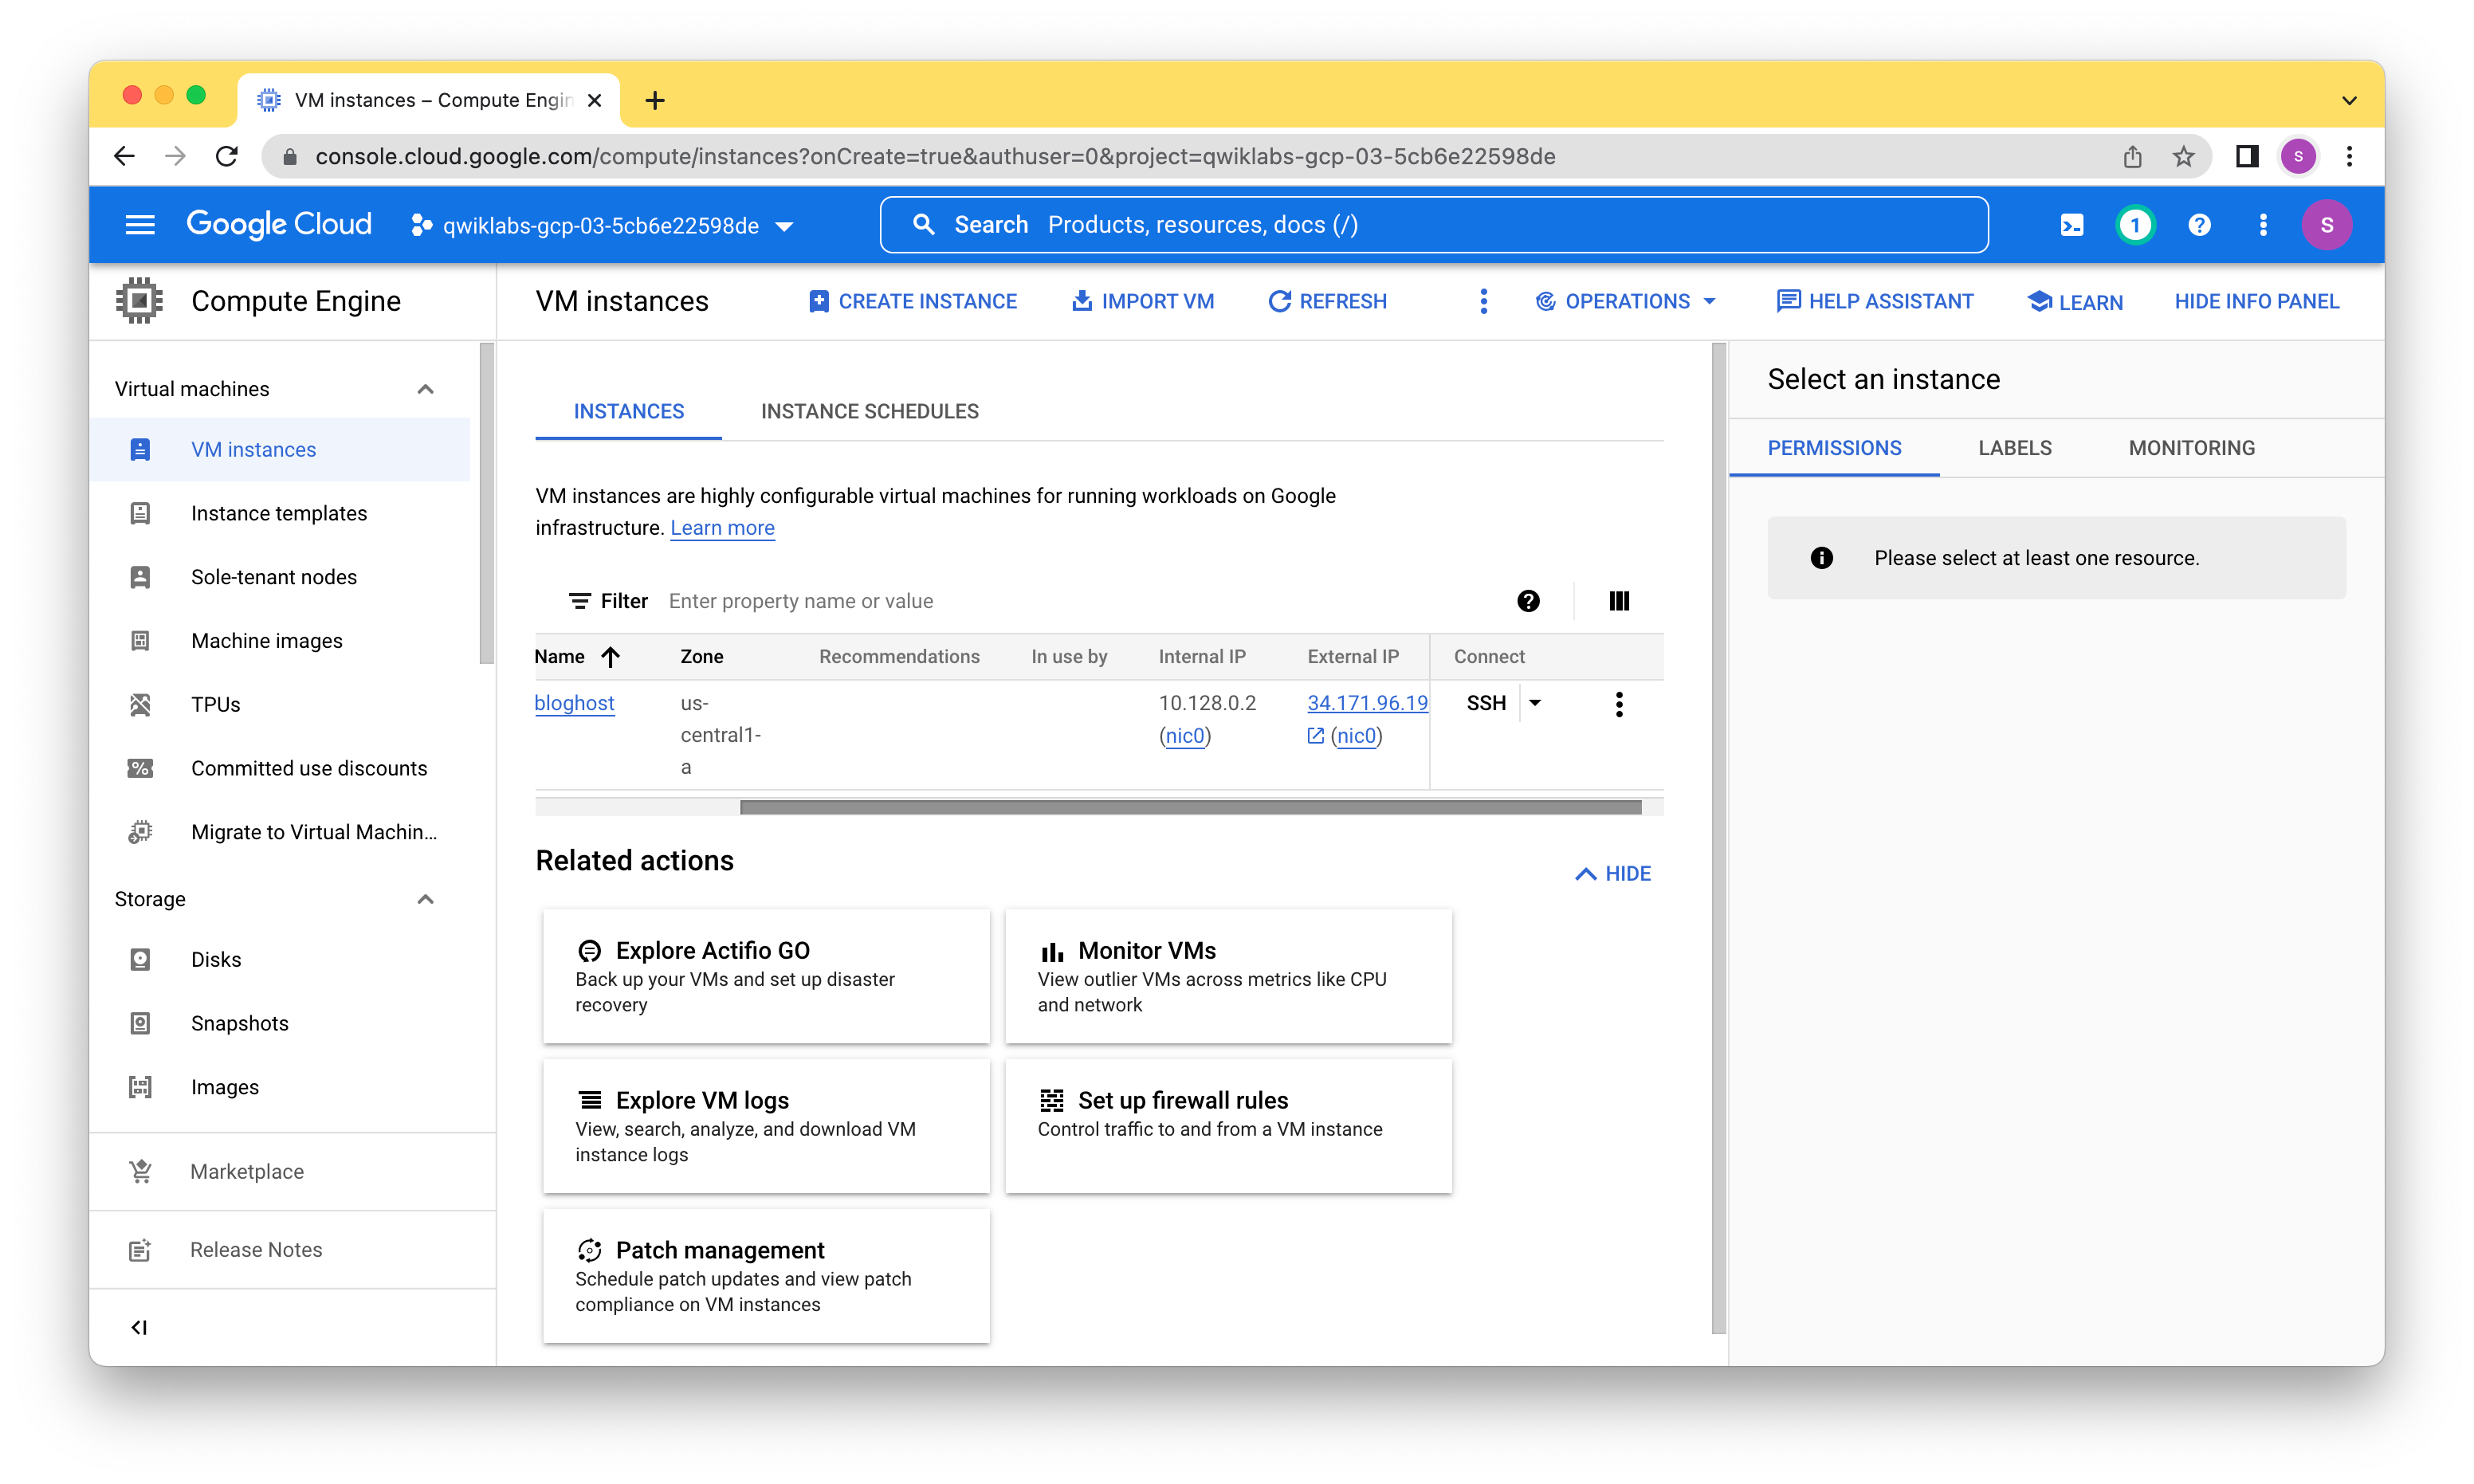
In the GCP Console, on the Navigation menu (Navigation menu icon), click Compute Engine > VM instances.
Click Create Instance.
On the Create an Instance page, for Name, type bloghost
For Region and Zone, select the region and zone assigned by Qwiklabs.
For Machine type, accept the default.
For Boot disk, if the Image shown is not Debian GNU/Linux 11 (bullseye), click Change and select Debian GNU/Linux 11 (bullseye).
Leave the defaults for Identity and API access unmodified.
For Firewall, click Allow HTTP traffic.
Click Networking, disks, security, management, sole tenancy to open that section of the dialog.
Click Management to open that section of the dialog.
Scroll down to the Automation section, and enter the following script as the value for Startup script:
apt-get update
apt-get install apache2 php php-mysql -y
service apache2 restart
Leave the remaining settings as their defaults, and click Create.
Create a Cloud Storage bucket using the gsutil command line
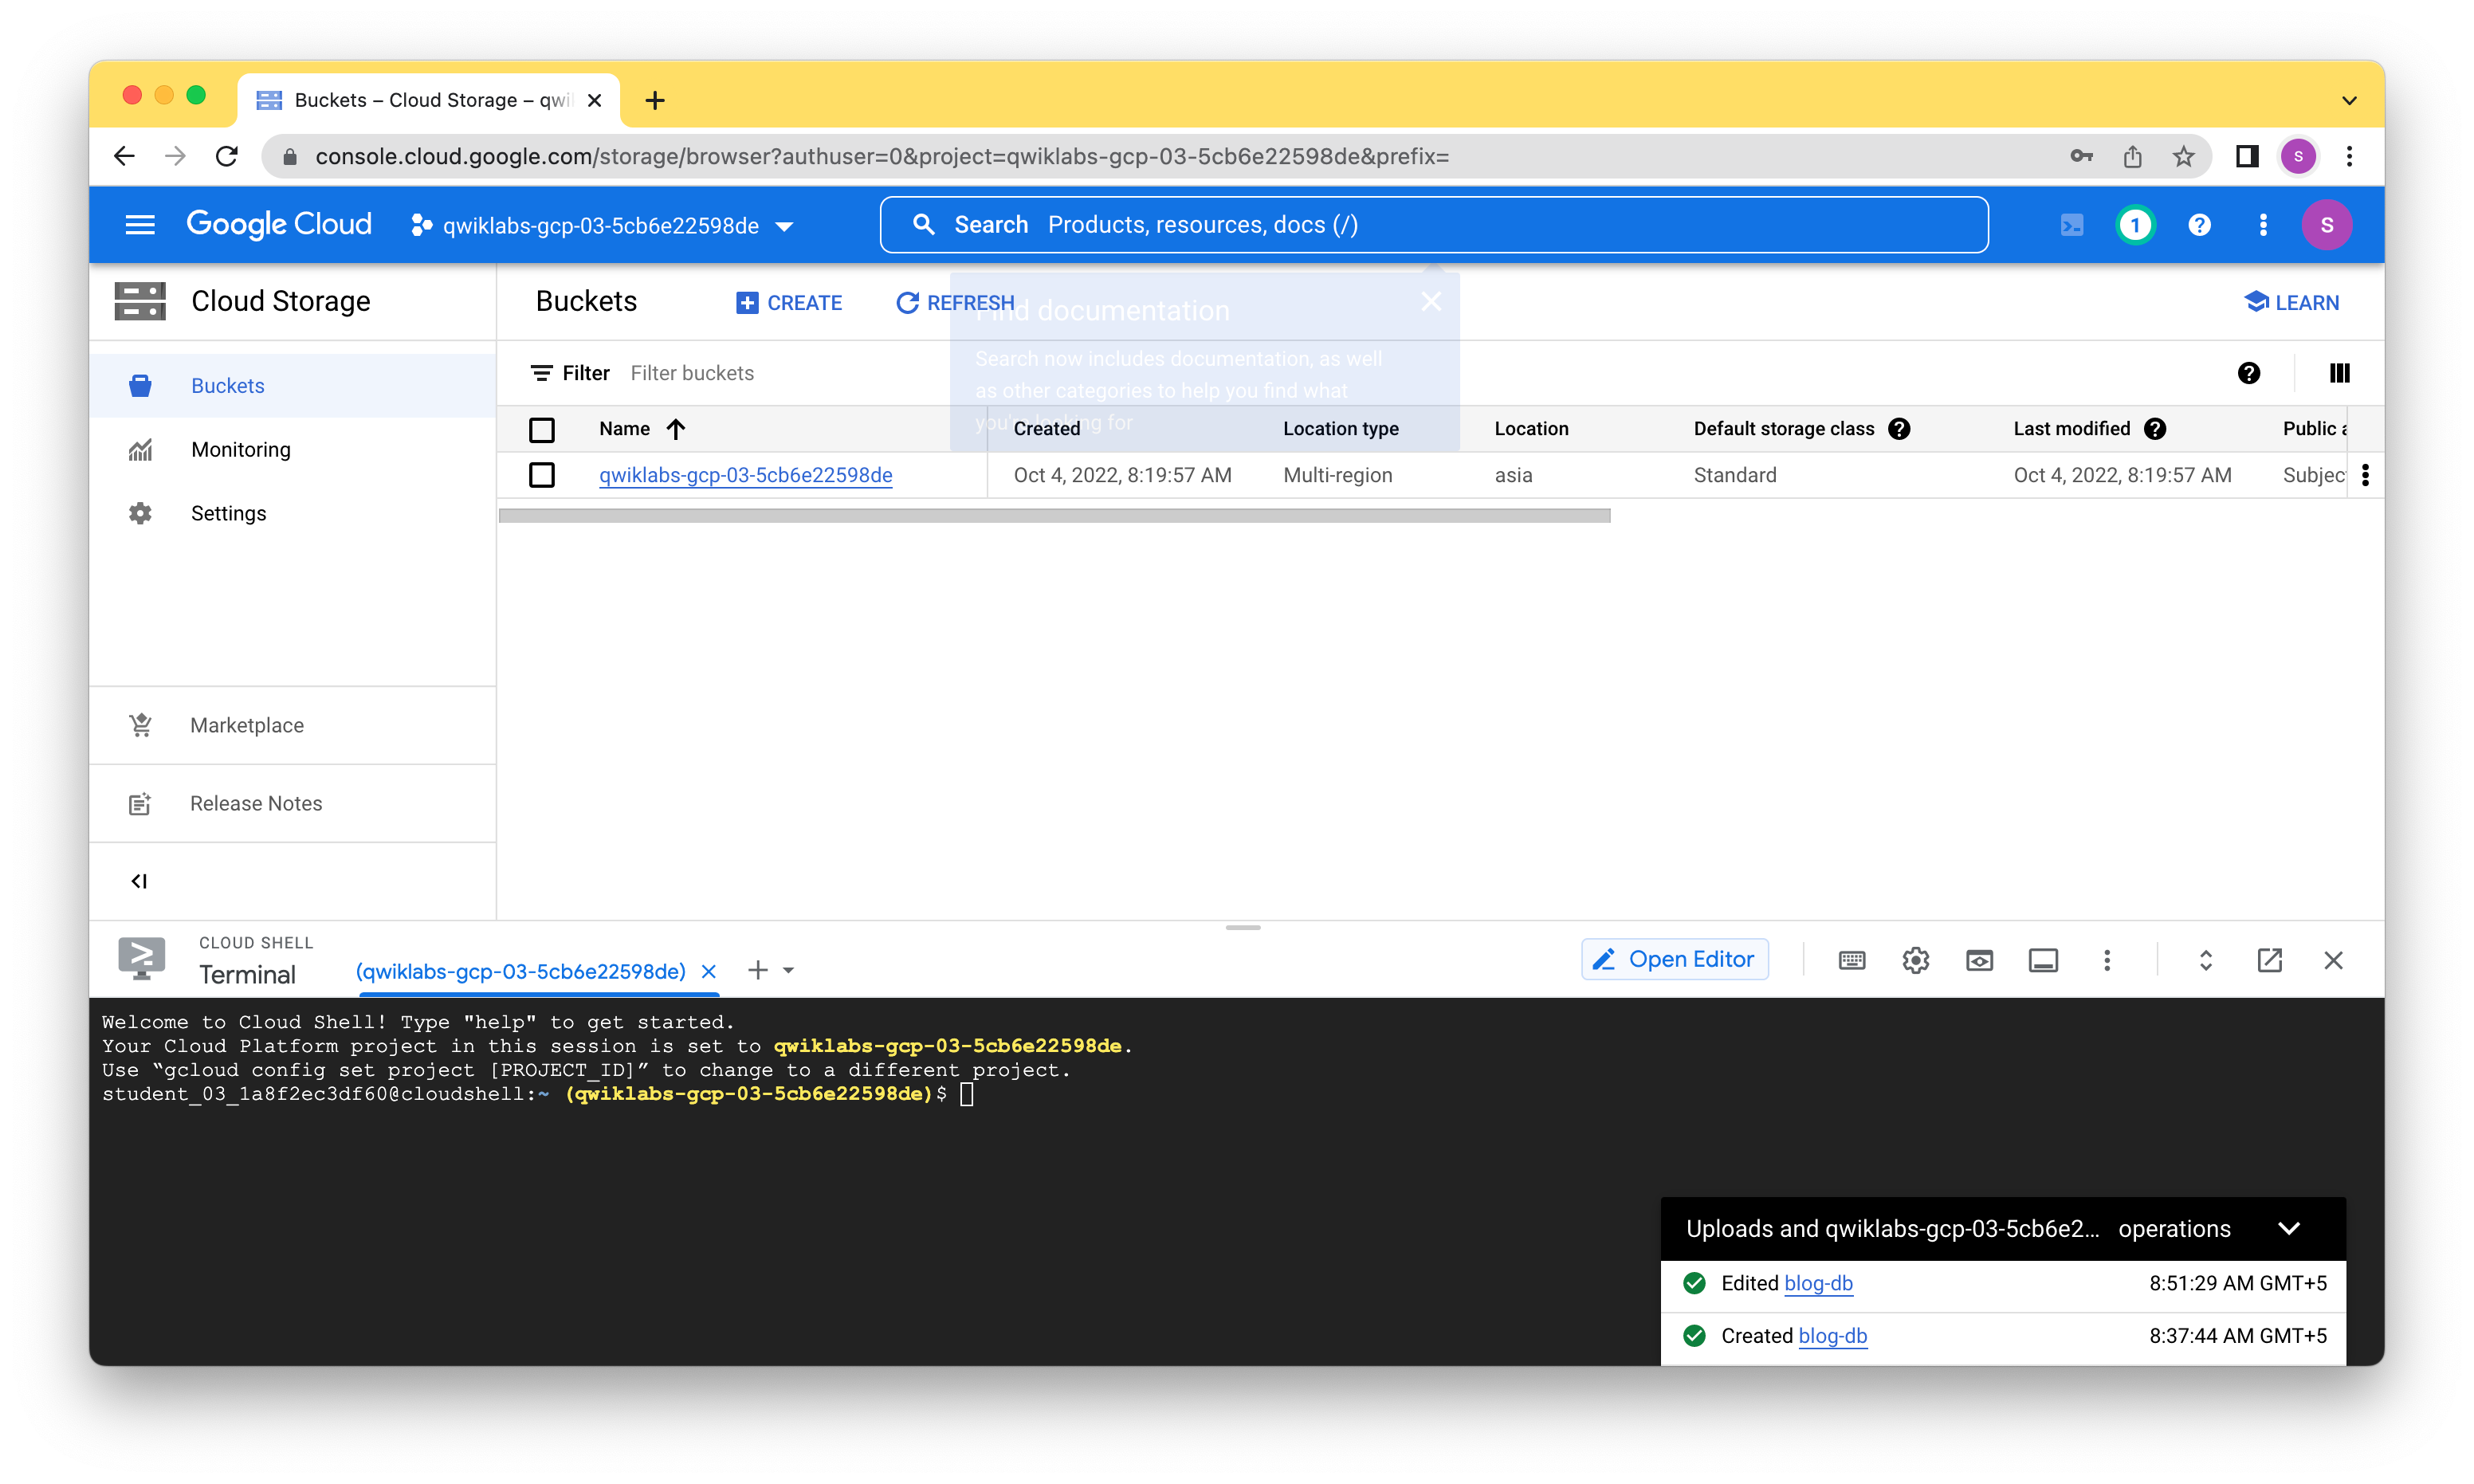
All Cloud Storage bucket names must be globally unique. Give your bucket the same name as your Cloud Platform project ID, which is also globally unique.
Cloud Storage buckets can be associated with either a region or a multi-region location: US, EU, or ASIA. In this activity, you associate your bucket with the multi-region closest to the region and zone that Qwiklabs or your instructor assigned you to.
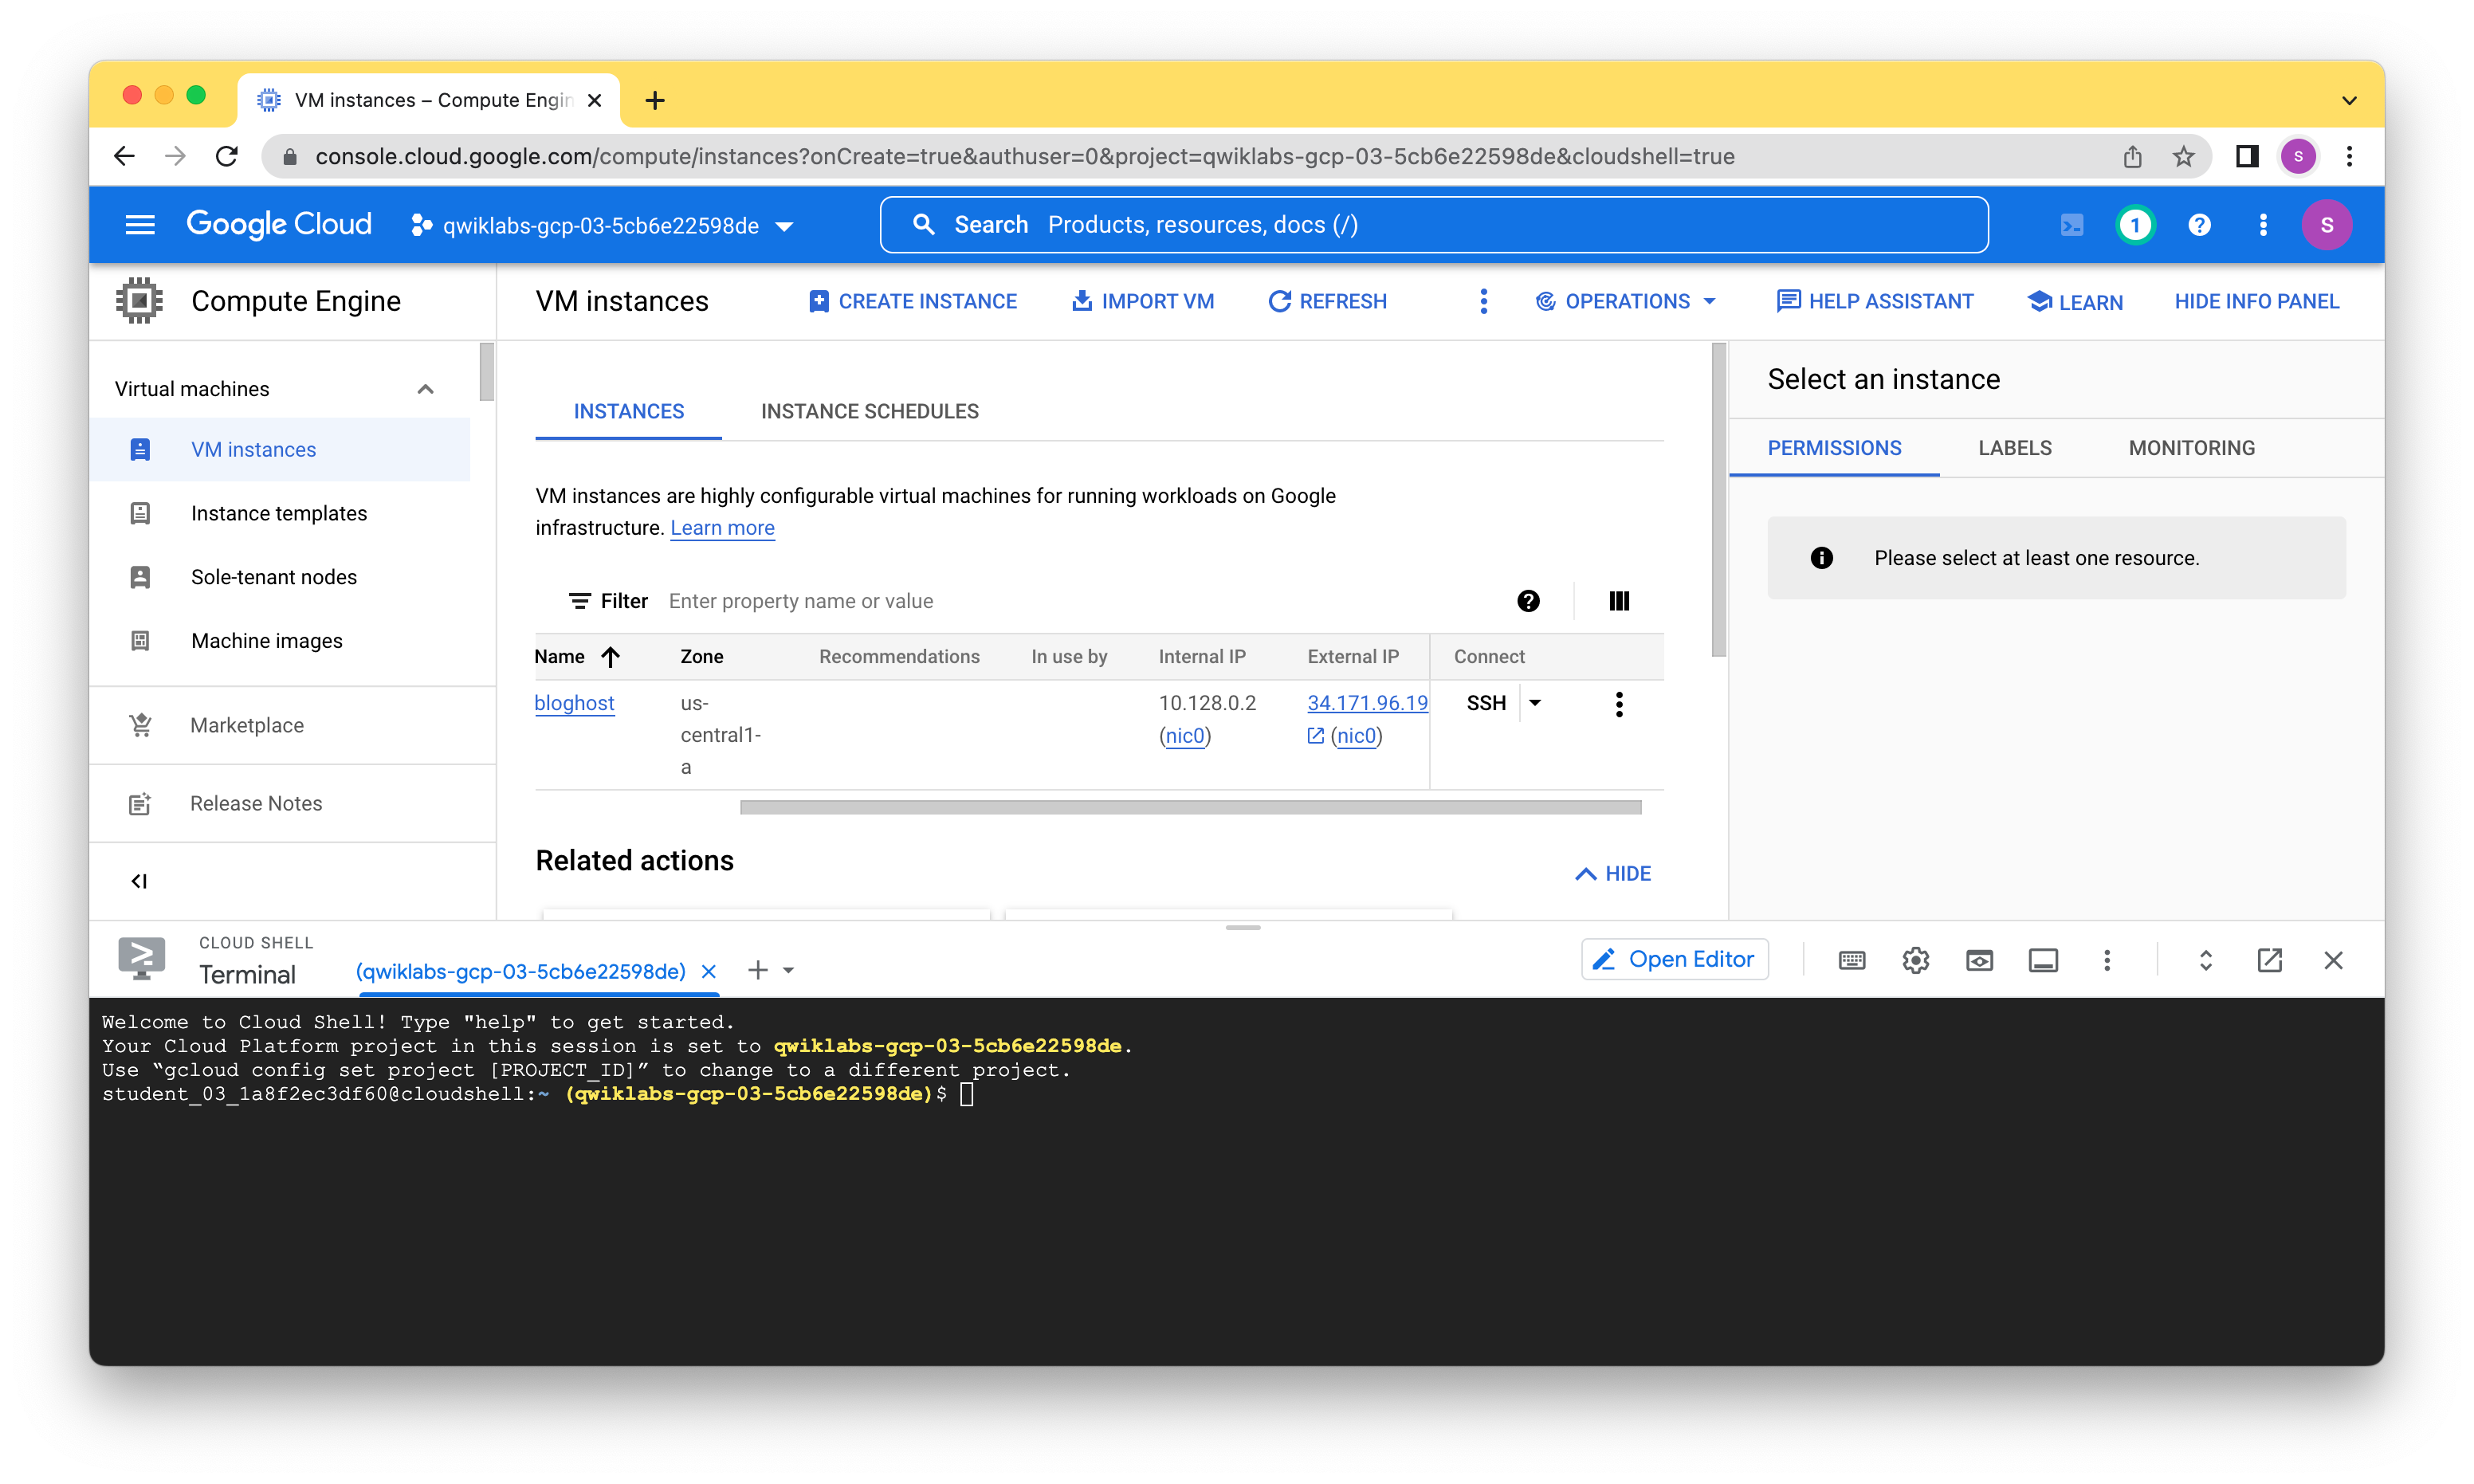
Welcome to Cloud Shell! Type "help" to get started.
Your Cloud Platform project in this session is set to qwiklabs-gcp-03-5cb6e22598de.
Use “gcloud config set project [PROJECT_ID]” to change to a different project.
student_03_1a8f2ec3df60@cloudshell:~ (qwiklabs-gcp-03-5cb6e22598de)$ export LOCATION=ASIA
student_03_1a8f2ec3df60@cloudshell:~ (qwiklabs-gcp-03-5cb6e22598de)$ gsutil mb -l $LOCATION gs://$DEVSHELL_PROJECT_ID
Creating gs://qwiklabs-gcp-03-5cb6e22598de/...
student_03_1a8f2ec3df60@cloudshell:~ (qwiklabs-gcp-03-5cb6e22598de)$ gsutil cp gs://cloud-training/gcpfci/my-excellent-blog.png my-excellent-blog.png
Copying gs://cloud-training/gcpfci/my-excellent-blog.png...
/ [1 files][  8.2 KiB/  8.2 KiB]
Operation completed over 1 objects/8.2 KiB.
student_03_1a8f2ec3df60@cloudshell:~ (qwiklabs-gcp-03-5cb6e22598de)$ gsutil cp my-excellent-blog.png gs://$DEVSHELL_PROJECT_ID/my-excellent-blog.png
Copying file://my-excellent-blog.png [Content-Type=image/png]...
/ [1 files][  8.2 KiB/  8.2 KiB]
Operation completed over 1 objects/8.2 KiB.
student_03_1a8f2ec3df60@cloudshell:~ (qwiklabs-gcp-03-5cb6e22598de)$ gsutil acl ch -u allUsers:R gs://$DEVSHELL_PROJECT_ID/my-excellent-blog.png
Updated ACL on gs://qwiklabs-gcp-03-5cb6e22598de/my-excellent-blog.png
student_03_1a8f2ec3df60@cloudshell:~ (qwiklabs-gcp-03-5cb6e22598de)$
Note, mb Enter this command to make a bucket .
So far, we:
- Retrieved a banner image from a publicly accessible Cloud Storage location
- Copied the banner image to our newly created Cloud Storage bucket
- Modified the Access Control List of the object we just created so that it is readable by everyone
individual files in /usr/share/doc/*/copyright.

Debian GNU/Linux comes with ABSOLUTELY NO WARRANTY, to the extent
permitted by applicable law.
Creating directory '/home/student-03-1a8f2ec3df60'.
student-03-1a8f2ec3df60@bloghost:~$ cd /var/www/html
student-03-1a8f2ec3df60@bloghost:/var/www/html$ sudo nano index..php
student-03-1a8f2ec3df60@bloghost:/var/www/html$ sudo nano inx.php
student-03-1a8f2ec3df60@bloghost:/var/www/html$ sudo nano index.php
student-03-1a8f2ec3df60@bloghost:/var/www/html$ sudo service apache2 restart
student-03-1a8f2ec3df60@bloghost:/var/www/html$ sudo nano index.php
student-03-1a8f2ec3df60@bloghost:/var/www/html$ sudo service apache2 restart
student-03-1a8f2ec3df60@bloghost:/var/www/html$ sudo nano index.php
student-03-1a8f2ec3df60@bloghost:/var/www/html$ sudo service apache2 restart
student-03-1a8f2ec3df60@bloghost:/var/www/html$ sudo nano index.php
student-03-1a8f2ec3df60@bloghost:/var/www/html$ sudo service apache2 restart
student-03-1a8f2ec3df60@bloghost:/var/www/html$ cat index.php
<html>
<head><title>Welcome to my excellent blog</title></head>
<body>
<img src='https://storage.googleapis.com/qwiklabs-gcp-03-5cb6e22598de/my-excellent-blog.png'>
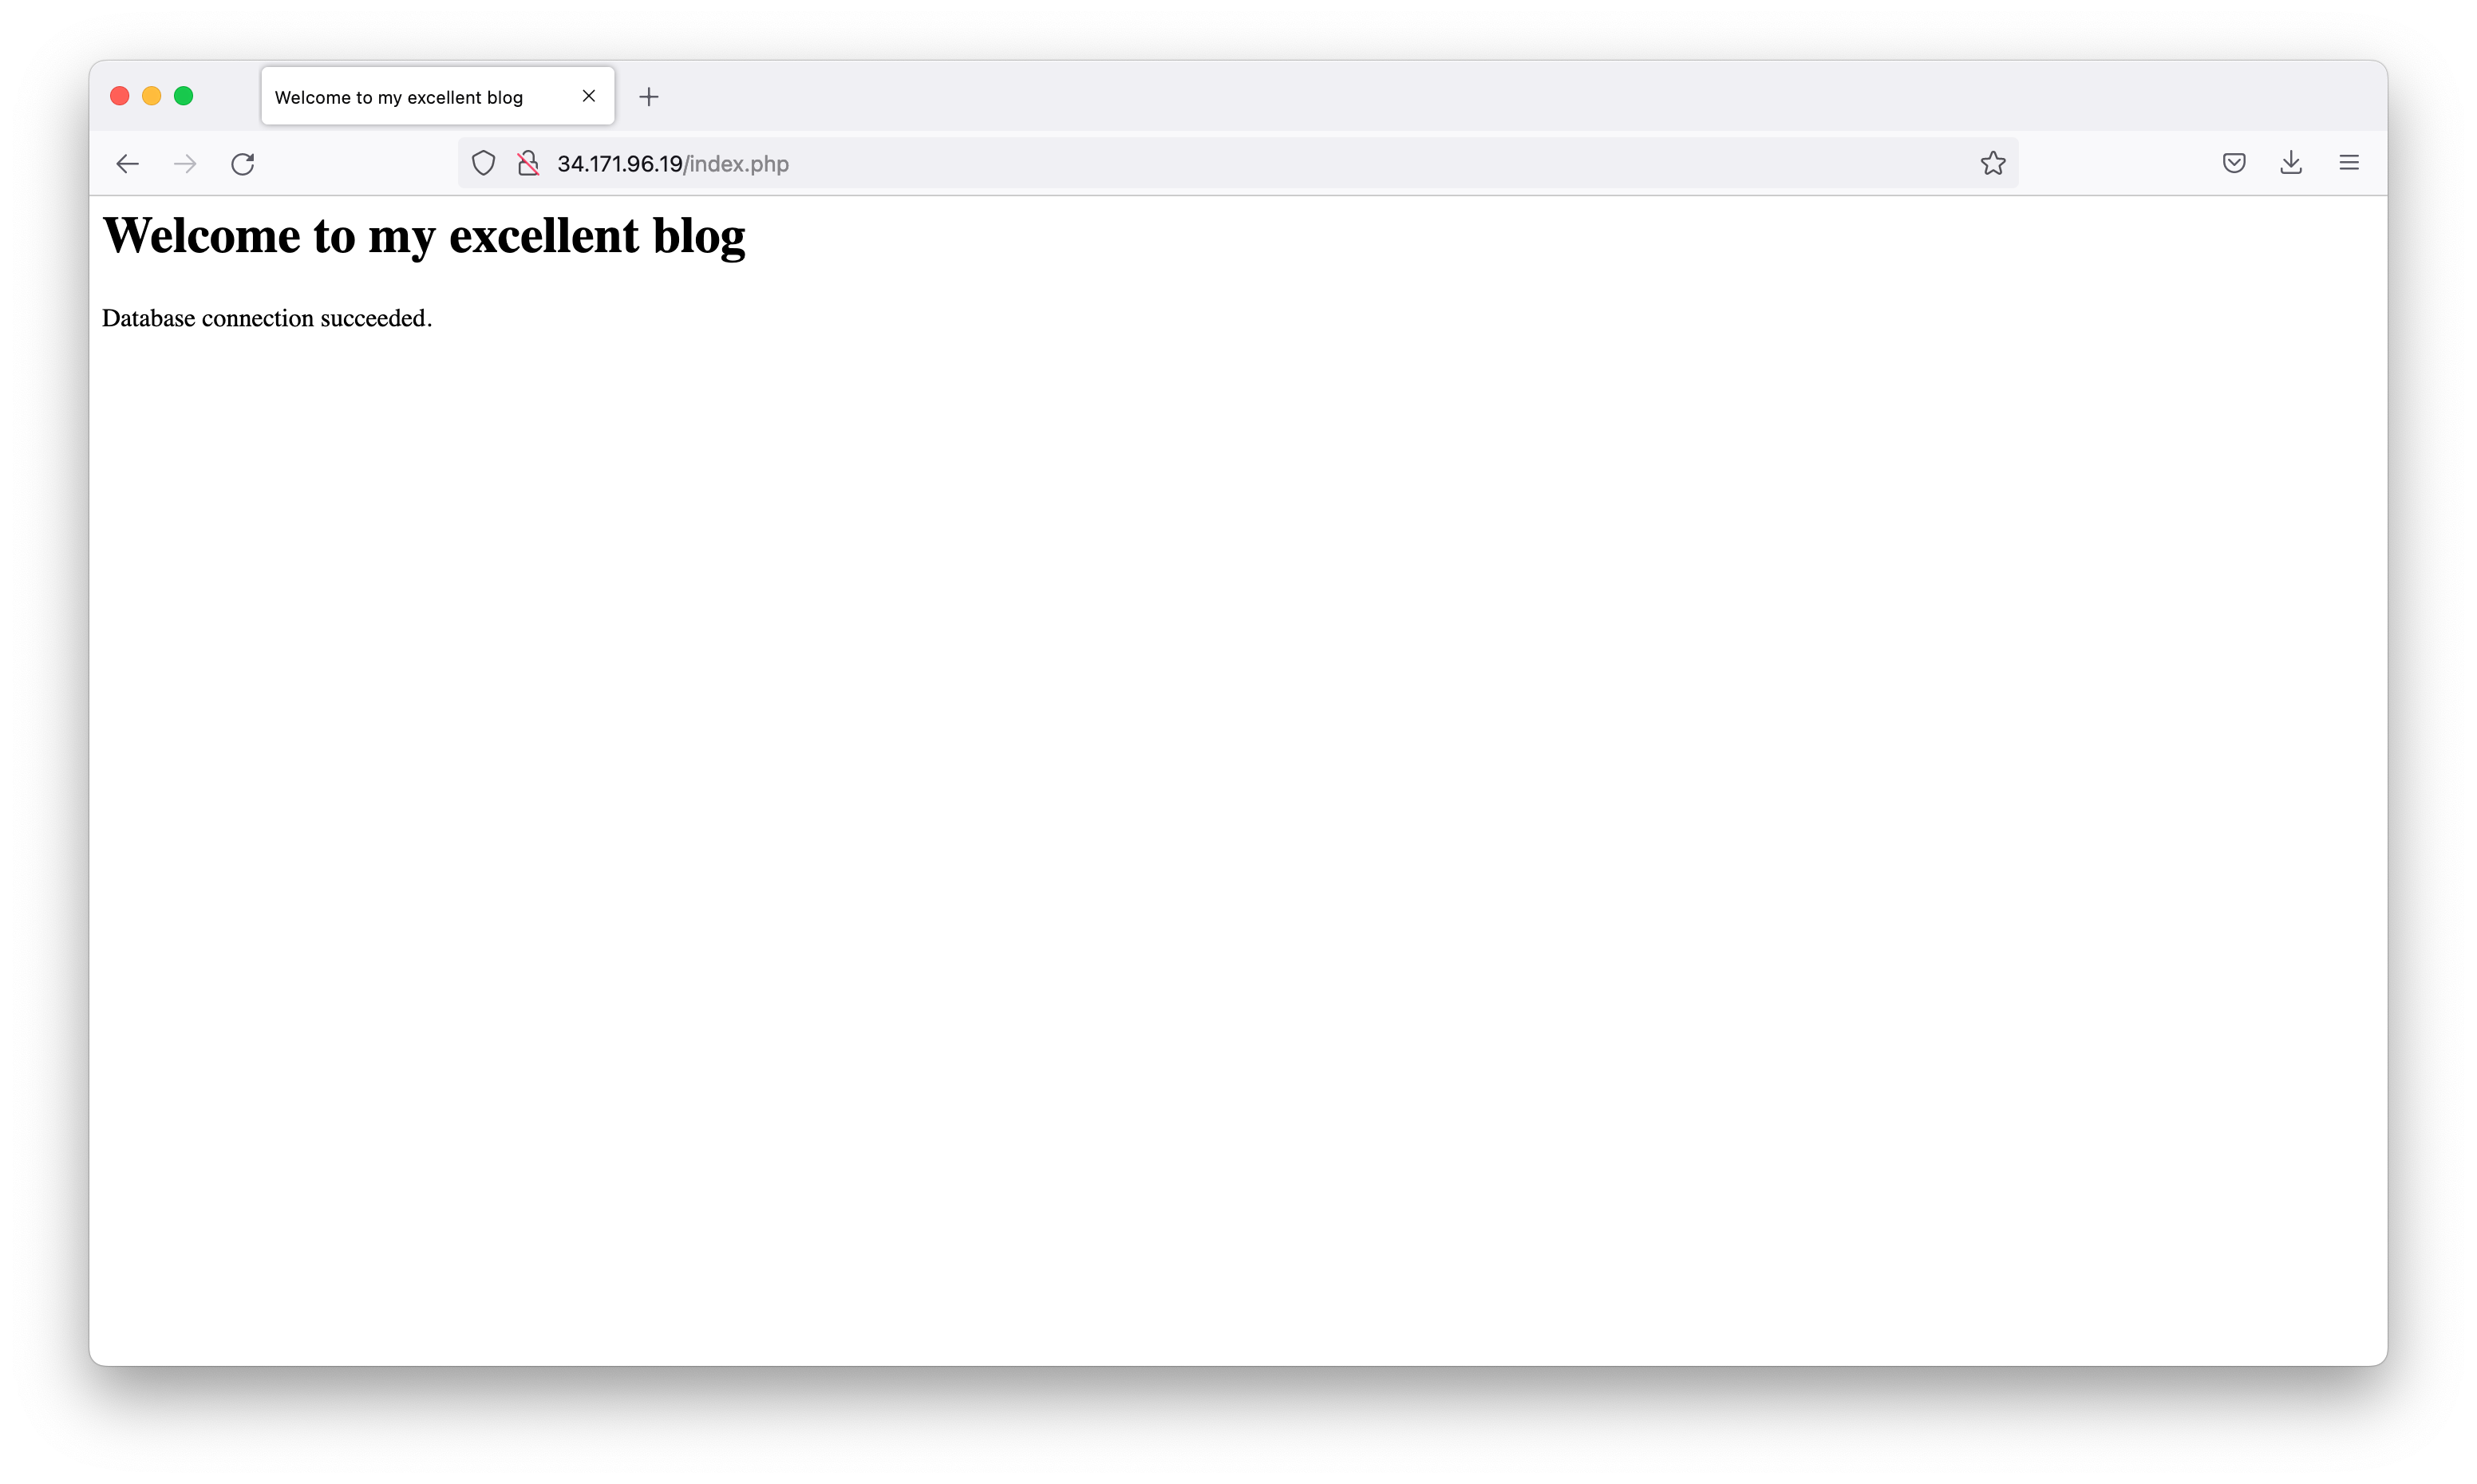
<h1>Welcome to my excellent blog</h1>
<?php
 $dbserver ="34.170.7.1";
$dbuser = "bloguser";
$dbpassword = "GCP2022";
// In a production blog, we would not store the MySQL
// password in the document root. Instead, we would store it in a
// configuration file elsewhere on the web server VM instance.
$conn = new mysqli($dbserver, $dbuser, $dbpassword);
if (mysqli_connect_error()) {
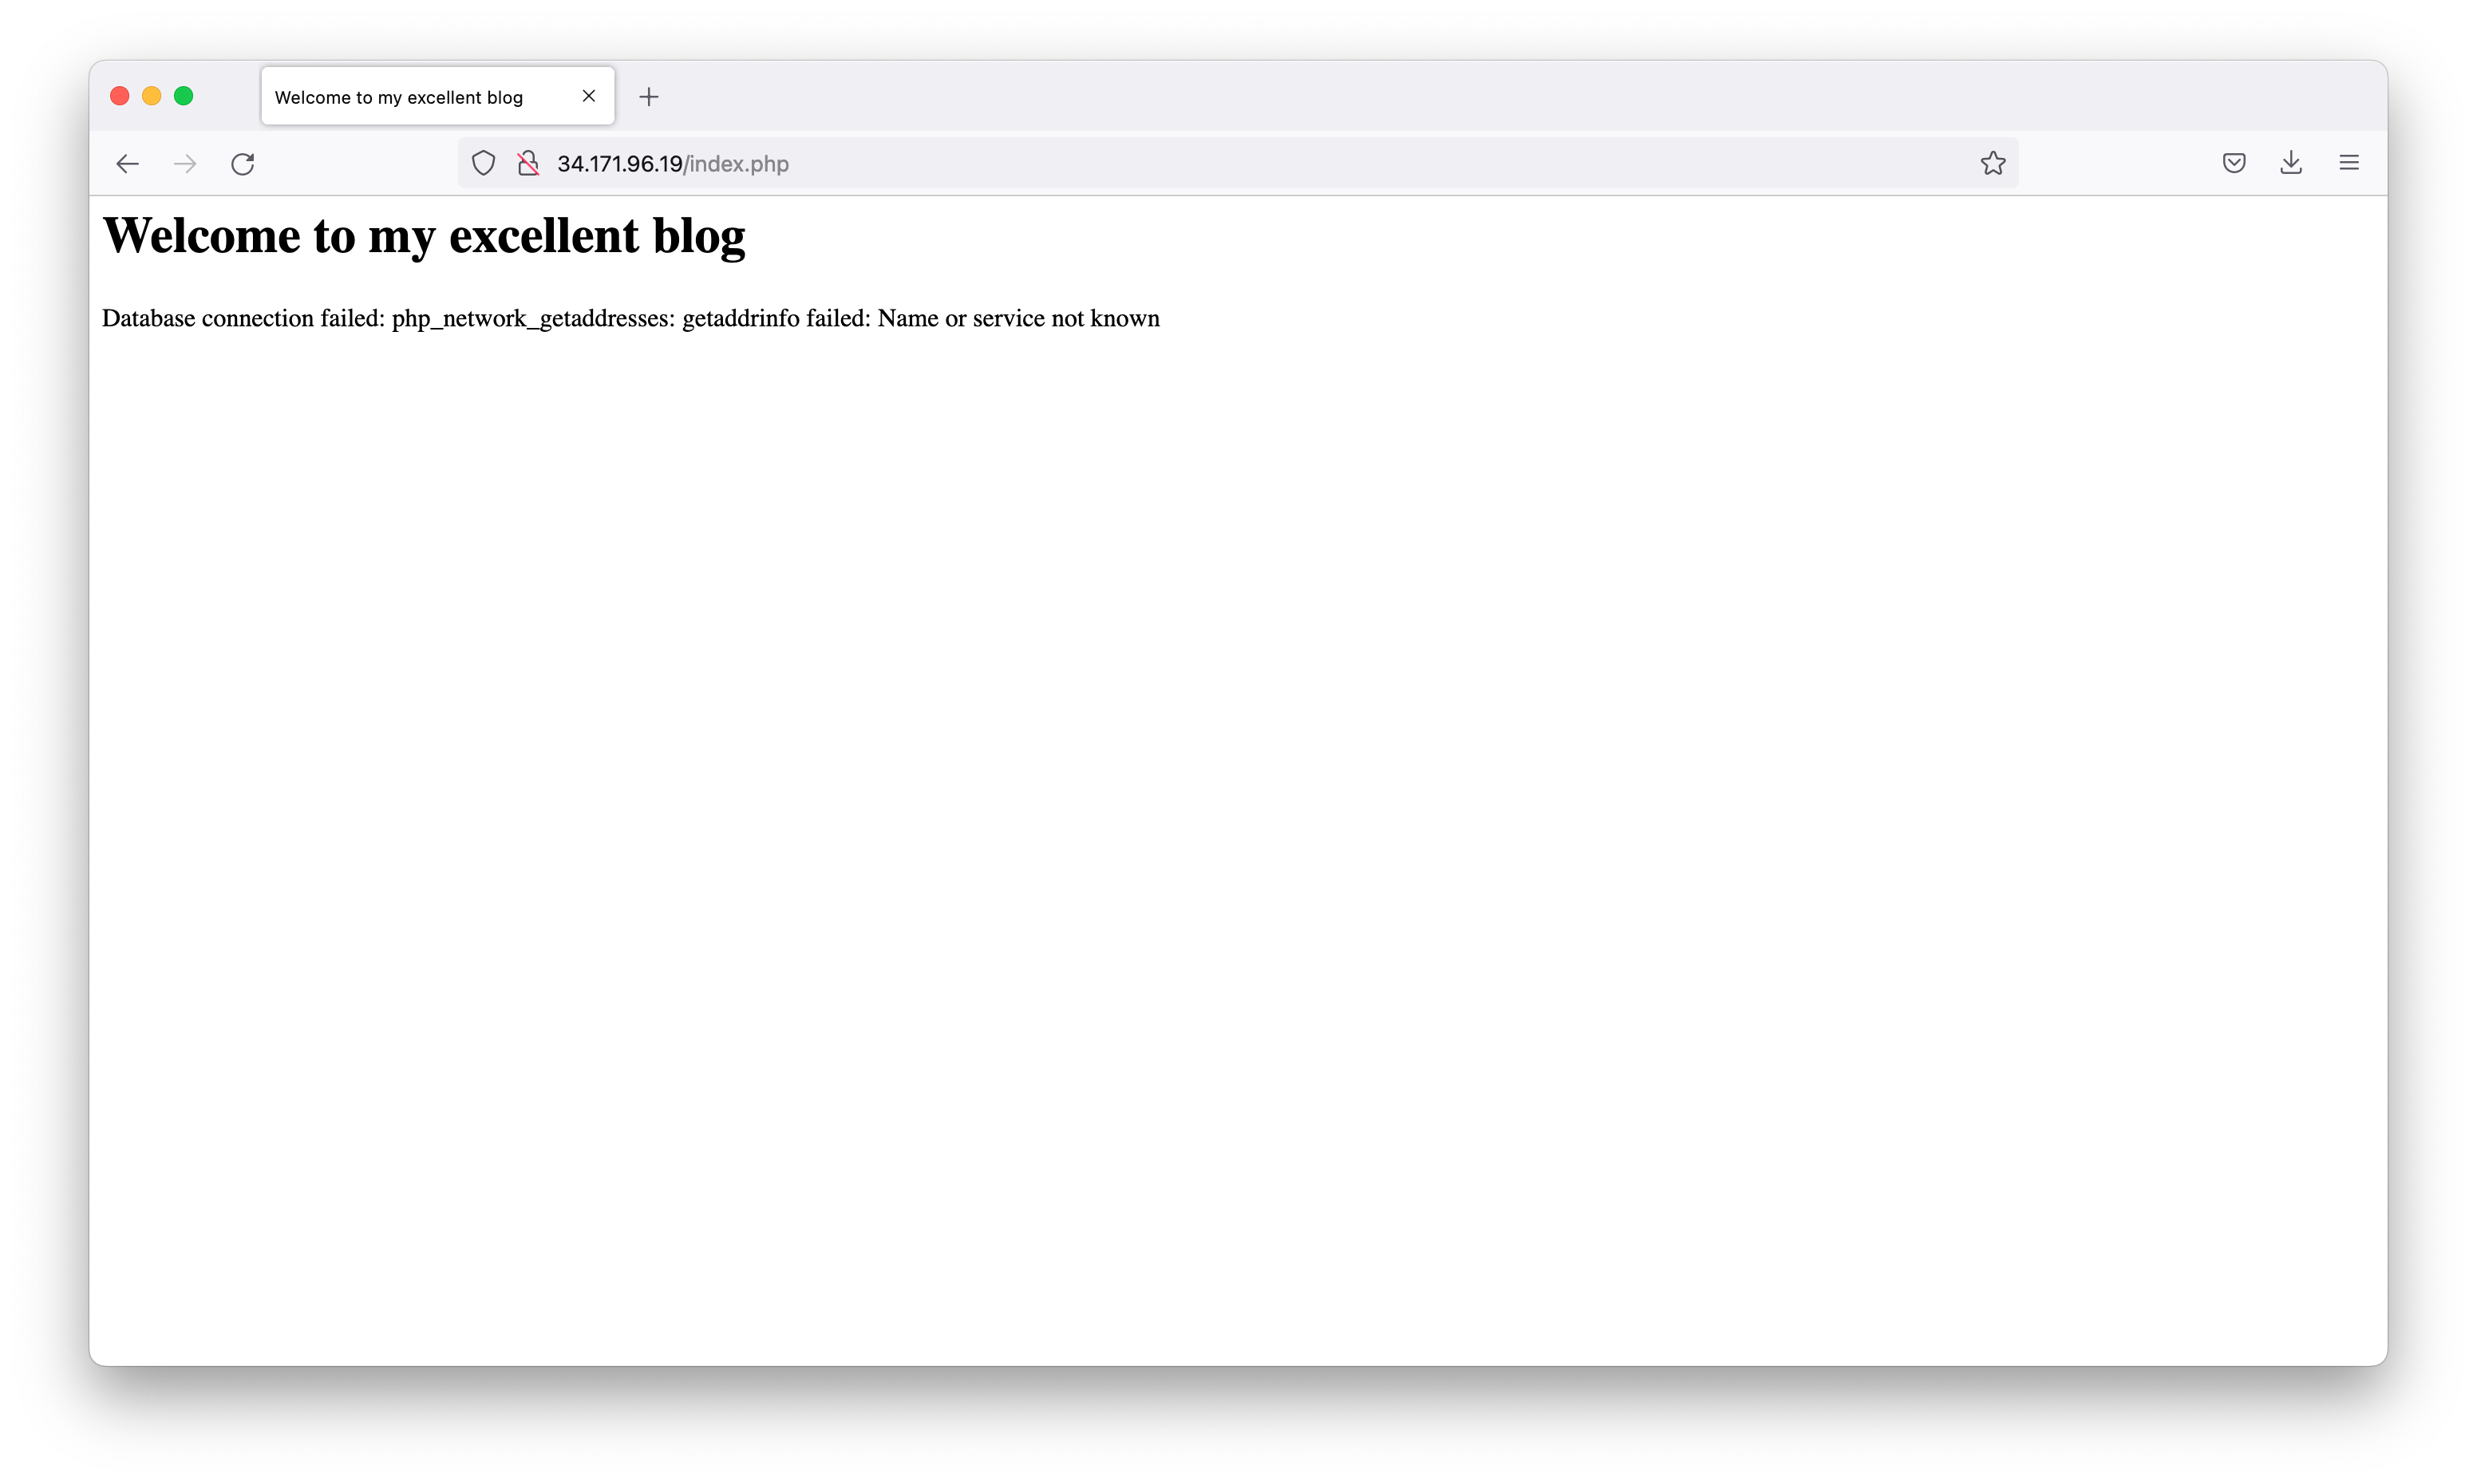
        echo ("Database connection failed: " . mysqli_connect_error());
} else {
        echo ("Database connection succeeded.");
}
?>
</body></html>
student-03-1a8f2ec3df60@bloghost:/var/www/html$
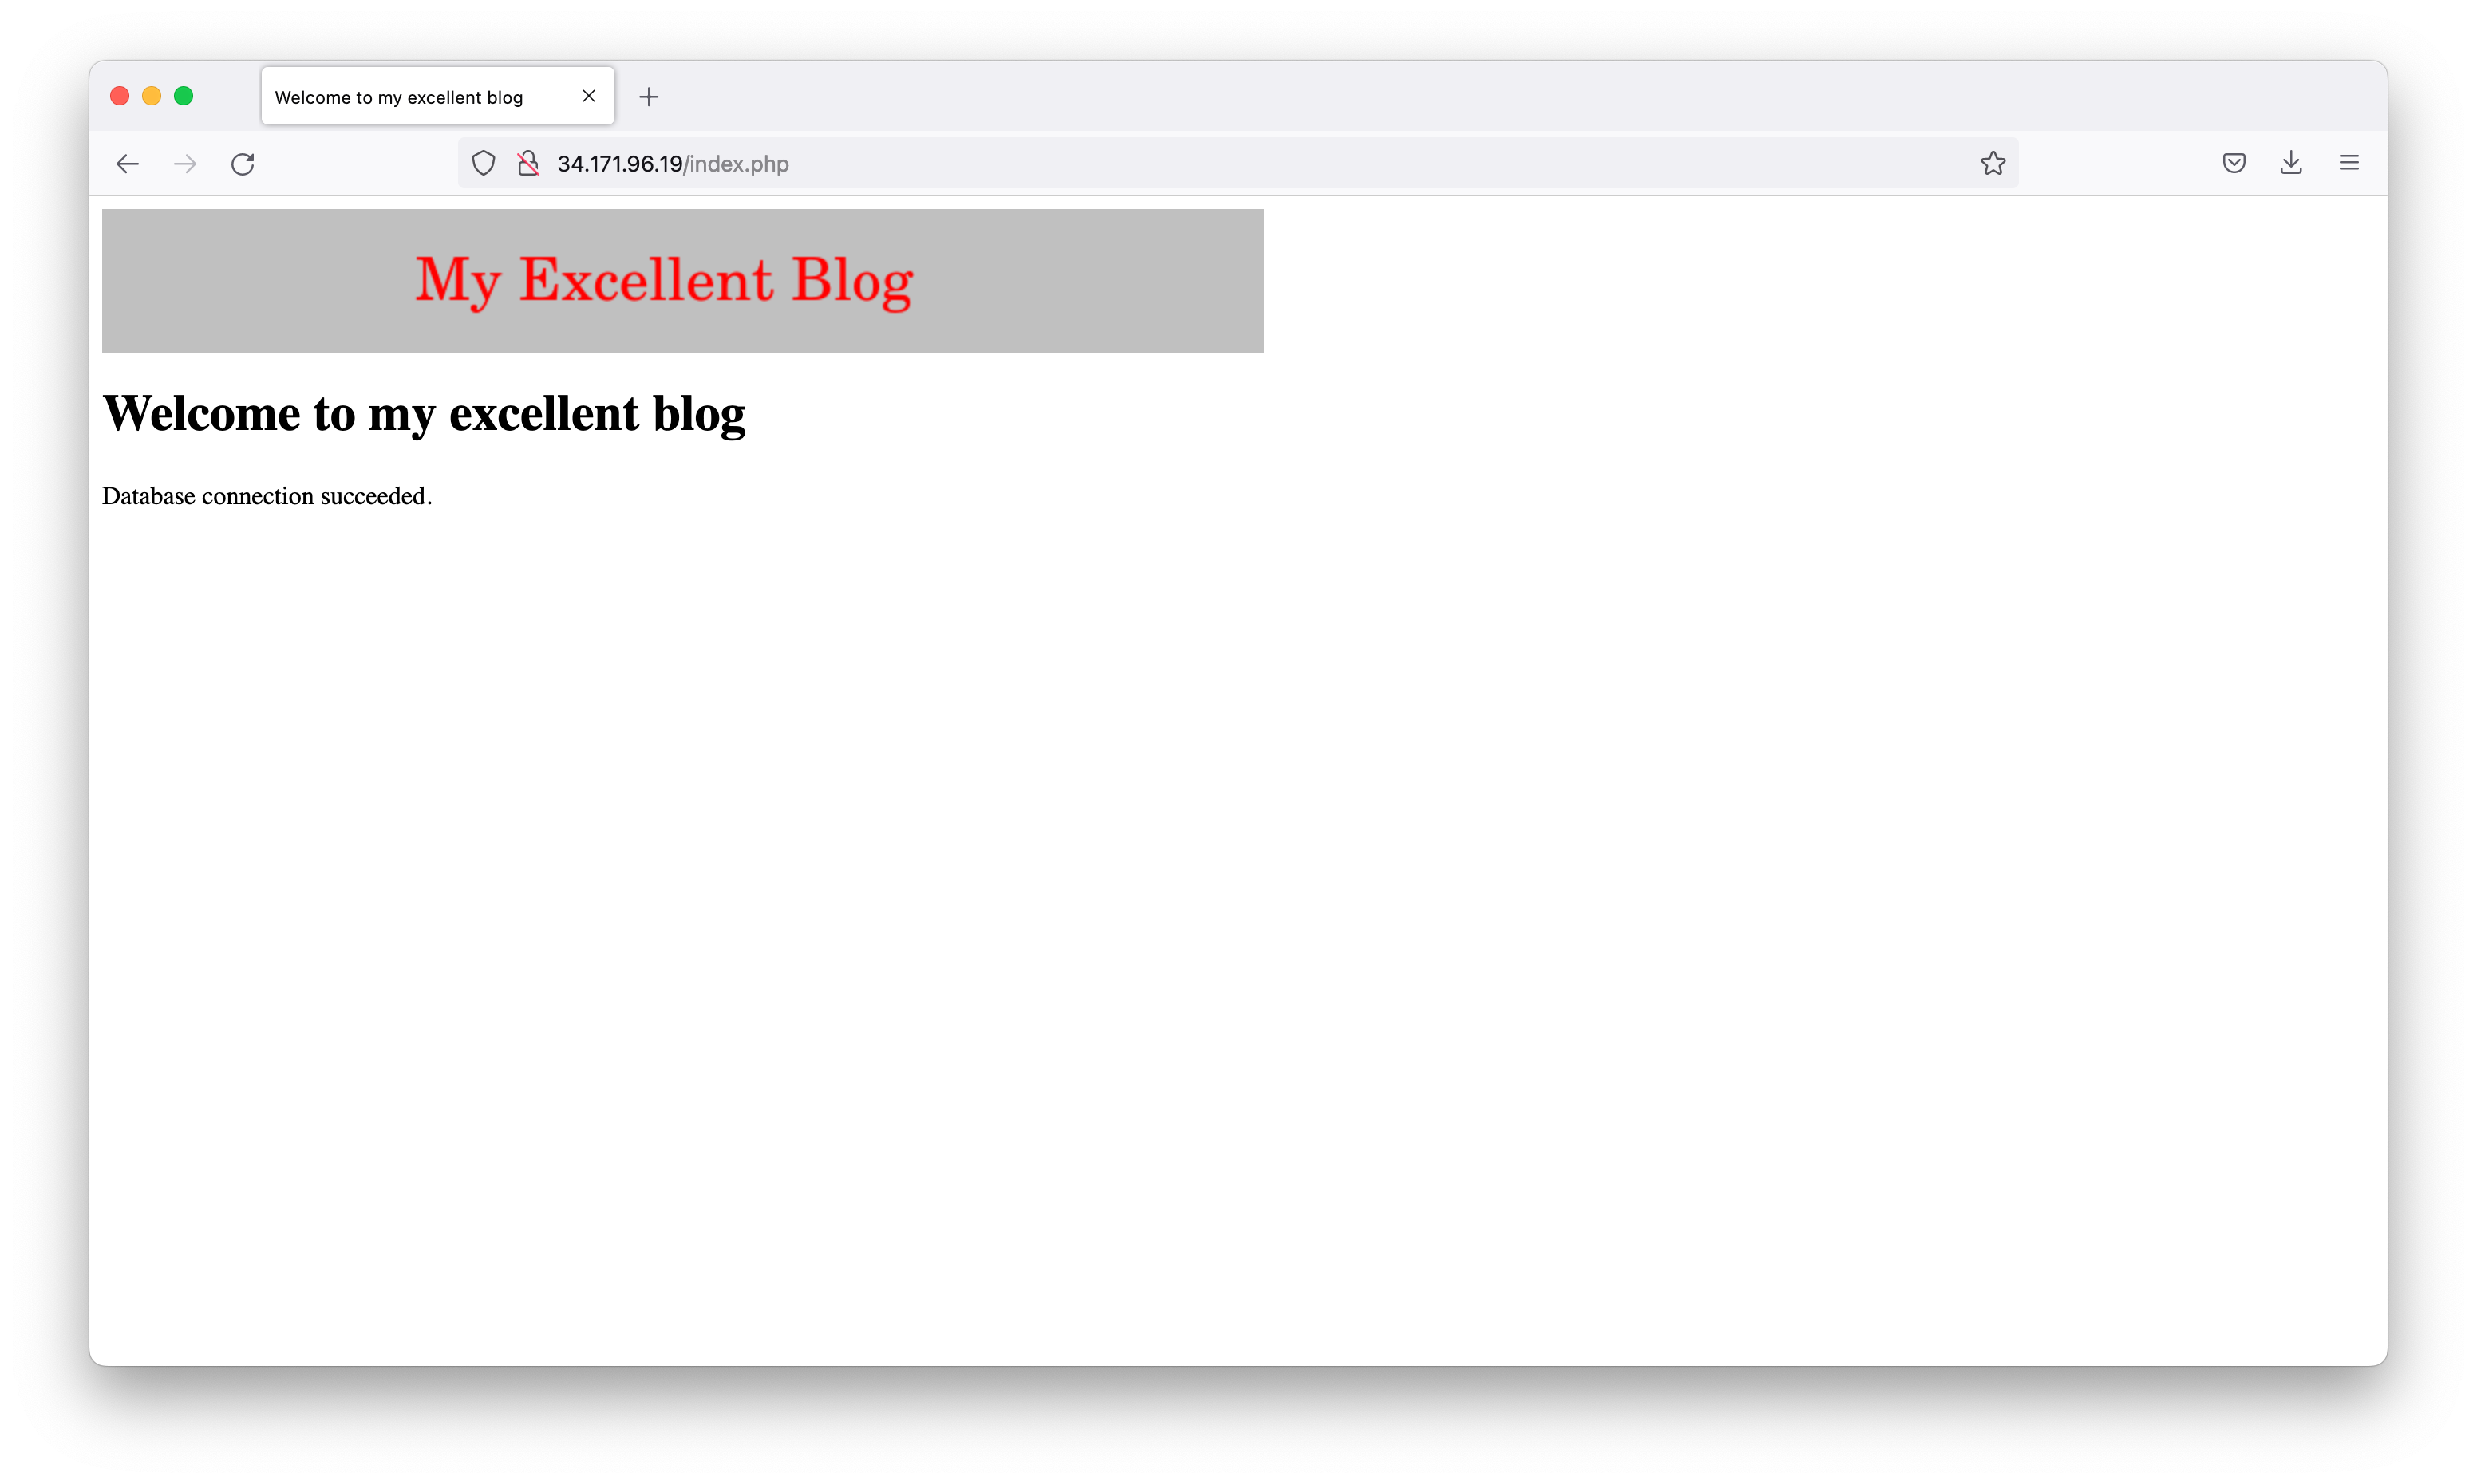
In this lab, we configured a Cloud SQL instance and connected an application in a Compute Engine instance to it. We also worked with a Cloud Storage bucket.


