
Google Cloud Shell
We can use the Cloud Shell to manage projects and resources via command line without having to install the Cloud SDK and other tools on your computer.
Cloud shell provides the following:
- Temporary Compute Engine VM
- Command-line access to the instance via a browser
- 5 GB of persistent disk storage ($HOME dir)
- Pre-installed Cloud SDK and other tools
gcloud: for working with Compute Engine and many Google Cloud servicesgsutil: for working with Cloud Storagekubectl: for working with Google Kubernetes Engine and Kubernetesbq: for working with BigQuery- Language support for Java, Go, Python, Node.js, PHP, and Ruby
- Web preview functionality
- Built-in authorization for access to resources and instances
After 1 hour of inactivity, CloudShell Instance is recycled.
Only the /home directory persists.
Any changes made to system configuration, including environment variables are lost between sessions.
gaddepradeep@cloudshell:~$ ls
README-cloudshell.txt
gaddepradeep@cloudshell:~$ pwd
/home/gaddepradeep
gaddepradeep@cloudshell:~$ uname -a
Linux cs-57773528480-default 5.15.89+ #1 SMP Sat Mar 18 09:27:02 UTC 2023 x86_64 GNU/Linux
gaddepradeep@cloudshell:~$ touch pradeep-gcp.txt
gaddepradeep@cloudshell:~$ vi pradeep-gcp.txt
gaddepradeep@cloudshell:~$ cat pradeep-gcp.txt
This is a test file in GCP CloudShell.
gaddepradeep@cloudshell:~$
Use Cloud Shell to create a Cloud Storage bucket
gsutil mb gs://<BUCKET_NAME>
Upload a file
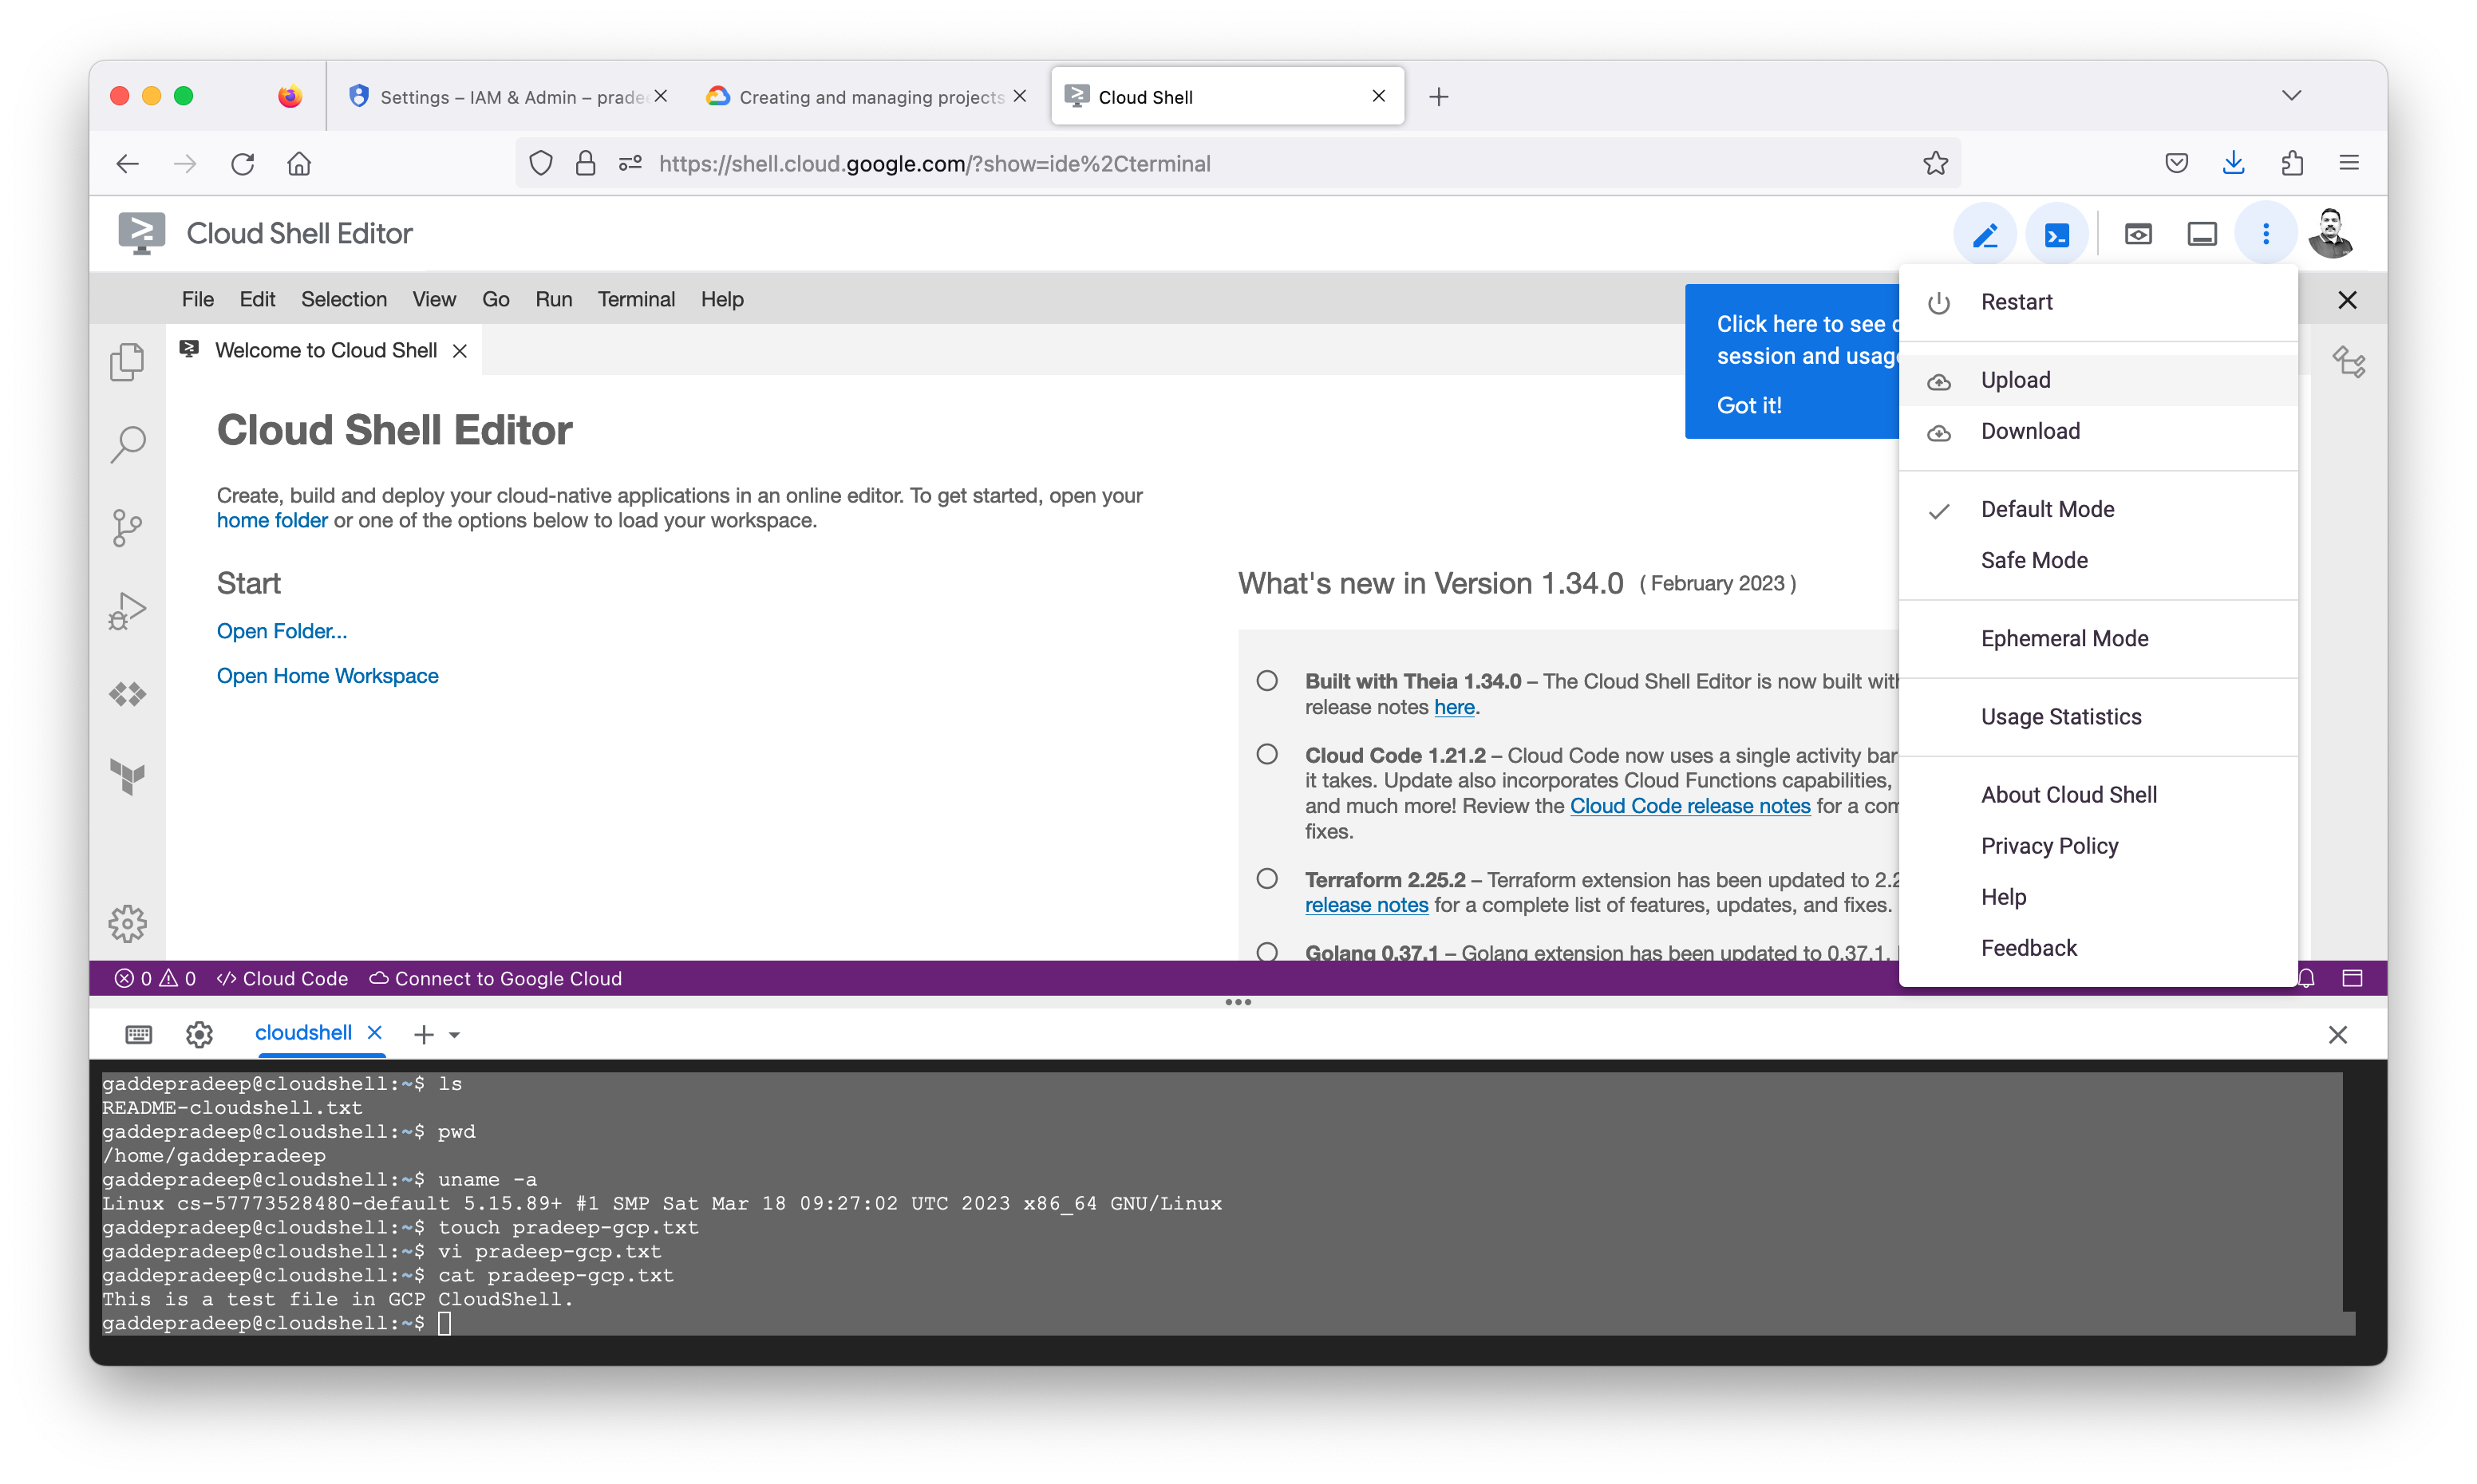
- Open Cloud Shell.
- Click the More button (
) in the Cloud Shell toolbar to display further options.
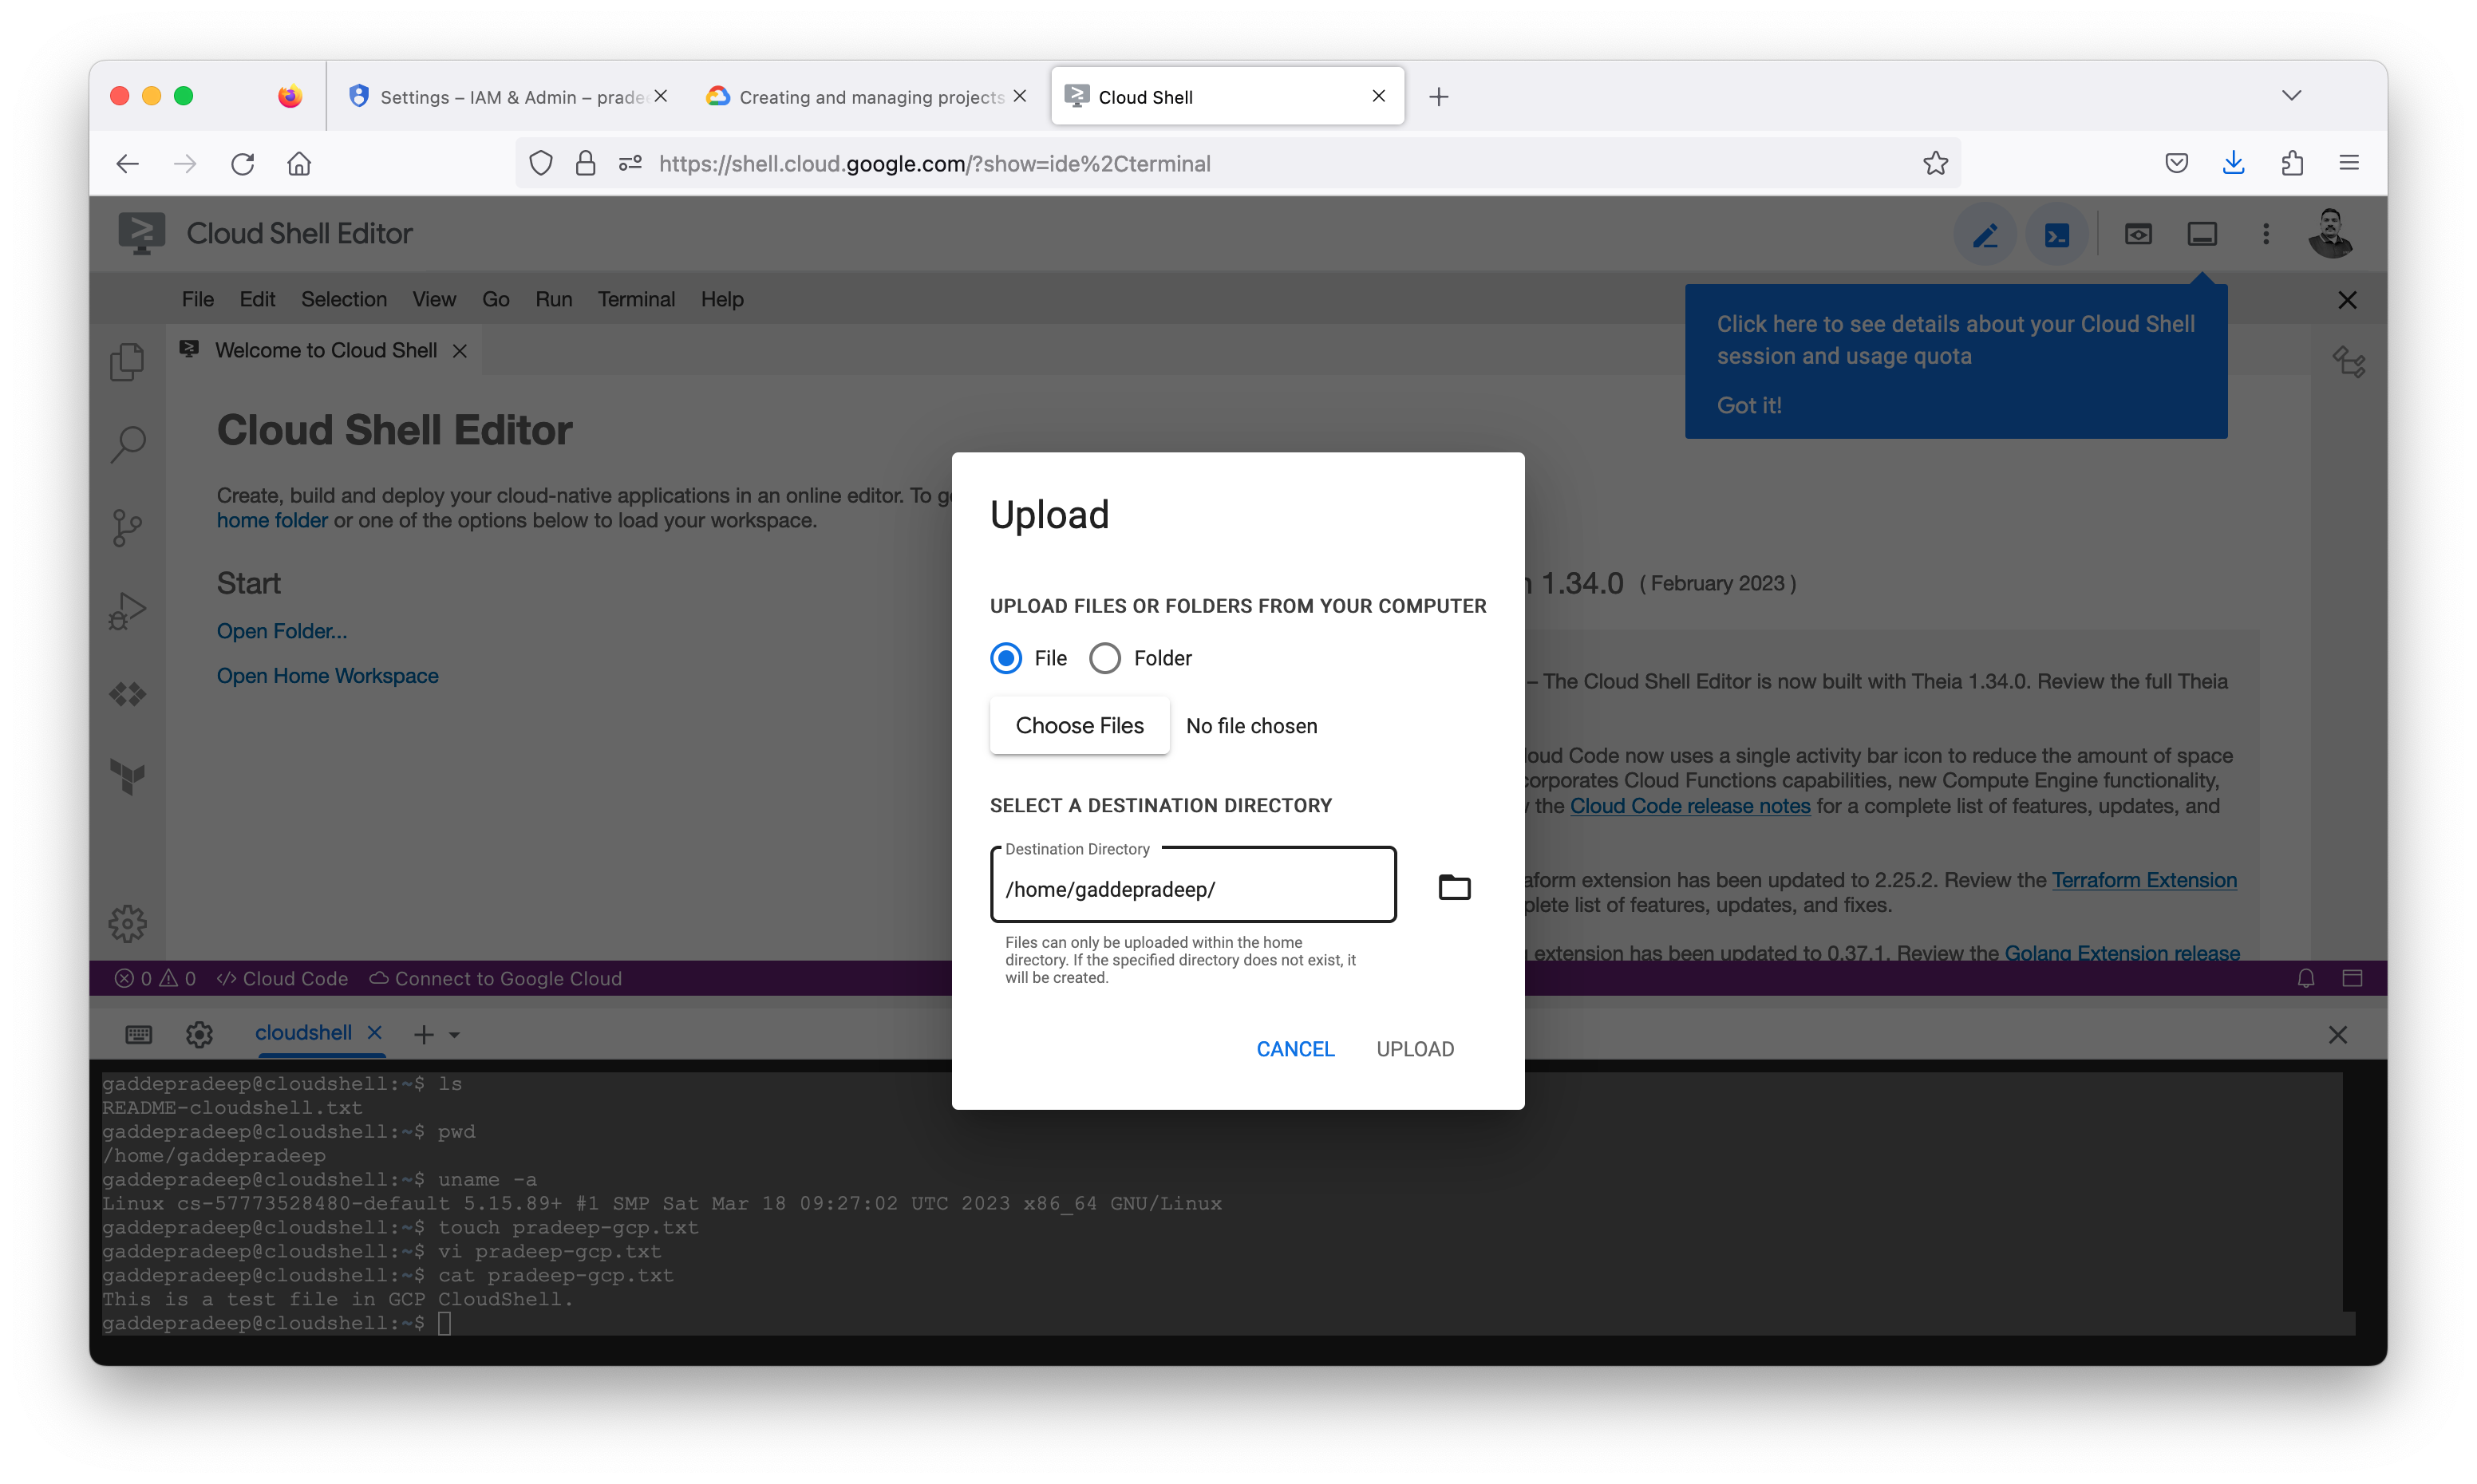
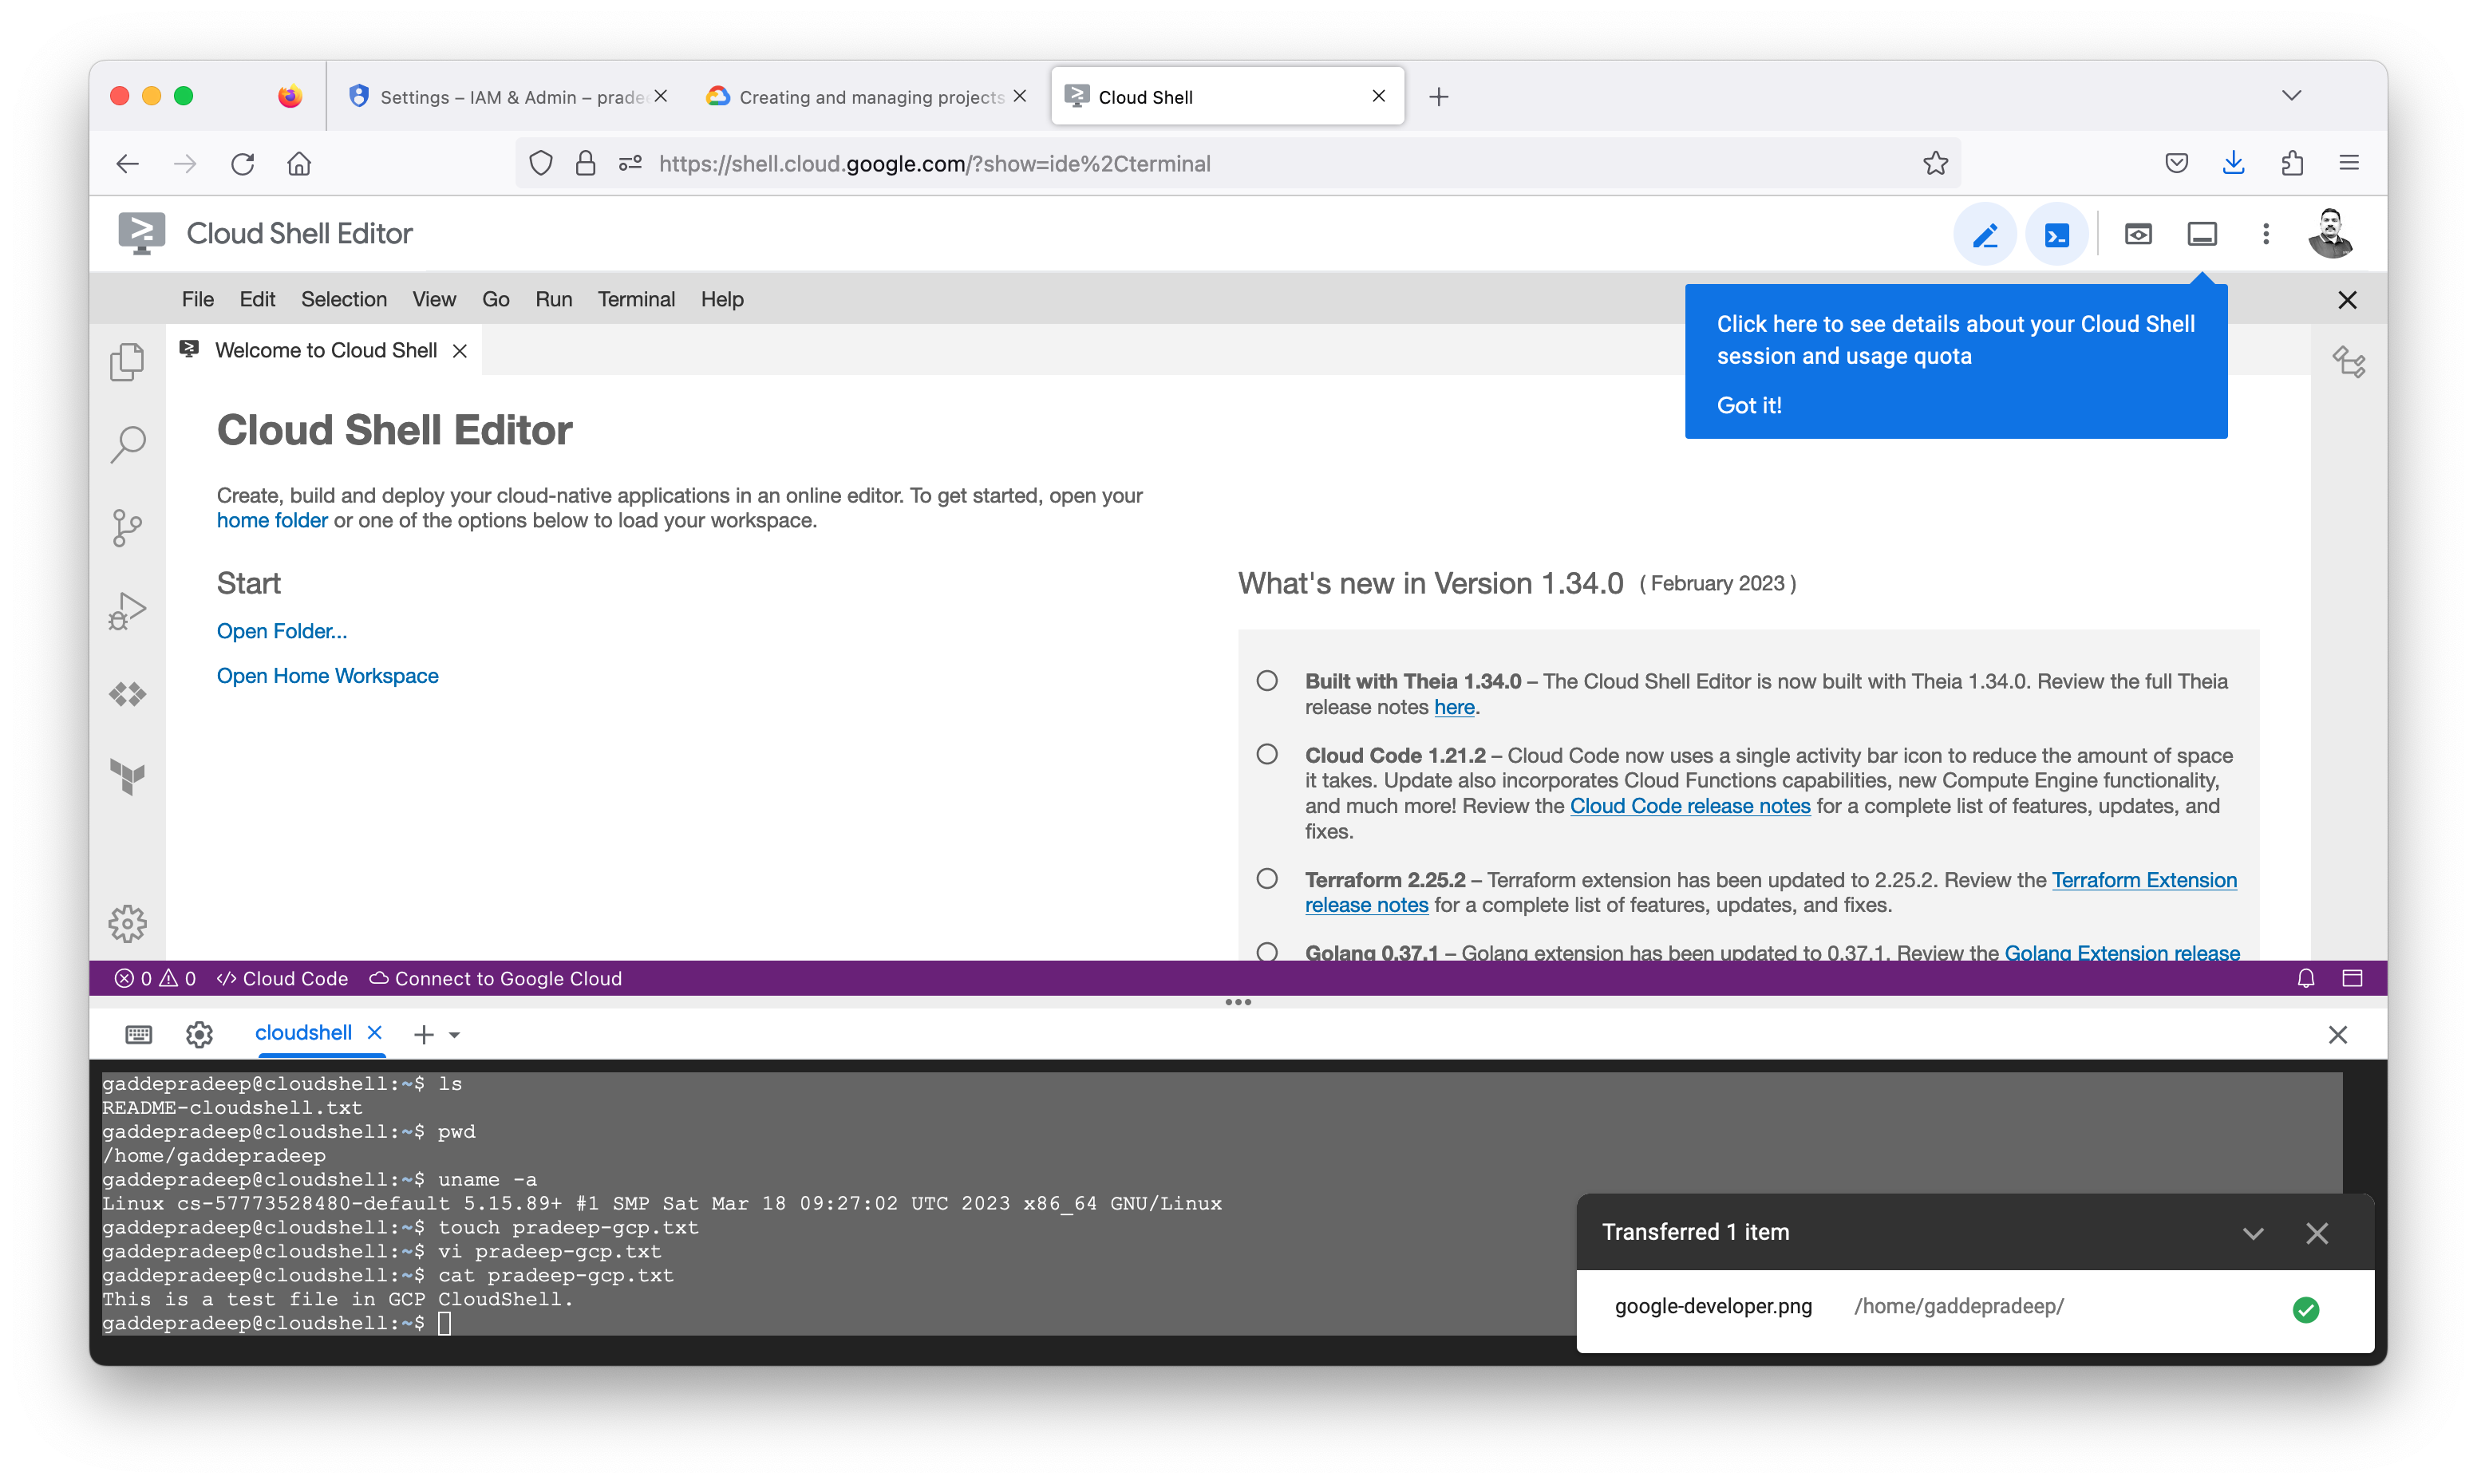
- Click Upload. Upload any file from your local machine to the Cloud Shell VM. This file will be referred to as [MY_FILE].
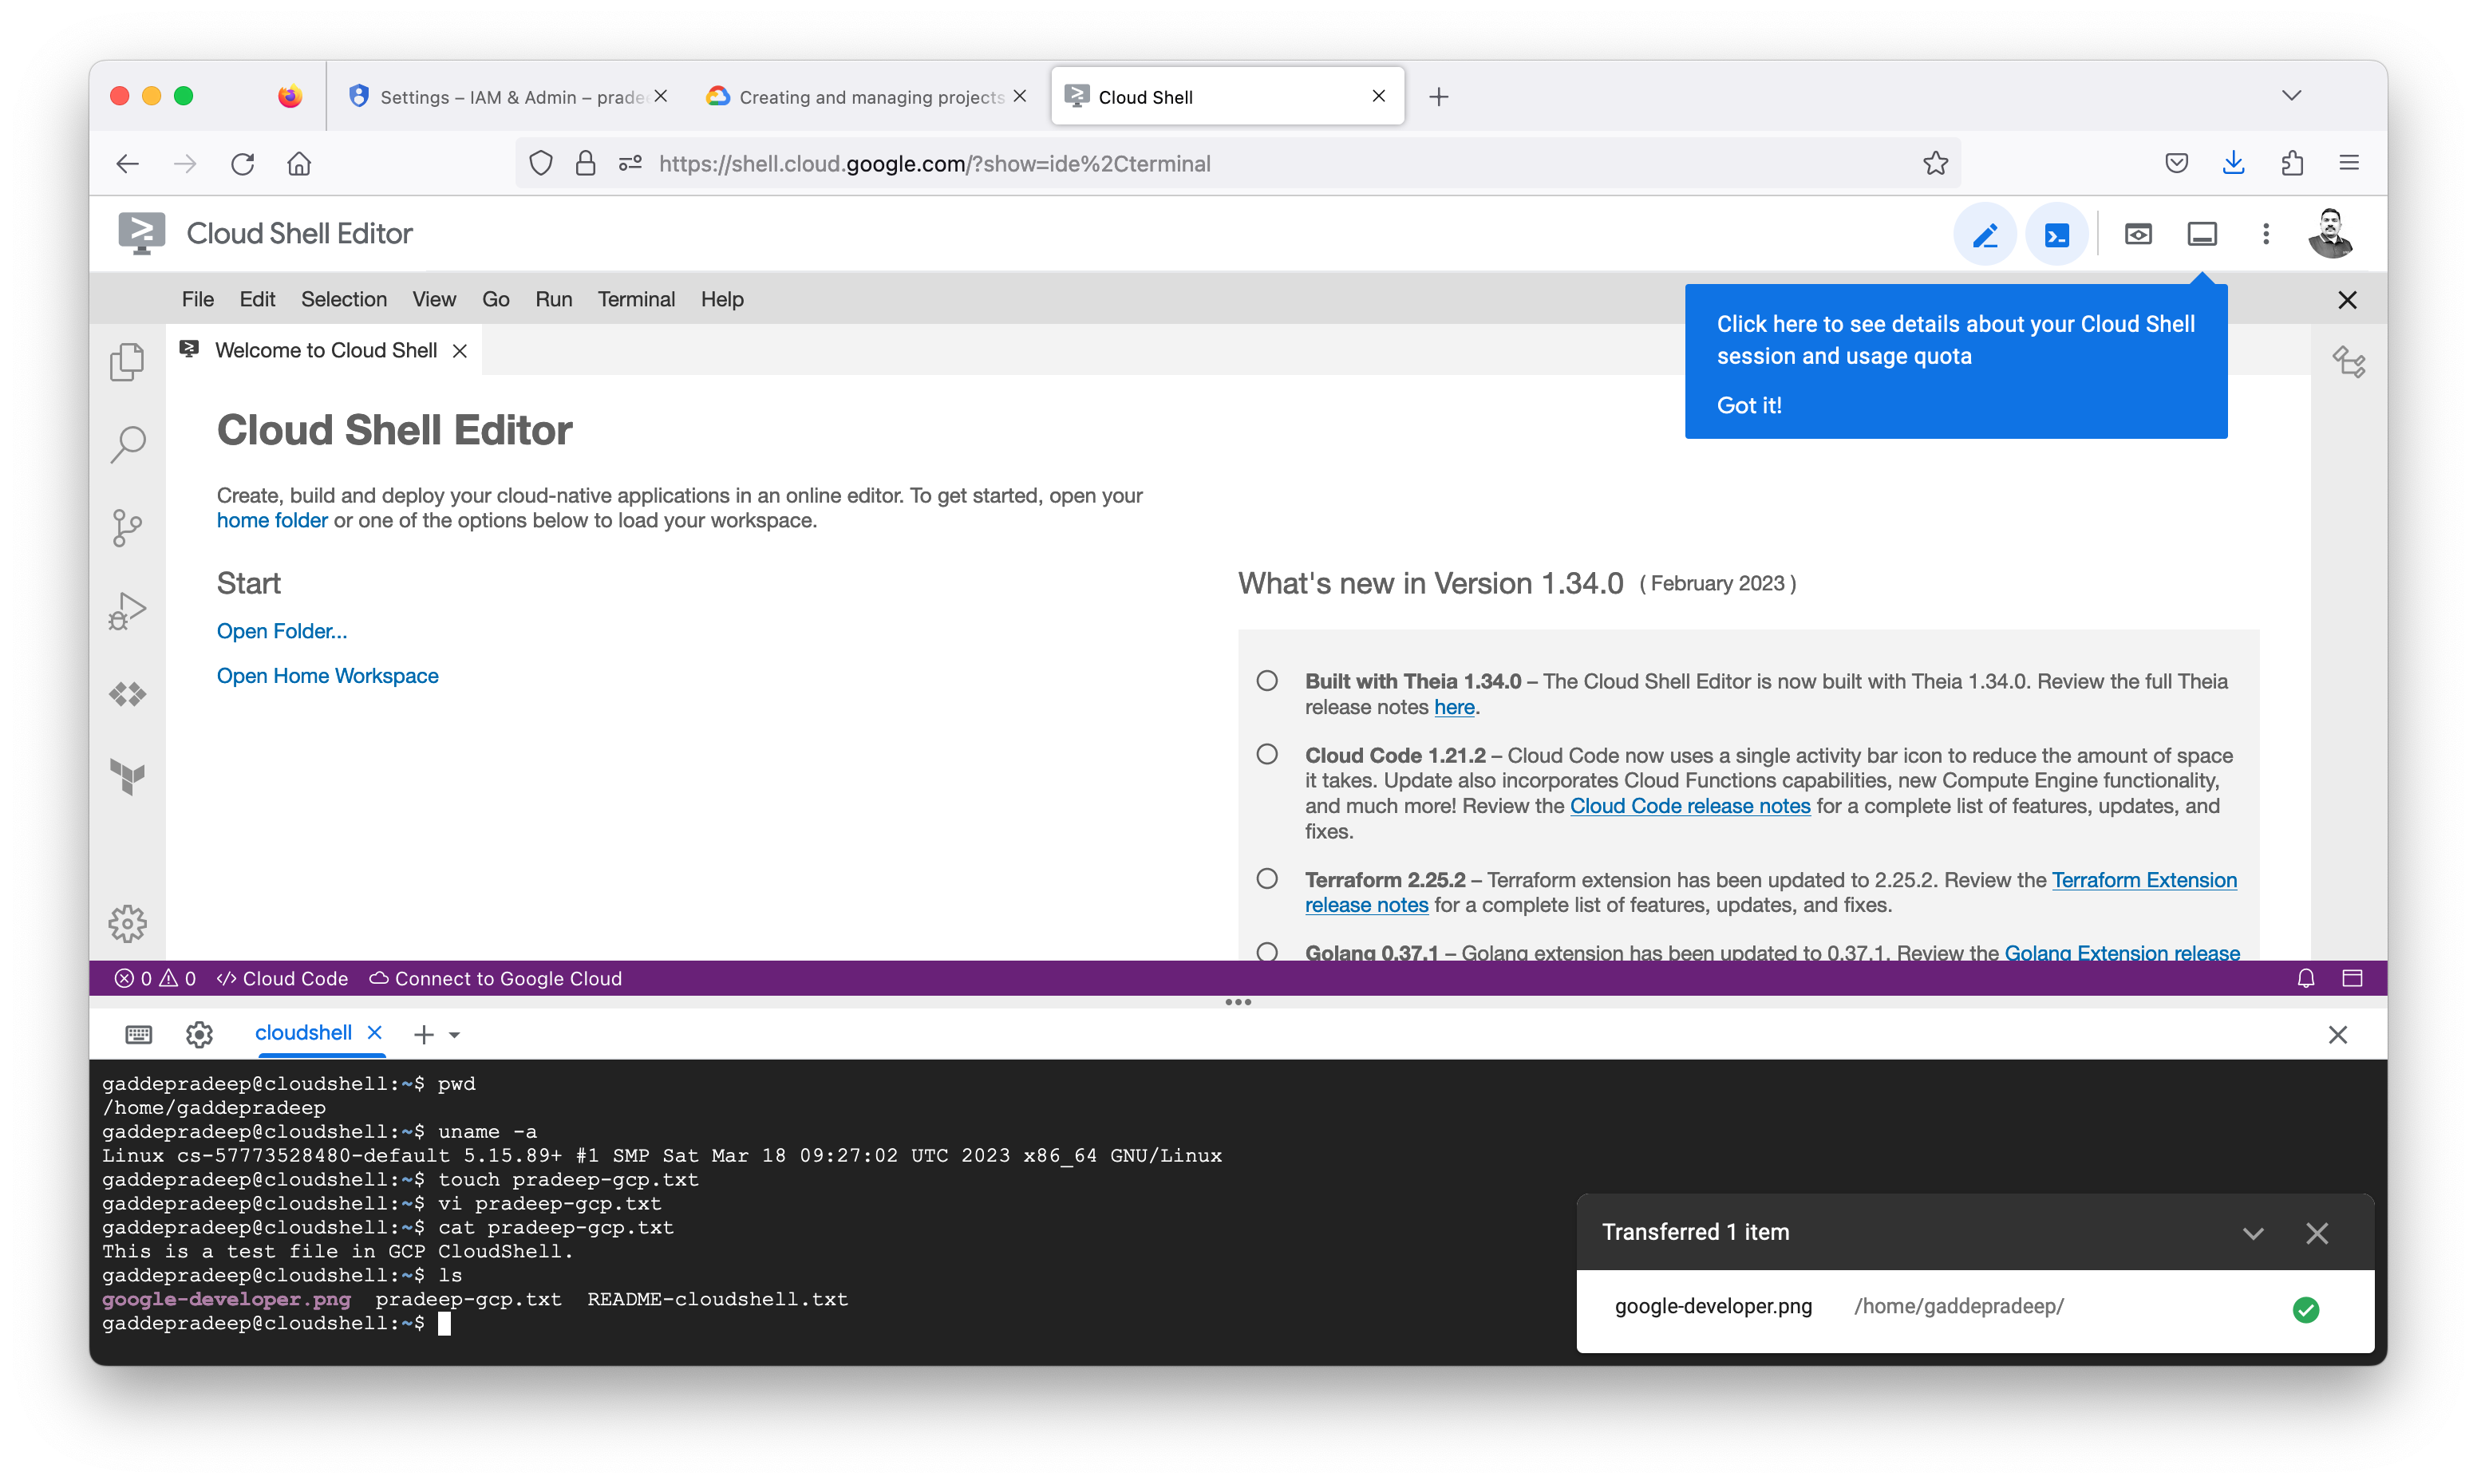
- In Cloud Shell, type
lsto confirm that the file was uploaded. - Copy the file into one of the buckets you created earlier in the lab. Replace [MY_FILE] with the file you uploaded and [BUCKET_NAME] with one of your bucket names:
gsutil cp [MY_FILE] gs://[BUCKET_NAME]
If your filename has whitespaces, be sure to place single quotes around the filename. For example, gsutil cp ‘my file.txt' gs://[BUCKET_NAME]
So far we have uploaded a file to Cloud Shell VM and copied it to the Cloud Storage bucket.
Create a persistent state in Cloud Shell
In this section you will learn a best practice for using Cloud Shell. The gcloud command often requires you to specify values such as a Region, Zone, or Project ID. Entering them repeatedly increases the chance of making typing errors. If you use Cloud Shell frequently, you may want to set common values in environment variables and use them instead of typing the actual values.
Create and verify an environment variable
- Create an environment variable and replace [YOUR_REGION] with the region you selected in the previous step:
INFRACLASS_REGION=[YOUR_REGION]
Verify it with echo:
echo $INFRACLASS_REGION
You can use environment variables like this in gcloud commands to reduce the opportunities for typos and so that you won’t have to remember a lot of detailed information.
Append the environment variable to a file
- Create a subdirectory for materials used in this lab:
mkdir infraclass
touch infraclass/config
echo INFRACLASS_REGION=$INFRACLASS_REGION >> ~/infraclass/config
INFRACLASS_PROJECT_ID=[YOUR_PROJECT_ID]
echo INFRACLASS_PROJECT_ID=$INFRACLASS_PROJECT_ID >> ~/infraclass/config
Use the source command to set the environment variables, and use the echo command to verify that the project variable was set:
source infraclass/config
echo $INFRACLASS_PROJECT_ID
Modify the bash profile and create persistence
nano .profile
source infraclass/config
Press Ctrl+O, ENTER to save the file, and then press Ctrl+X to exit nano.
Close and then re-open Cloud Shell to reset the VM.
Use the echo command to verify that the variable is still set:
echo $INFRACLASS_PROJECT_ID
You should now see the expected value that you set in the config file.


